Creating Transient Art With Young Children
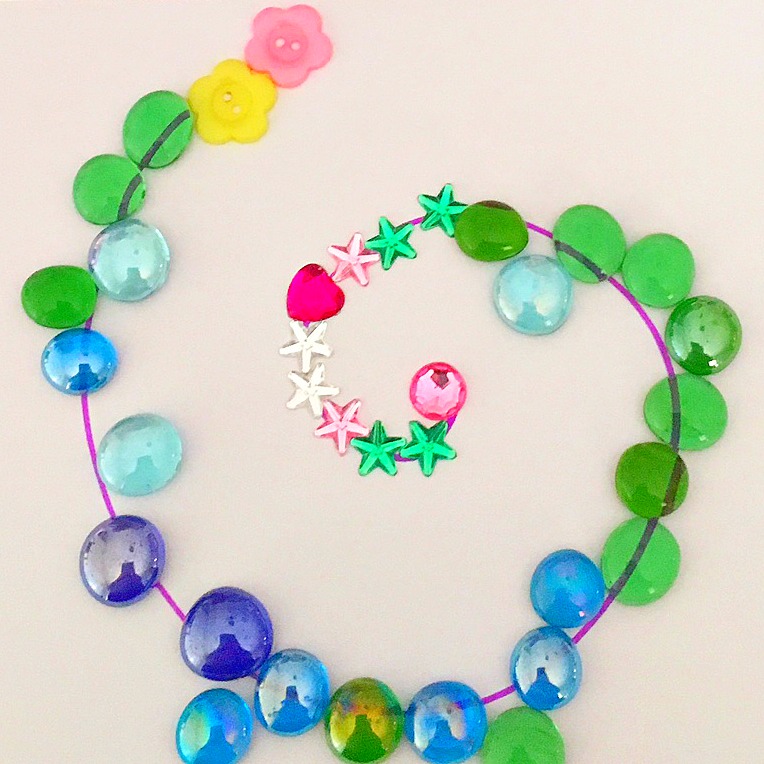
You may have heard the term transient art in relation to activities for kids. Transient art is non-permanent, constantly evolving and process orientated creativity in action. When children work on transient art projects they manipulate, explore and experiment as they work individually or collaboratively, on either large- or small- scale artworks.
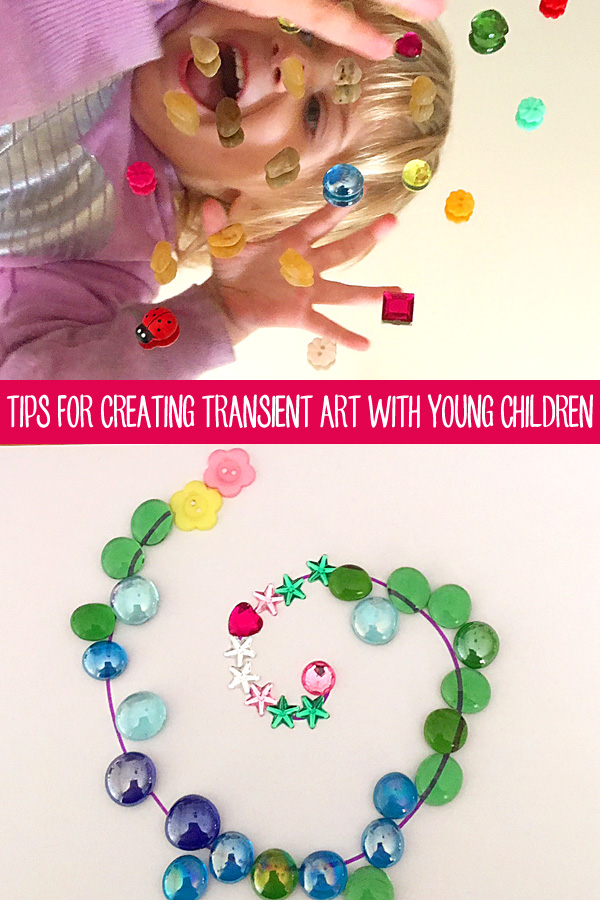
Loose parts are the key ingredient to making transient art, presented in visually appealing and inviting ways. The use of small parts invites opportunity for sorting, pattern making, exploring shapes, discovering textures and learning about symmetry.
What sorts of small parts will you need?
The possibilities really are endless and this list is surely just the tip of the iceberg, just enough to get you thinking!
- Small, coloured gemstones
- Pieces of cut up drinking straws
- Plain or coloured pasta
- Coloured aquarium gravel
- Gum nuts, seed pods
- Smooth pebbles
- Leaves
- Flower petals
- A variety of dried beans
- Beads
- Pom poms
- Feathers
- Sticks
- Craft sticks
- Matchsticks
- Buttons
- Metal nuts or washers
- Wooden blocks
- Tree cookies
- Cotton reels
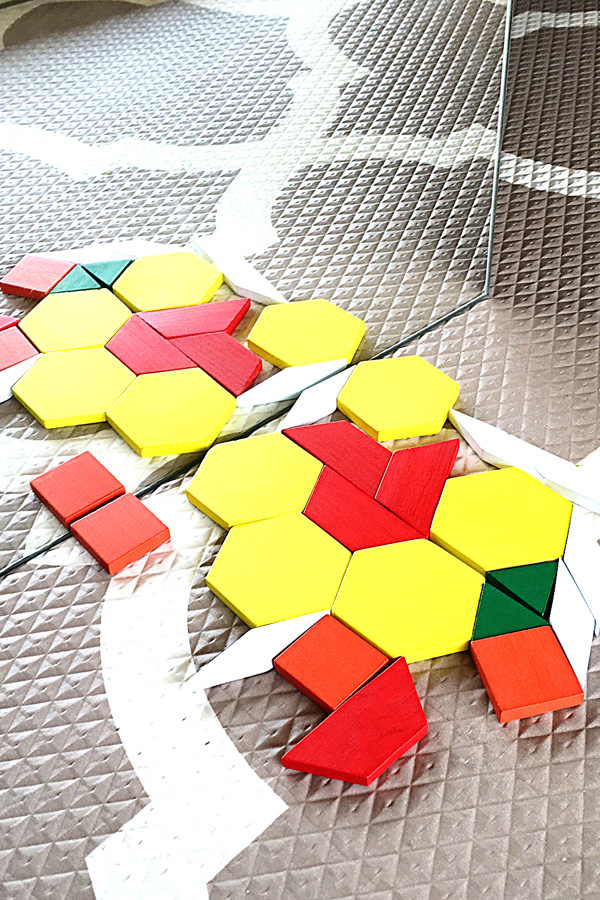
- Pattern blocks
- Pieces of yarn/wool
- Alphabet or number beads
- Tiny erasers
Don’t attempt to use all of these at once (you’ll just end up with a clean up time headache!) Choose a small number of loose parts to best suit your project – for example, if you’ll be making transient art outdoors, choose natural materials such as pebbles, sticks and flower petals.
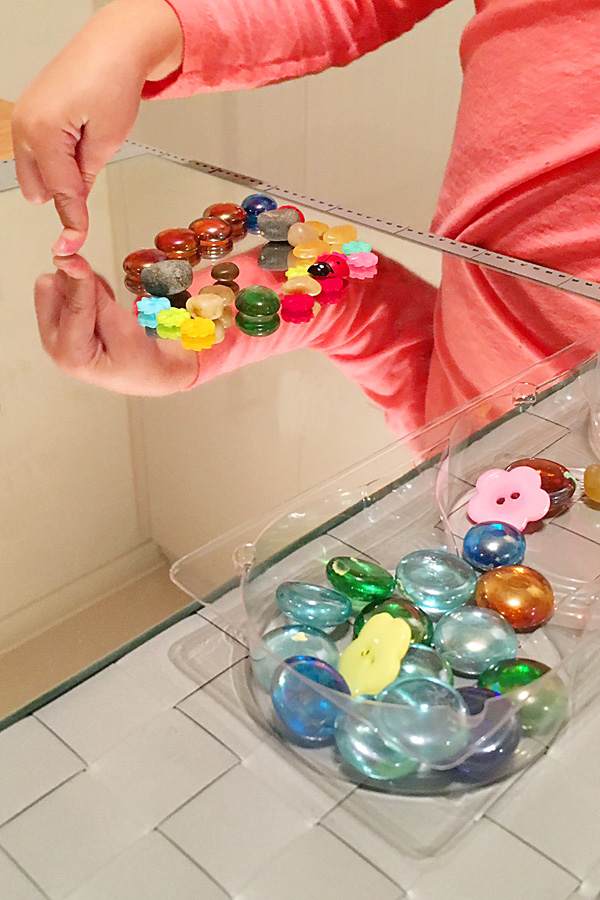
Define a creative space for the investigation with a sheet of paper, a tray, plate, mirror, woven or cork mat or empty photo frame.
10 Ways to Get Started – Transient Art Projects
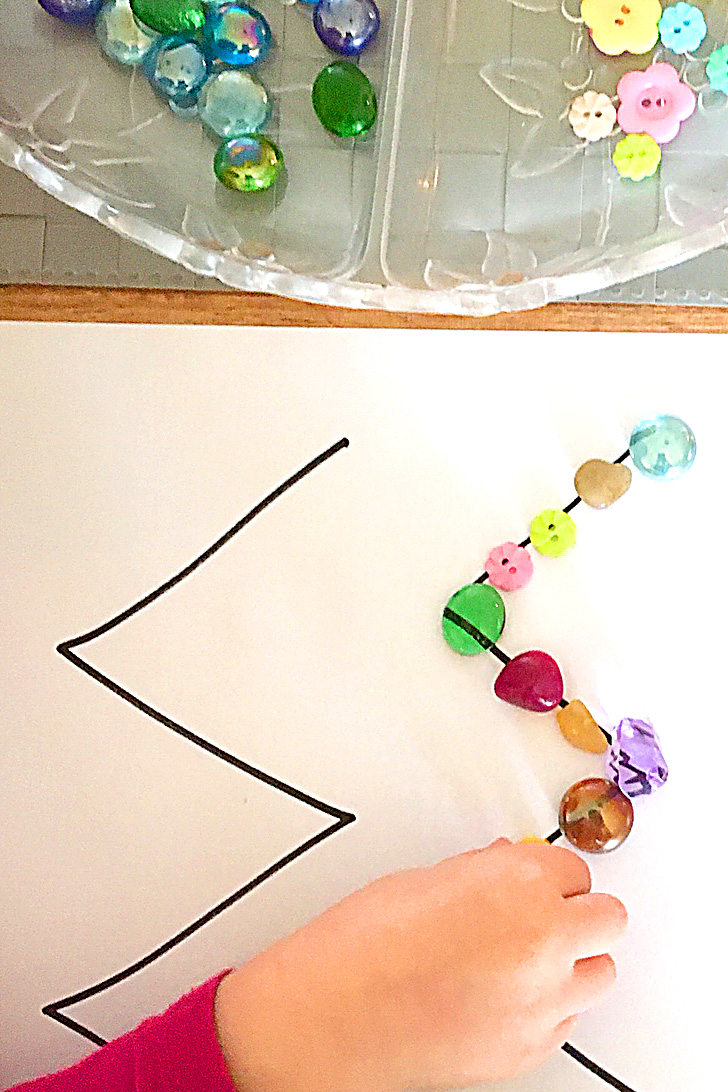
1. Trace along a line – try these printable patterns from Picklebums.
2. Create on letters or numbers – check out these printables via Picklebums.
3. Challenge your child to create a shape.
4. Create on a chalkboard – start with chalk lines to generate interest.
5. Work within a frame or grid.
6. Create on or in front of a mirror.
7. Get down on the ground outdoors and use natural materials.
8. Create in a shallow tray of water.
9. Try pressing your creation into playdough.
10. Make a mandala – find out more about mandalas at The Artful Parent.
One of our favourite bloggers, otherwise knows as the queen of loose parts (I’m not kidding she has the most impressive collections of bowls, trays and loose parts) is Rachel from Stimulating Learning with Rachel. Check out this post and this one too for more transient art inspiration,
What happens when we’re done?
So what do you do with transient art once it’s time to pack up? Try leaving a “work in progress” label or snap a photo to preserve the child’s hard work and creativity forever. You can also extend the learning for school aged children by asking them to draw or write about what they’ve made.
So what do you think? Ready to give it a go? Share your transient art projects and tag us @childhood101 #childhood101 on Instagram – we’d love to see you pics!
I have just come across this lovely post. As you know, I LOVE transient art!
Thank you so much for mentioning my blog and directing people to a couple of my posts!
– Rachel (“,)
(Stimulating Learning with Rachel)