Art Projects for Kids: Recycled Bottle Koinobori
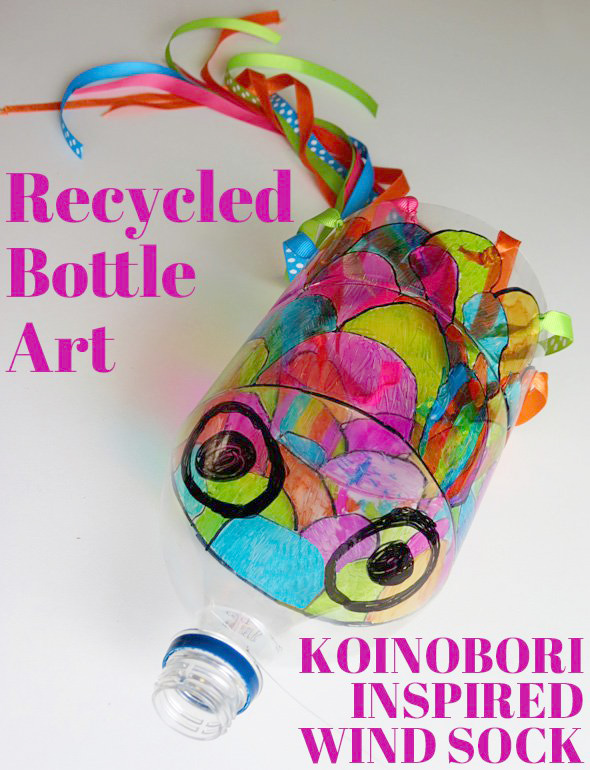
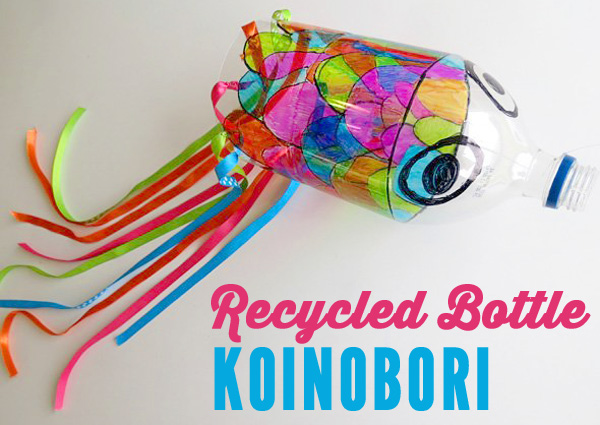
We are having lots of fun creating thanks to a set of coloured Sharpie pens. As well as the recycled bottle lanterns I shared over at Go Explore Nature last week, Immy and I recently tackled another recycled bottle project with our Sharpies – making our own version of a Japanese koinobori wind sock.
To make your own koinobori wind sock from a recycled bottle, you will need:
- An empty, clean soft drink bottle with the label removed (we used a 2 litre bottle)
- One black and several coloured permanent marker pens (we used Sharpies)
- A utility knife and pair of scissors
- A hole punch
- Several lengths of ribbon
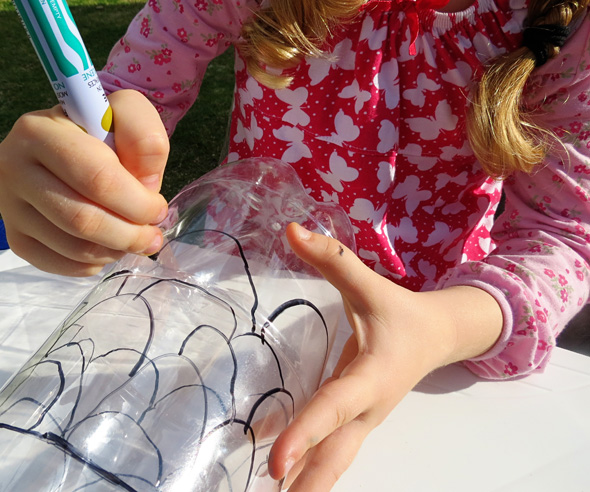
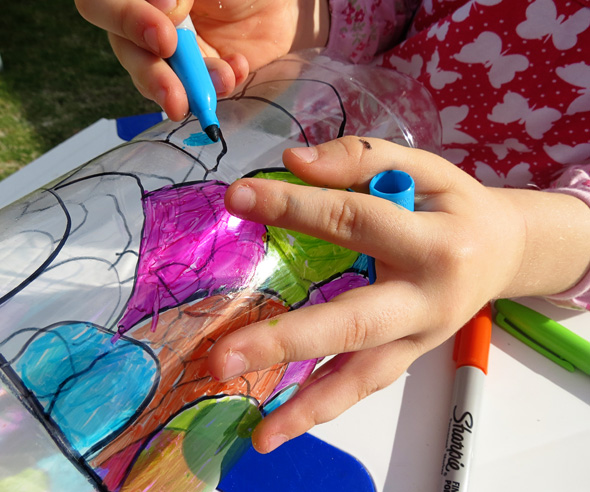
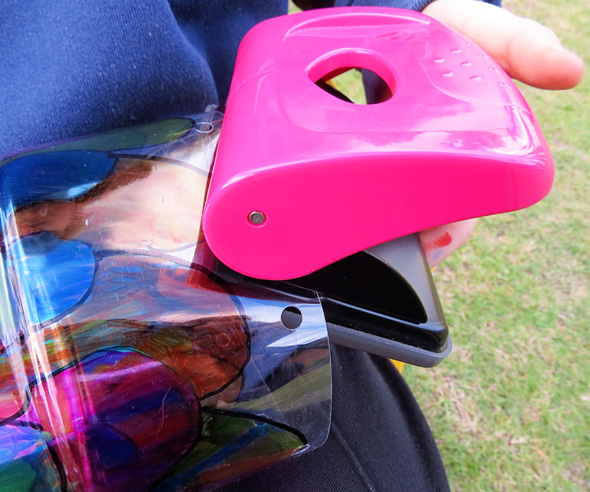
Use the hole punch to make a series of holes along the bottom edge of the bottle.
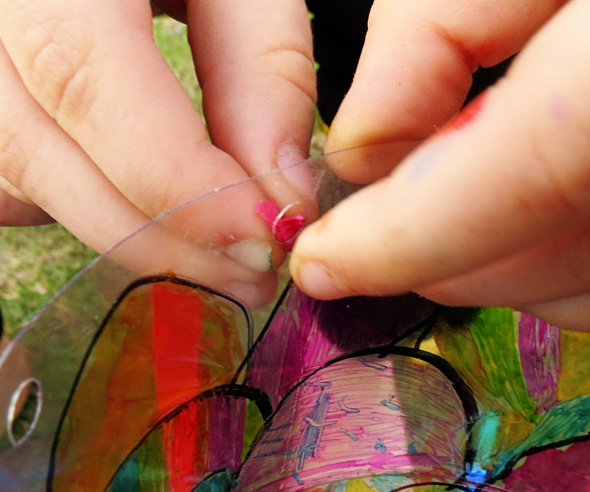
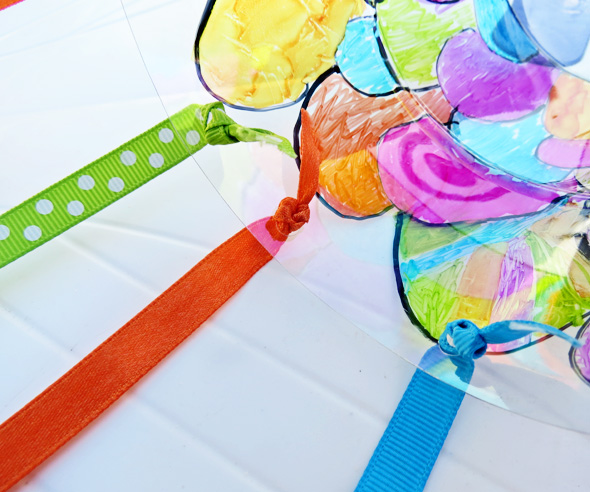
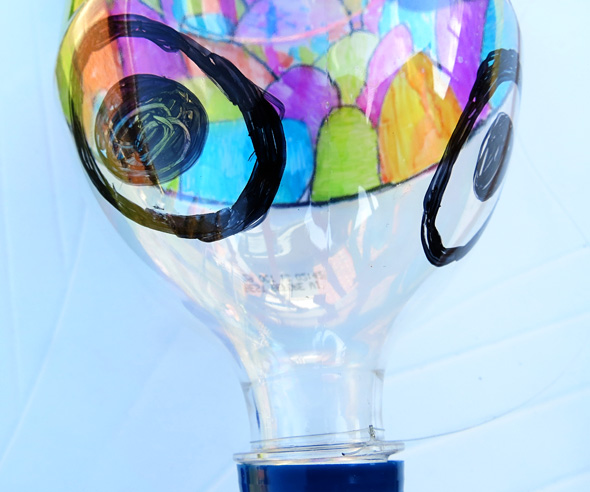
Hang your koinobori inspired wind sock where it can catch the wind and enjoy.
Do you have a favourite kids project using Sharpie markers? Or another idea for creating something beautiful from a recycled bottle?
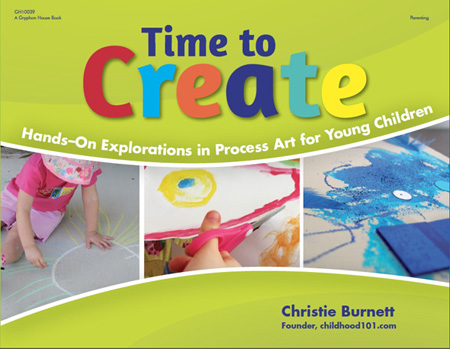
Looking for more inspiration for creating with kids, check out my new book, Time to Create: Hands On Explorations in Process Art for Young Children.

It actually looks like something you can put behind the car of some newlyweds and write “just married”
There is a gorgeous sharpie picture that I saw done on this site of a woman who was chronicling her daughters artwork. She used wax paper I think
http://2me4art.com/2012/03/23/sophies-art/
Thanks for sharing, Faigie. I am truly besotted with coloured Sharpies LOL
This project looks stunning.
Cammy is obsessed with plastic bottles at the moment. She comes up with all sorts of designs. I can’t wait to show her this idea.
Thanks, Jackie. Have you shared Cammy’s projects on the blog?
LOVE this idea !! and I saw a rainbow pack of Sharpies on special at Big W today (will have to go back!). filing away for future teaching !!
although I’ll have to find some bottles then make some with my kids!
thanks 🙂
Oooh, I will have to go and have a look at Big W, Lauren, we could do with some more 🙂 Thanks for the tip!
This is gorgeous! What a fun and pretty craft. I have pinned this post.
This is a lovely craft, but how do you hang it? Do you tie fish wire around the nozzle of the bottle?
I’m the Editorial Assistant for Fun Family Crafts and I wanted to let you know that we have featured your project! You can see it here:
http://funfamilycrafts.com/koinobori-inspired-wind-sock/
If you have other kid-friendly crafts, we’d love it if you would submit them. If you would like to display a featured button on your site, you can grab one from the right side bar of your post above. Thanks for a neat project idea!