Kids Art Ideas: Making Scratch Art
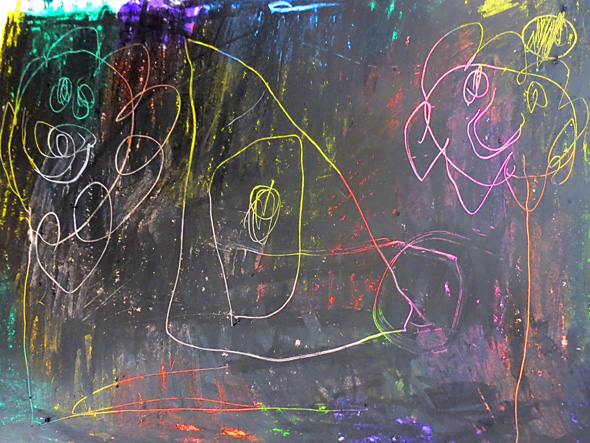
Week two of back to school and Immy was home sick for two days with what I suspect was a mild virus. As I wanted her to rest as much as possible, I looked for activities that kept her interested and engaged without consuming too much energy. She has been enjoying two new sets of oil pastels (a more traditional oil pastel from Micador and a set of Colorix silky crayons) and I had the idea to introduce her to scratch art – a creative process I remember from my own school days. You can also use regular crayons to make scratch art but the softness of oil pastels makes the process easier and quicker for young children.
Making Scratch Art
You will need:
- Art paper
- Oil pastels
- Toothpick
To make:
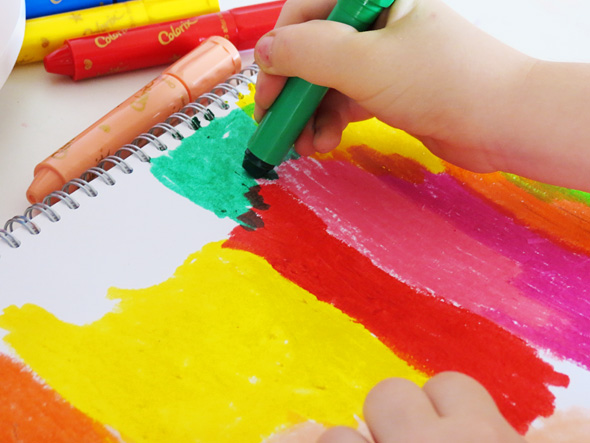
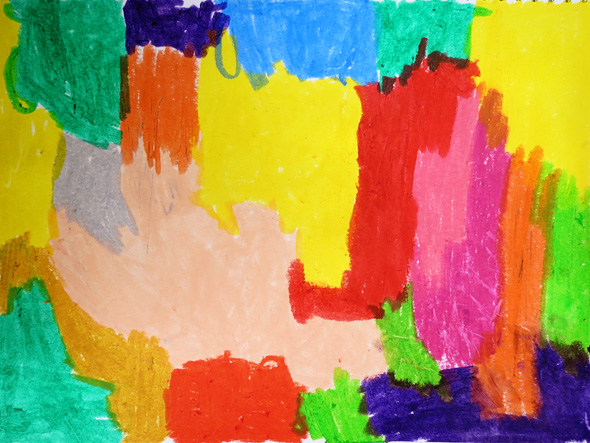
1. Cover your entire page with blocks of bright, oil pastel colour.
We used both the regular Micador oil pastels and the Colorix silky crayons.
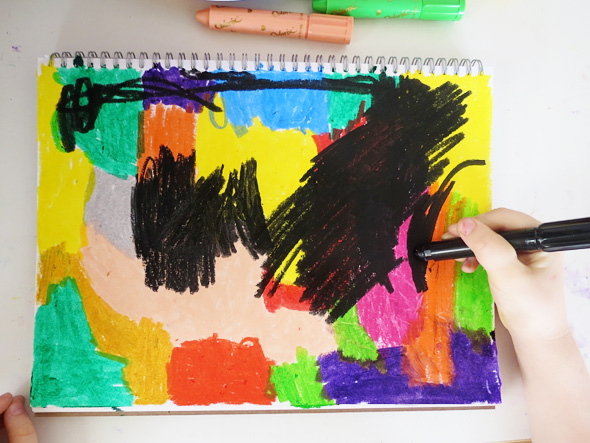
2. Now cover the entire coloured page with black oil pastel, a process which takes both faith and perseverance for those who have never made scratch art before – it might look wrong but it will be so worth it. This part can be a little messy so keep a wet face washer or packet of baby wipes handy.
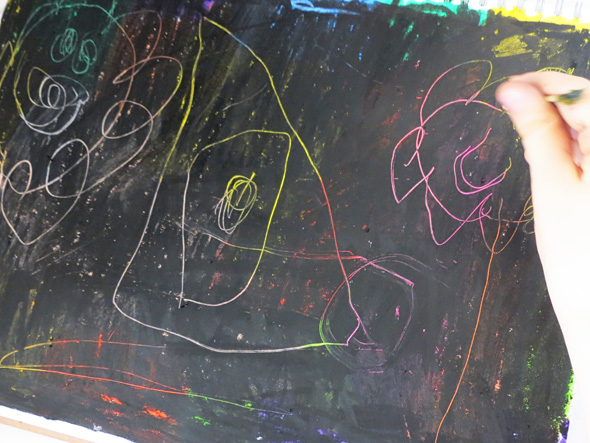
3. Use the toothpick to scratch your image onto the page and watch the colours beneath magically appear.
4. Sit back and enjoy your finished creation.
Did you make scratch art when you were a child? What other art processes do you remember from childhood?
Related Posts
- How Children Use Art to Process Thoughts, Ideas and Emotions
- Our Kids Art Space Updated
- Kids Art: More Tissue Paper Art
- Kids Art: 5 Ways with Body Outlines

Hi Christie, this looks great – I know my 5 year old would enjoy doing this too. Can I ask where you got the oil pastels & silky crayons from? I’m in Perth as well & I’d love to expand my art supplies for my boys as they love creating things but I’m not sure where to go. Thanks for lots of great inspiration!
Hi Jacquie, I have seen the silky crayons at Riot Art and oil pastels at Riot and Spotlight. I also buy art materials online if I am ordering toys to stock my presents box for birthdays, I especially like entropy.com.au (free postage for orders over $100)
We used to call this Black magic when we were kids and of course only had regular old crayons to make it with
I used regular crayons as well as a child, still lots of fun! The pastels make the process a little quicker and easier for young children 🙂
Hi! I’m a K-6 art teacher in Northern New York. I actually just posted about scratch art, not too long ago, on my blog! When I make scratch art with my students, I use crayons (though I’m tempted to try the oil pastels as well…they look so much more vibrant!) and then I make a scratch board paint mixture using tempera paint and about a teaspoon of liquid dish soap, like Dawn. I love doing scratch art with my students, and I love to change up the colors! Check out my post on my blog!
http://www.artroom104.blogspot.com/2013/02/homemade-scratch-art.html
Thank you so much for the tempera paint suggestion, Jen, it really is a great activity for children of all ages.
Ah, one of my favorite favorite favorite childhood art projects! I can’t believe I’d completely forgotten about it.
I had forgotten as well, Christine. It really is lots of fun 🙂
Would this work with Crayons also? I’m thinking that’s what I used “in my day”!
We used crayons when I was a child too, Kerry. I just find the pastels make the process a little quicker for younger children 🙂