Pop Up Christmas Tree Cards
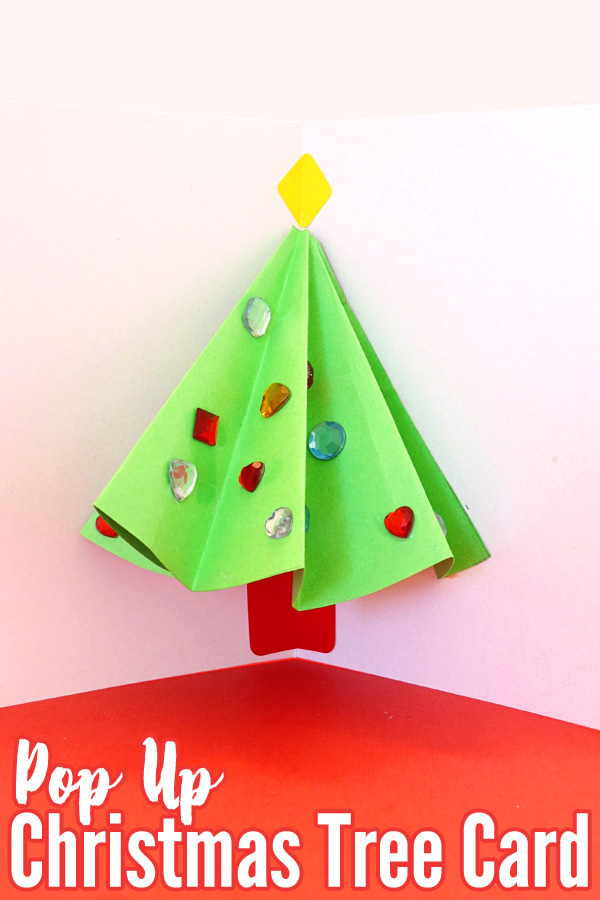
Christmas is by far my favourite holiday on the calendar and it seems that Immy is inheriting my passion for all things festive and Christmas! If it was up to her I am sure that our tree would be up in September (after all, isn’t that about when it hits the shops!) and we’d be singing carols well into February! She has been asking me about Christmas activities to do for weeks now and when I suggested we experimented with making a pop up Christmas card she was all for it. And I love how they turned out!
We went with a simple tree design and made our cards using bits and pieces already in our art supplies. There is heaps of room for you to personalise your own pop up Christmas tree cards by changing up how you finish up and decorate the basic tree shape which forms the pop up element of the card.
Make Your Own Pop Up Christmas Tree Card
For each card you will need:
- A blank card
- The tree template below printed onto green paper (or use white and decorate it with your favourite art technique)
- Scissors
- Glue stick
- Thin double sided tape
- Shape stickers, gems, sequins or patterned paper to finish off your tree
To make:
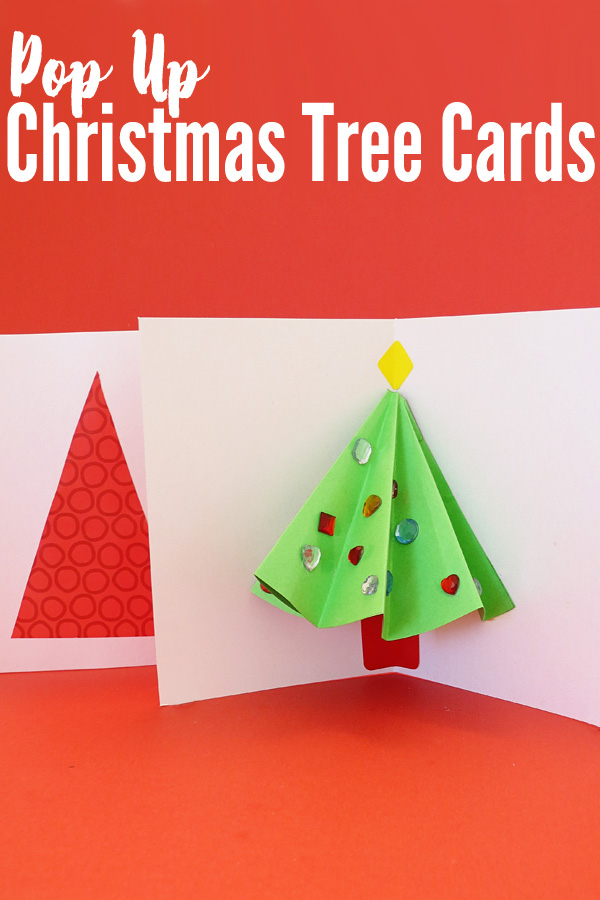
1. It’s actually easier to decorate the outside of your card before you add your pop up tree. We decided to keep the outside of our card simple by sticking on a stylised triangle tree shape cut from patterned paper. You could draw, stamp letters to make a holiday message, collage or decorate your card in any way you choose.
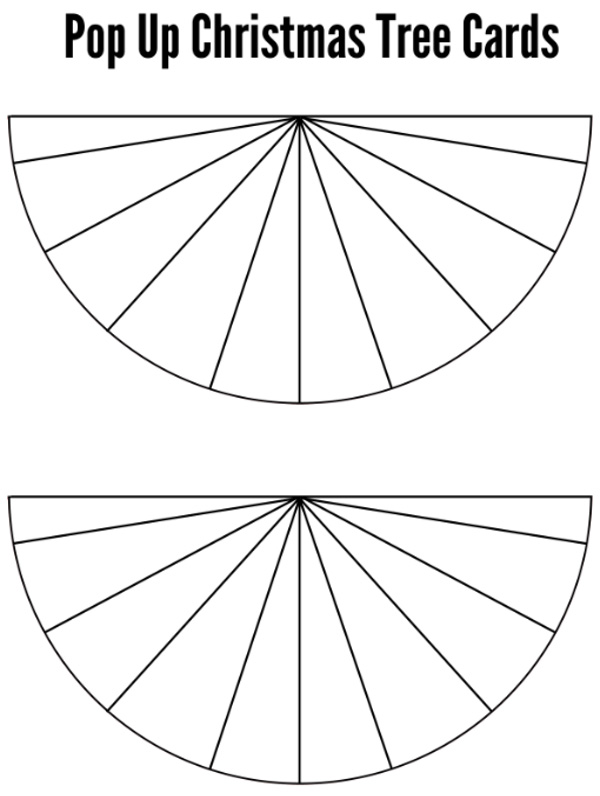
2. Next print the tree template onto green paper. You need one semi circle for each card. Click here to download the template file. Save to your computer and print as many copies as you need. You may need to choose ‘Fit to Printable Area’ or similar depending upon your printer and local paper size.
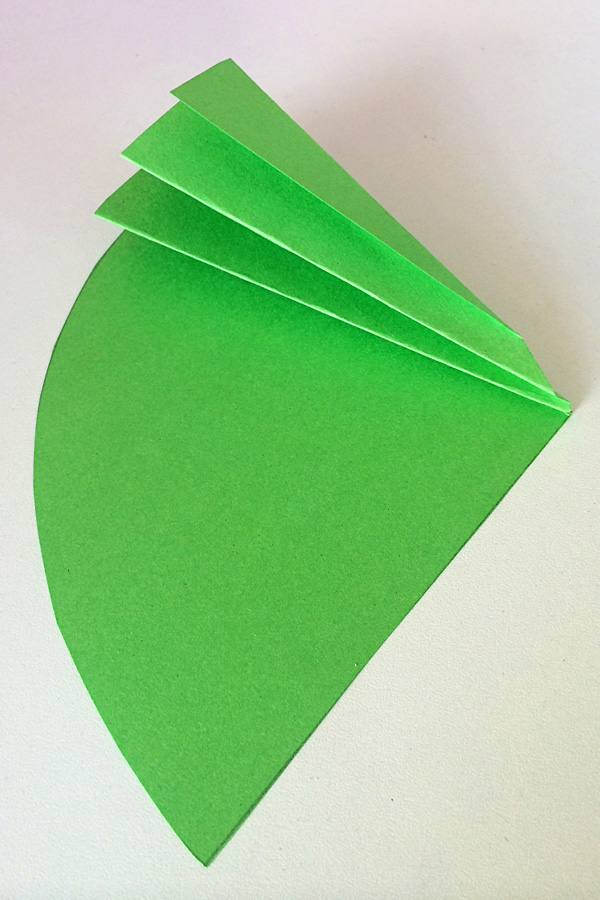
3. Cut around the outside of the semi circle and then use the printed lines as a guide to concertina your tree insert.
3. Once folded, use a glue stick to apply paste to the first folded tab on each end of your tree insert. Centre the tree inside your blank card and stick into place so that the tree sits out from the card (make sure the printed lines aren’t showing by gluing printed side down).
4. Decorate your tree by adding small stickers, gems or sequins. We started out gluing our gems into place with white craft glue but they kept popping off once the glue dried. Double sided craft tape worked much better. We also added a simple diamond shape sticker to the top of the tree to represent a star, and a rectangle to represent the base of the tree.
That’s it, your card is now ready to gift to someone special…if you can bear to part with it.
Do you have a HUGE Christmas fan in your home?


These are great! We’ve been making pop up cards with the little cut out in the fold lately thanks to Mister Maker so I know these will go down a treat! 🙂
Lovely card. Thanks for sharing.
Planning to put cotton on the top n bottom of the red triangle to make it look like a Santa.