Tutorial: Simple Dress Up or Birthday Crown
 You may recall during January and early February I was busy fashioning costumes for Immy’s dress up box in time for her birthday. Whilst sorting through some photos I recently, I realised that I had never actually posted the tutorial for the simple birthday crown I made for her birthday celebration. So here it is…
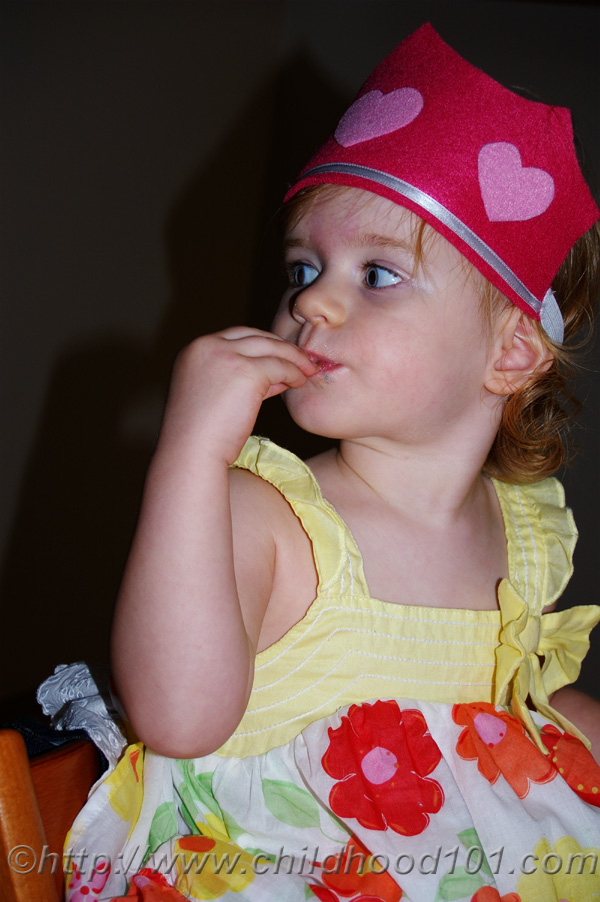
Step one: Cut two front crown pieces from felt. I used a very simple design. Step two: Decorate the front of one crown piece. I used felt hearts, ironed on with fusible webbing, and silver satin ribbon which I stitched into place.
 Step three: Cut a piece of fusible webbing slightly smaller than the crown piece. Place on the rear of the piece you have decorated. Do not iron into place yet.
 Step four: Measure the circumference of your child’s head. From this measurement, subtract the width measurement of the crown piece, then subtract a further centimetre. Cut a piece of wide elastic the length of your adjusted measurement. Stitch firmly into position to the second felt crown piece.
 Step five: Place the two felt front pieces together with the fusible webbing in between. Iron to fuse the webbing and attach the two pieces.
 Your birthday or dress up crown is now finished 🙂
|
|
Related Posts |

That is a very sweet crown:)
So sweet and simple. Love it Christie.
Thank you 🙂
Thank you for this tutorial. You could do all sorts of great crowns or birthday hats like this.