How to Make a Homemade Abacus
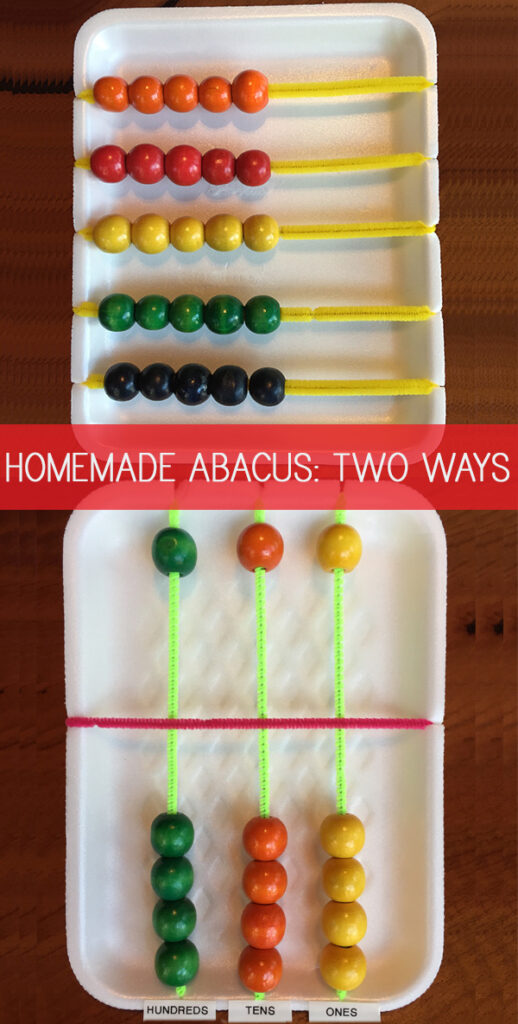
Make a homemade abacus with your child or students using just a few basic materials – in fact, we are sharing two different homemade abacus designs – a simple system that is great for young learners and a slightly more complicated abacus based on a Japanese soroban abacus that helps older students who are already familiar with the concept of place value.
Whichever you choose to make, your children can enjoy using their abacus some hands-on practice with number concepts and computations!
How to Make a Homemade Abacus
Why Make an Abacus?
Abacuses have been used for centuries to perform mathematical computation of all types- addition, subtraction, multiplication, and division- and they are still widely used today! They are especially helpful for children who are kinesthetic learners since the abacus allows them to touch and move the beads as they count and work problems.
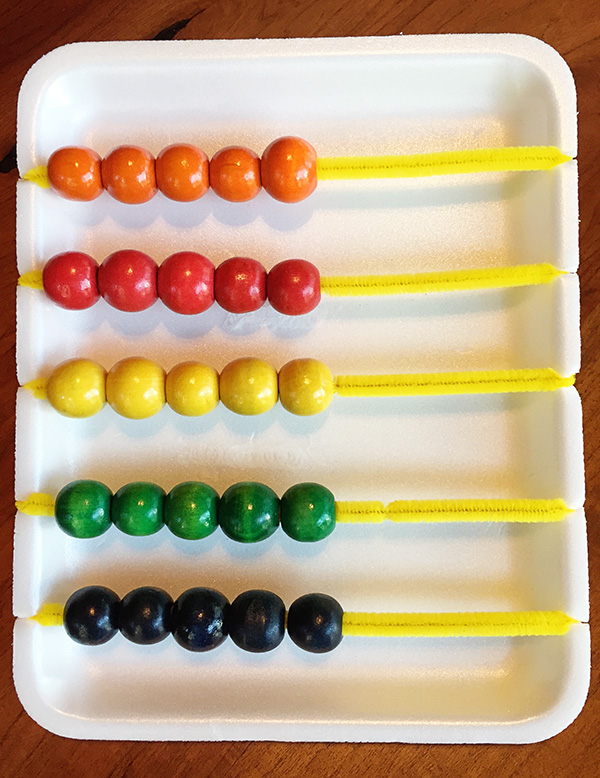
How to Make a Simple Abacus for Ages 4-8
You will need;
- A large, clean styrofoam tray (many grocery stores will happily donate unused trays- even class sets for teachers)
- 50 -100 coloured beads (plastic or wooden)
- 5-10 sturdy chenille/pipecleaner stems
- Strong tape
- Pencil
- Scissors
To make;
First, thread 5 or 10 coloured beads on each chenille stem, 5 for preschoolers and 10 for children in kindergarten and primary grades. It’s best to place beads of the same colour on each stem. Kids will enjoy threading and counting the beads, but supervise younger children, especially if you are working with smaller beads.
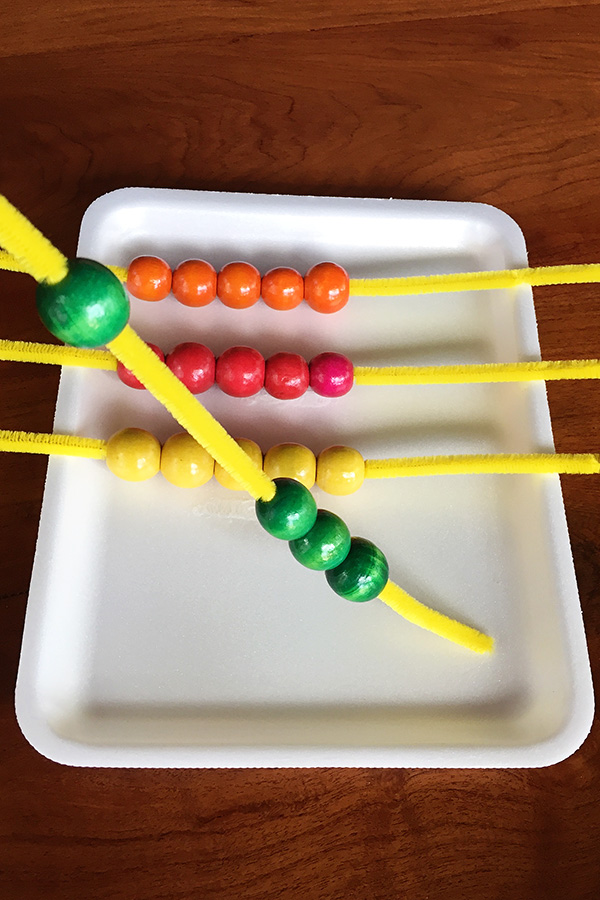
Next, place the styrofoam tray vertically in front of you and lay the stems horizontally on top with space between them (see photo). Make a mark at the left and right edges to show where each stem is placed.
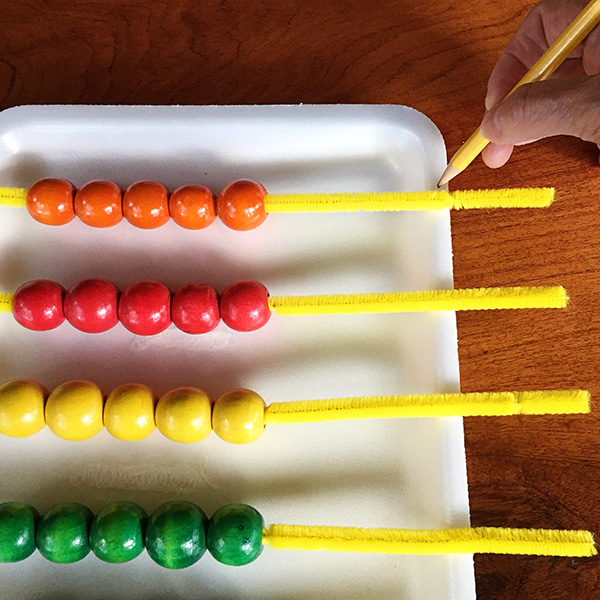
Use scissors to cut very small slits where your pencil marks are. These slits will help keep your chenille stems in place.
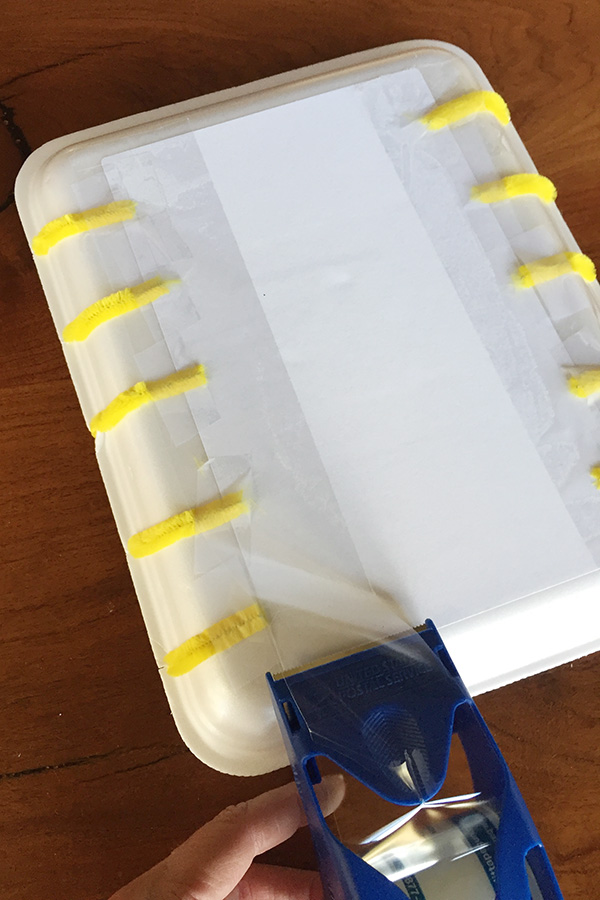
Gently wrap each stem on the tray into the slits on each side of the tray. Pull hard enough to straighten the stem, but not so hard that the tray tears. As you wrap each one, use tape to hold it in place on the back of the tray.
When you have all of the stems in place, add more tape to reinforce the back.
Now, you’re ready to practice counting, adding and subtracting!
Homemade Abacus Activity Ideas
- Depending on how many beads you put on each “rod,” your children can count by ones, twos, fives, tens, etc. They will begin to notice patterns on the abacus as they count. Use your abacus to count along by ones, fives and tens as you watch the video below.
- Find how many ways you can make 5 (slide 1 bead over, 4 beads are to the left; slide 2 over and 3 are to the left, etc) or ten.
- Try making larger numbers and learn how to add numbers together on an abacus, following this link to ABC Education.
For more number facts fun, be sure to also check out our Number Facts Grid Game and these Math Dice Games.
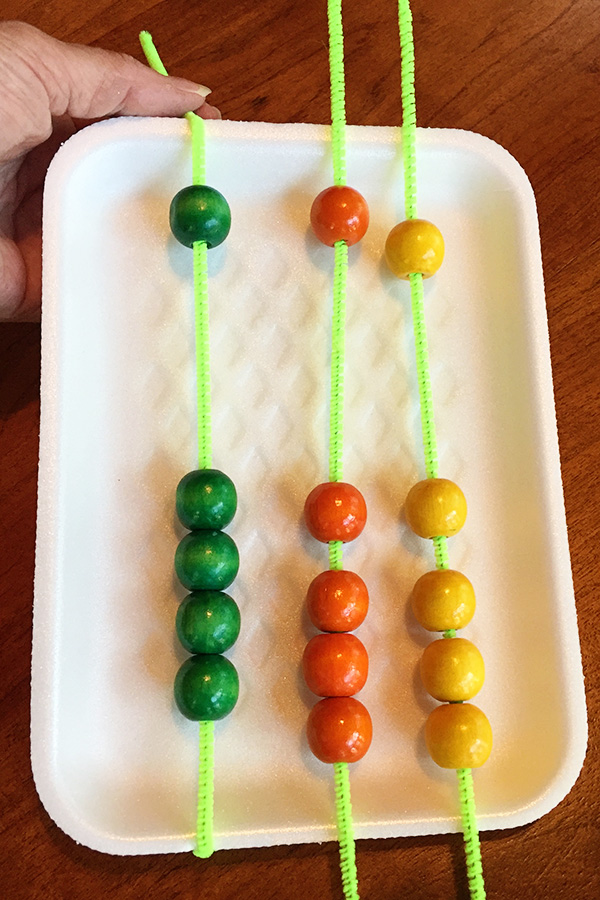
How to Make a Soroban Abacus for Ages 9 and Up
You will need;
- A medium-sized styrofoam tray
- 15 – 20 coloured beads
- 3 – 4 chenille stems
- Strong tape
- Pencil
- Scissors
To make;
First, thread 5 coloured beads onto each chenille stem. Each stem will represent a column of the place value chart (ones, tens, hundreds) so if you want your abacus to include thousands, you will need four stems. One bead will rest at the top, the other four at the bottom.
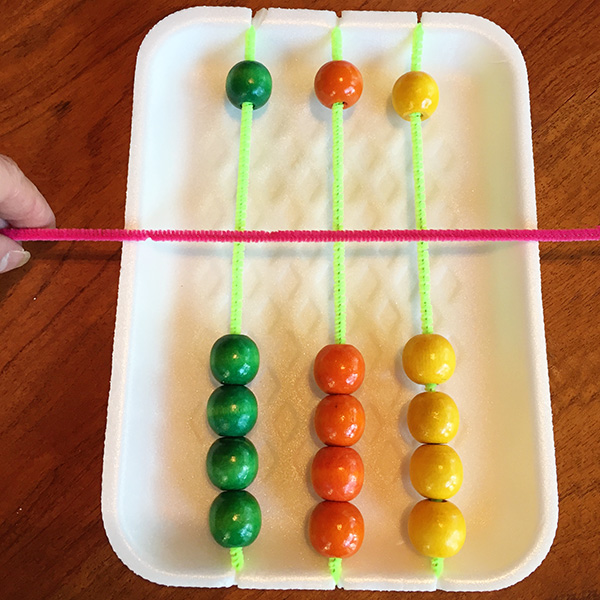
Next, place the styrofoam tray vertically in front of you and lay the chenille stems horizontally on top, with a little space between them. Make a mark at the top and bottom edge to show where each stem is placed.
Use scissors to cut very small slits where your pencil marks are. These slits will help keep your stems, or “rods” in place.
Gently wrap each chenille stem on the tray where the slits are. Pull hard enough that each stem is mostly straight, but not so hard that the tray tears. As you wrap each one, use tape to secure it on the back of the tray. When you have all stems in place, you add more tape or contact paper to reinforce the back.
Finally, place one chenille stem horizontally across the entire tray, halfway down. It will be the centre line, called the beam or reckoning bar. Slit the tray and wrap both sides of the stem around to the back of the tray, as you did the others, using tape to secure it.
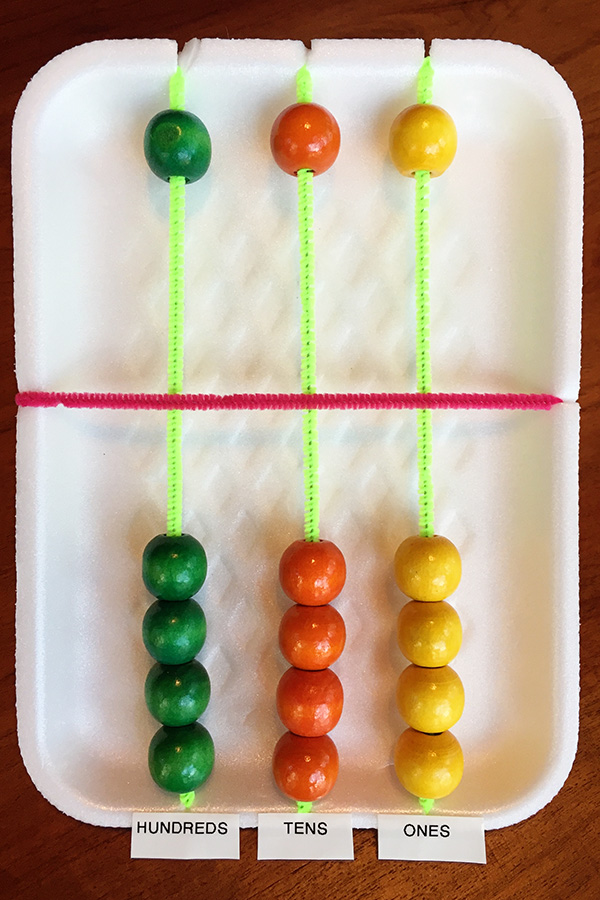
Homemade Abacus Activities
Now, let’s learn how to use this type of abacus! It’s based on a Japanese style abacus called the soroban. When you want to count a bead, you move it so that it touches the centre beam. The bottom beads, called the “earthly beads,” all have a value of one, and there are four in each column- the columns represent ones, tens, and hundreds. The top beads, called the “heavenly beads,” all have a value of five. So, for the top orange bead in the tens column represents five tens, or 50.
Check out this video to see how it works;
The best kind of learning is HANDS-ON, so have fun!