
Tween Craft Idea: Craft Stick & Tissue Paper Lantern
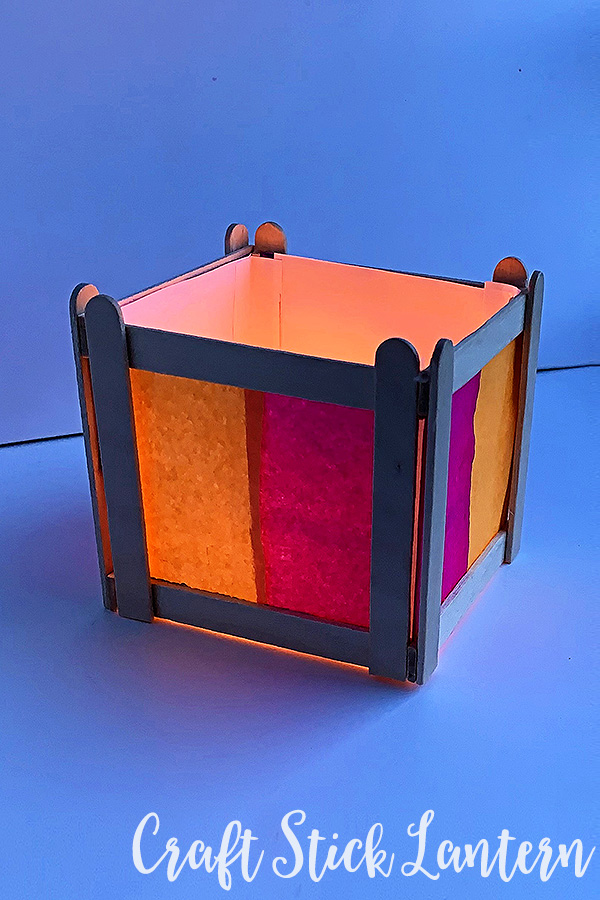
When it comes to crafting our tween loves making something she can use to decorate her bedroom, and this sweet craft stick lantern can certainly add a little something special to their private space.
Tween Craft Idea: How to Make a Craft Stick Lantern
You will need:
- Craft sticks
- White glue or hot glue gun
- Colourful tissue paper
- LED candle
- Craft knife
- Battery operated tealight candle
Instructions:
1. Take two (2) craft sticks and cut them in half to make four (4) even pieces.
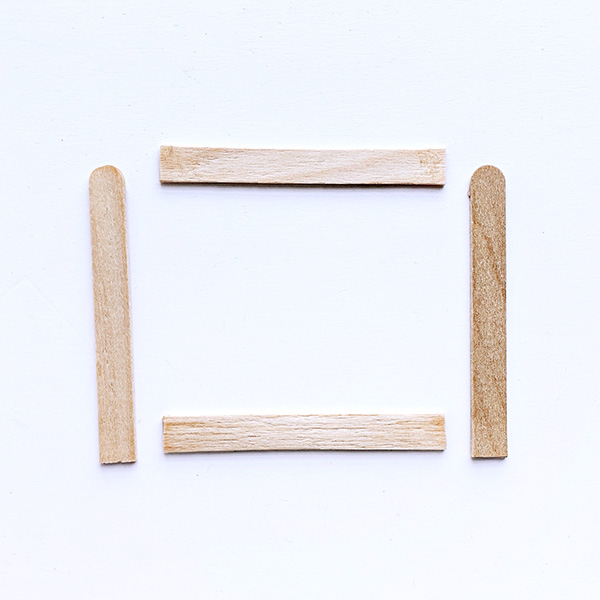
2. Glue the ends of the craft stick pieces using glue or hot glue and form a square.
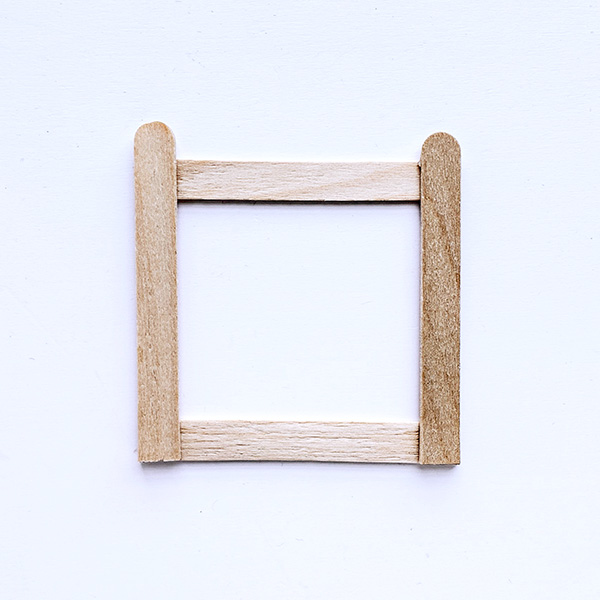
3. Cut out a white piece of paper according to the size of the square formed with the craft sticks.
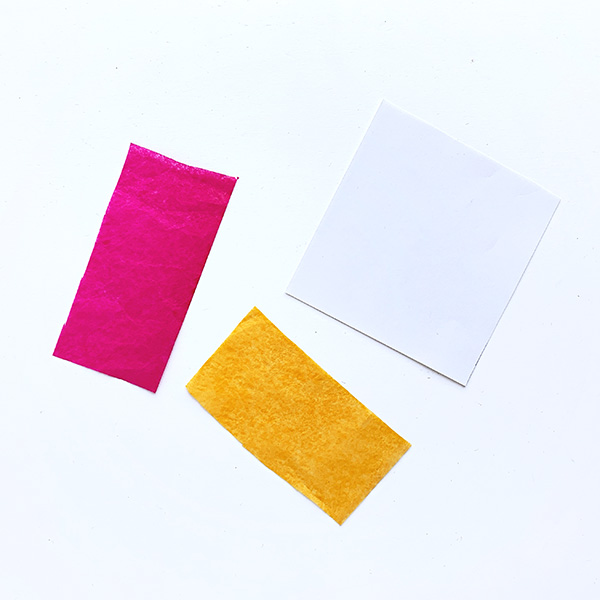
4. Then choose two colours of tissue paper and cut out two pieces (each should be half the size of the white paper).
Extension idea: Create other colourful designs from tissue paper to decorate the sides of your craft stick lantern. Just remember to limit your final design to the size of your square of white paper.
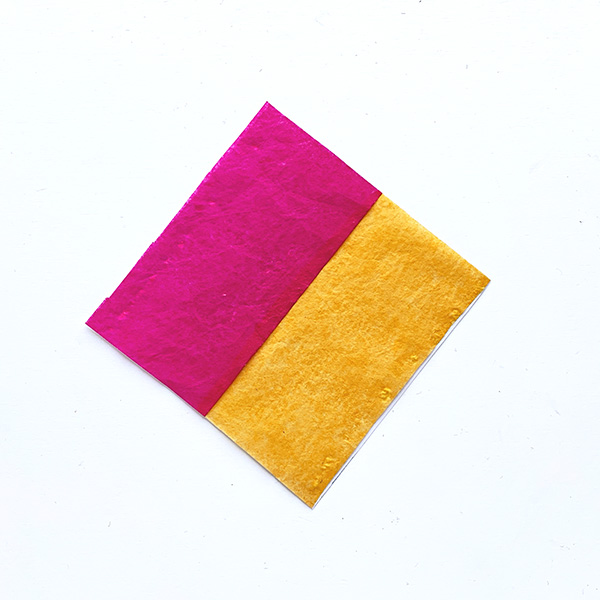
5. Glue both pieces of tissue paper onto the white paper.
6. Then glue the paper square over the gap of the craft stick frame.
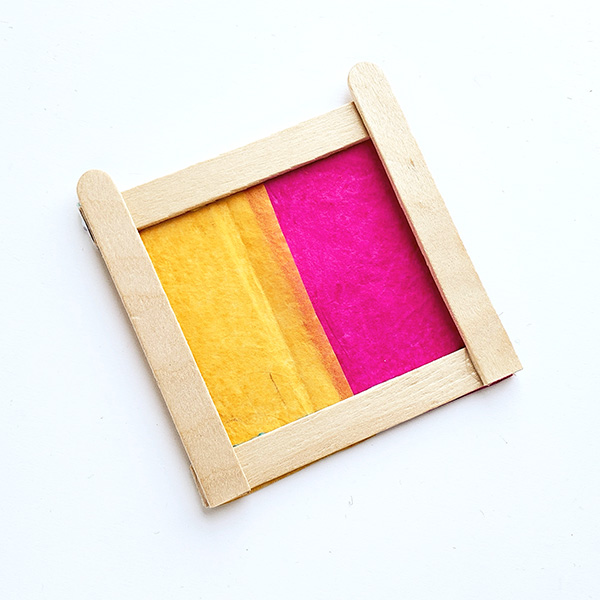
Repeat steps 1-6 three times to form all four sides of the lantern.
7. Cut out a 2-3cm paper strip. The length of the paper strip should be as same as the side of the frame. Fold the strip vertically in half.
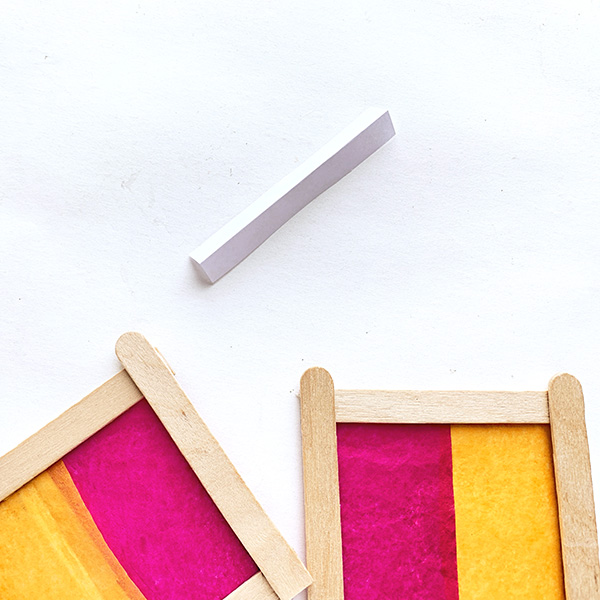
8. Glue one-half of the strip onto one side of the frame.

9. Them take another frame and glue one side of the second frame with the other half of the paper strip.
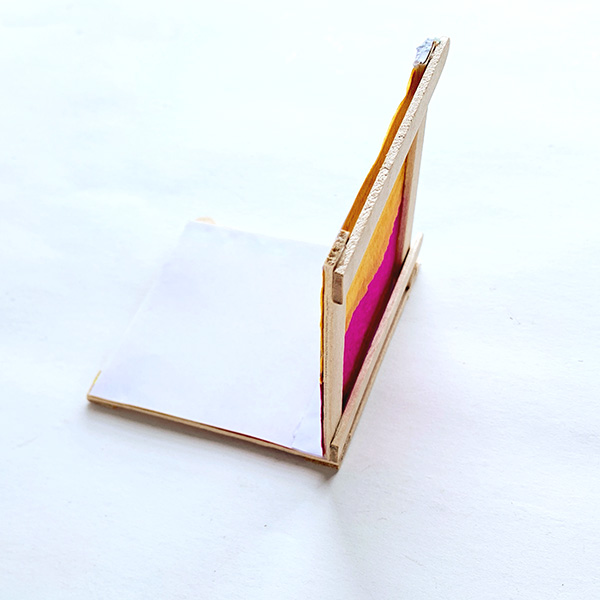
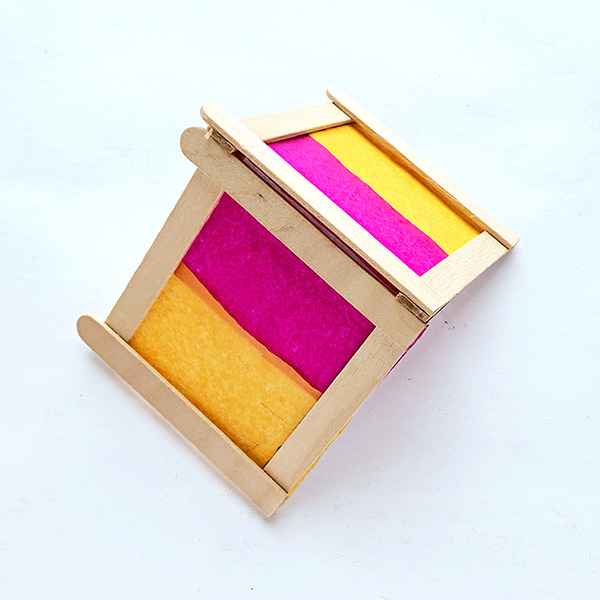
1o. Repeat this process to attach the remaining sides of the frame to finish making the lantern.
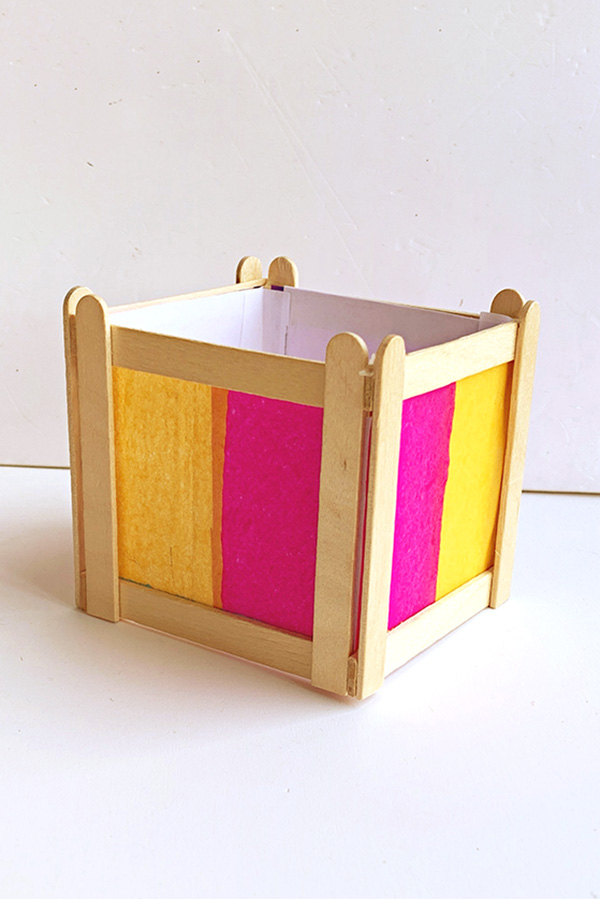
Place a battery operated tealight candle into the lantern, dim the lights and watch it glow.

For even more handpicked crafts for tweens, be sure to check out our big collection of Summer Crafts for Tweens or keep them busy with our A to Z of Tween Boredom Busters.

You may also like;