DIY Kids: Ice Cream Shop
I don’t know if you have ever noticed the shopfronts that are built into children’s climbing equipment at public playgrounds? They are usually underneath the high platform that the slide comes off. Anyway, when we visit our local playground, Immy enjoys playing ice cream shop (there is a story behind why based on her current favourite book but I will share that one another time!) We discuss what flavours are available, she takes my money (cents) and we enjoy a nice, cold (albeit imaginary) ice cream.
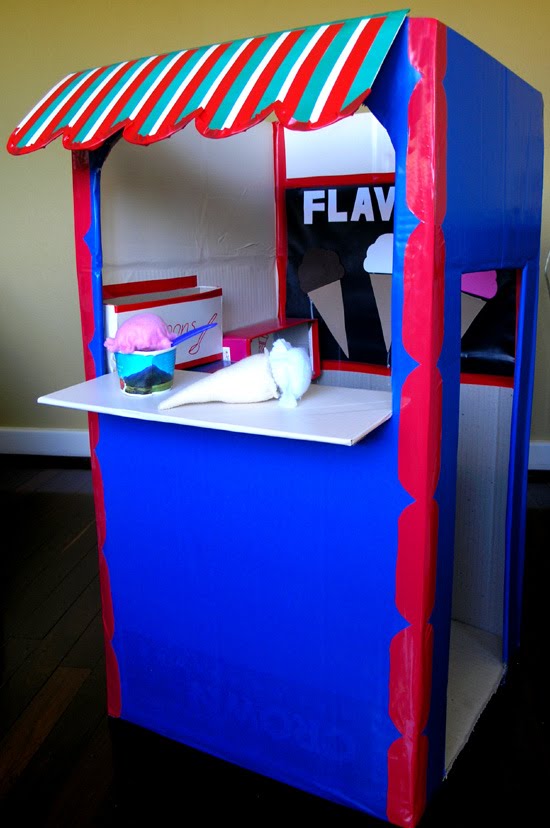
This wonderfully social, imaginary play led me to the recent construction of our next DIY Kids Project… I present to you, the Ice Cream Shop.
1. Choose a box which is tall enough for your child to stand up in. A fridge box would be perfect but at Immy’s height I can still get away with a tea chest sized packing box. 2. As I need the full height of the box (ours will be an open air roofed ice cream shop), I attached some cardboard offcuts to reinforce the box flaps. These were glued and taped into place.
 3. Mark out the opening for your storefront with marker pen. Take into consideration the height of your little person when positioning the window.
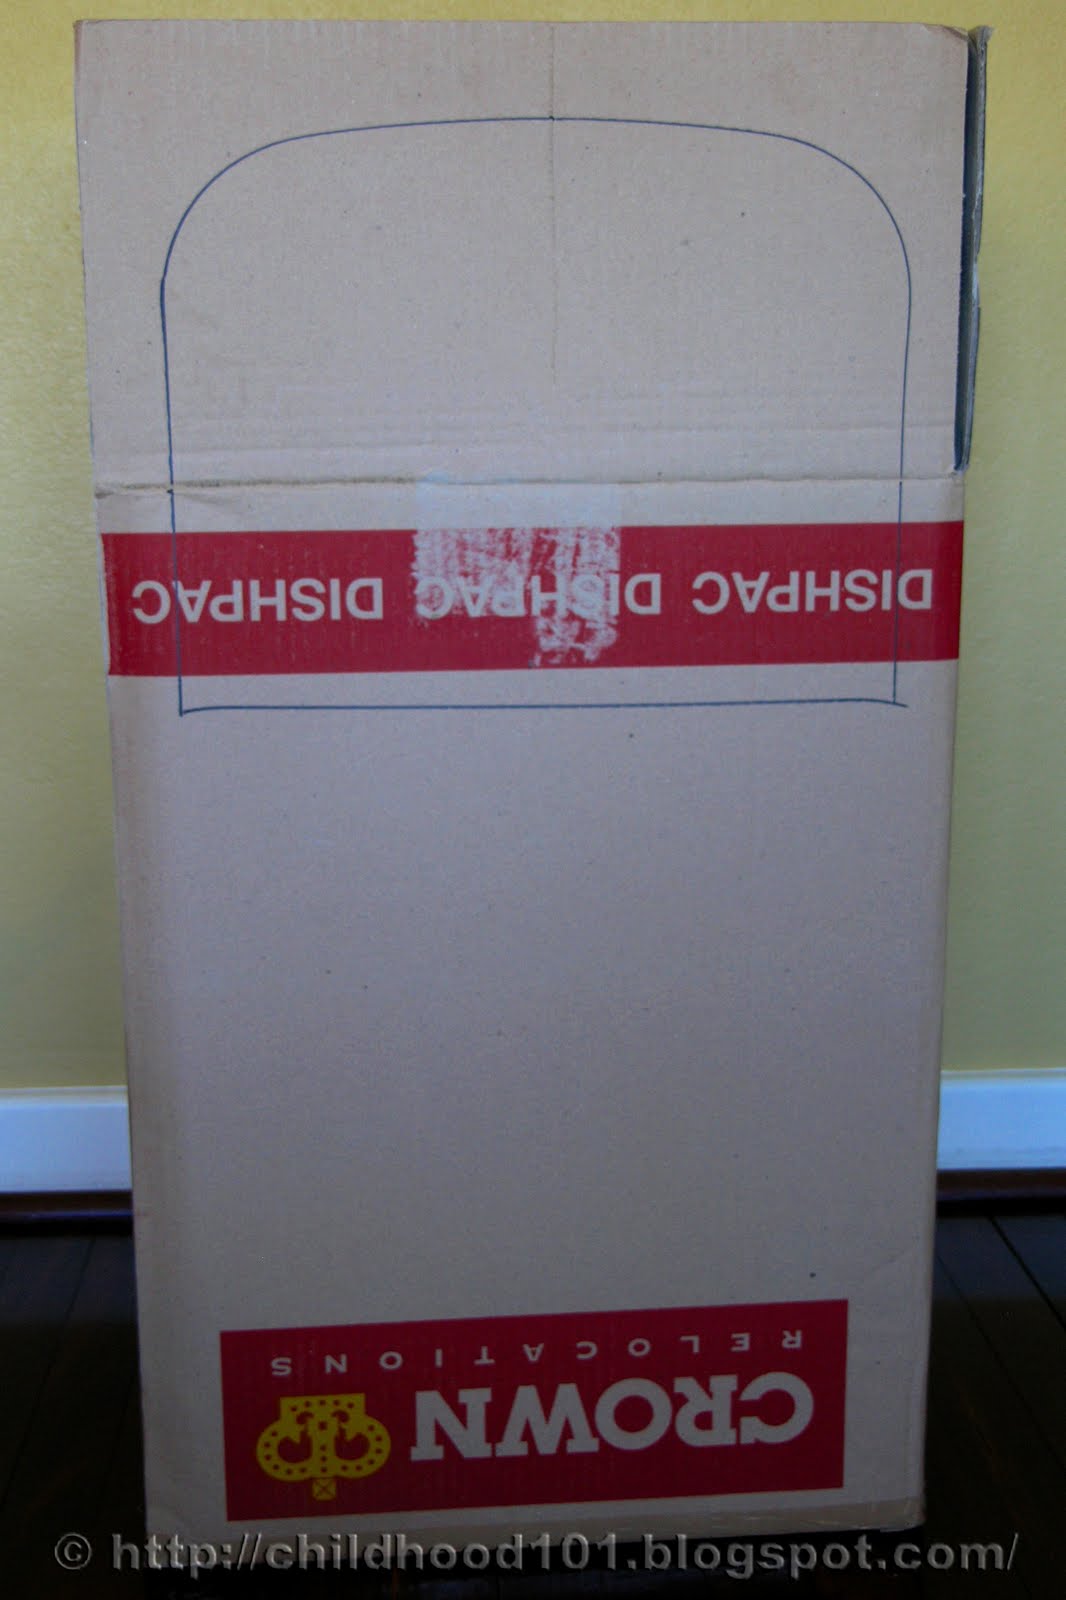 4. Cut out with utility knife.
 5. Cut out an entrance door from an adjacent side of the box.
 6. Time for the decorating to begin – you know I love self adhesive book covering for its colour and reinforcement properties! This time, a nice bright blue.
 7. And for some extra bling, I cut strings of sausages (at least, that is what they remind me of!) from contrasting, red book covering. I simply traced around a lunchbox lid to make this pattern and cut it out with scissors.
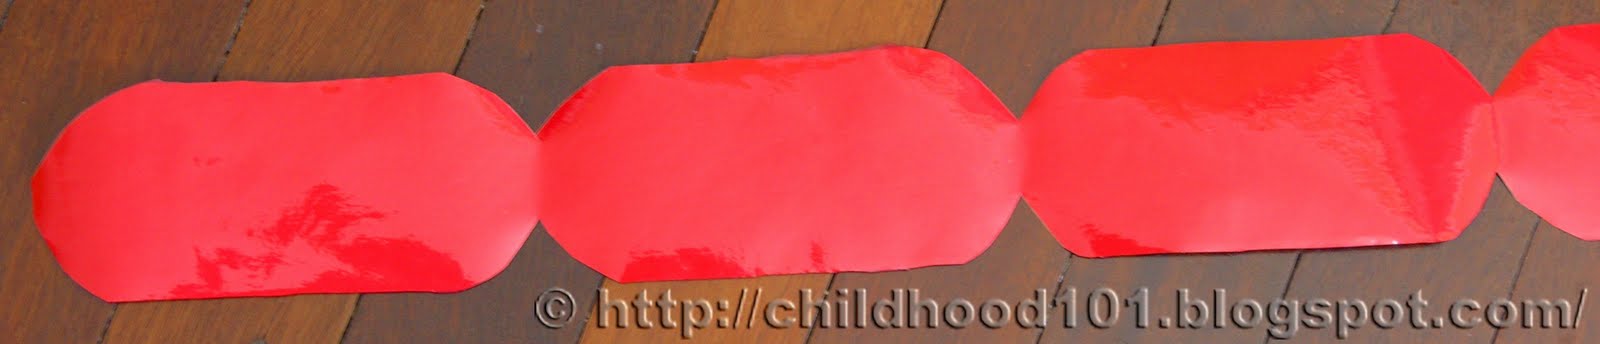 8. These were stuck down either side of the storefront, folding them over the edge of the box sides.
 9. Now our ice cream shop needs some dressing up!
First, a blackboard sign for displaying the range of delicious flavours.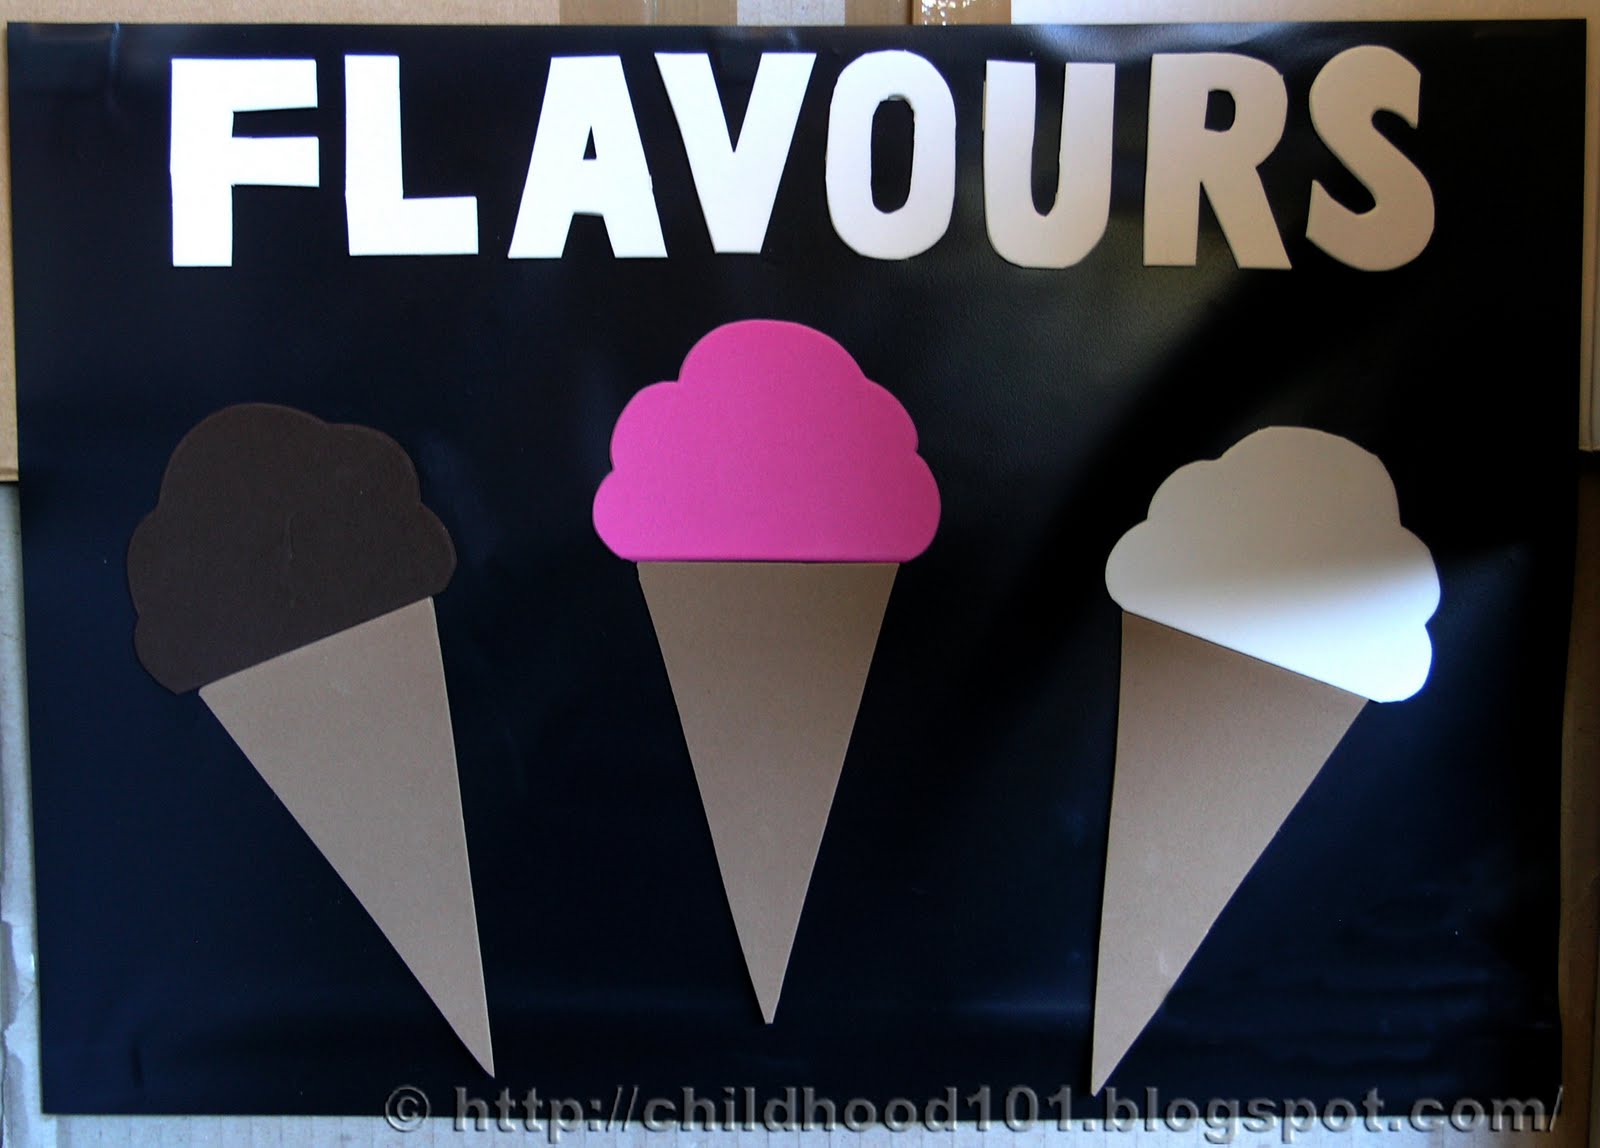 The letters, cones and ice cream scoops are all cut from thin craft foam and attached with glue and double sided tape onto a piece of black card. I sketched these by hand but you could easily make letter templates by printing out the letters in a Word document. The poster is attached inside the box with double sided tape and glue.
10. Every store needs a counter top. I measured the width of the storefont window opening and cut a piece of thick box cardboard to fit. Then I glued eight strips of box cardboard, four in each of two rows, with space between. The space is the thickness of the box cardboard and allows me to wedge the counter top into position.
 A piece of contrasting book covering and, voila, a counter top!
 11. More dressing up, this time an awning for our shopfront. Cut a piece of thick box cardboard to fit the width of your box. Score the card with a utility knife to divide it into one third/two thirds. Cover in book covering.
 Trace around a lid or similar object to make the scalloped edge. Cut out with scissors or utility knife. I then used strips of electrical tape to make stripes in contrasting colours.
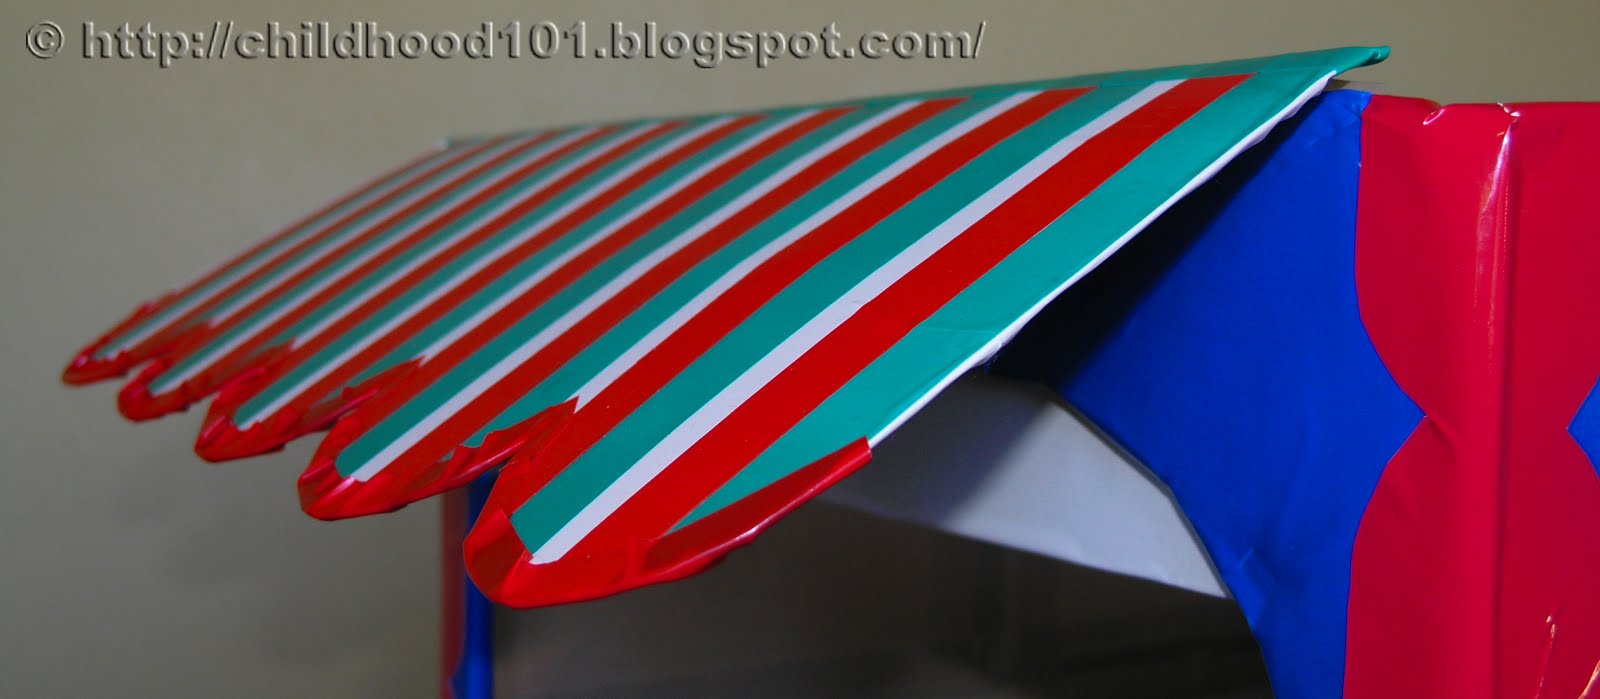 Fold along the scored line and then attach the awning by gluing and taping into position on the inside of your box (I lay the whole box down and weighted it whilst the glue dried). Depending on the position of your window, you may need to trim part of the inside edge if it hangs down past the window top, as I did.
12. Storage! Inside the box, I used double sided tape and glue to attach three boxes to serve as shelves. I simply used pieces of book covering and a permanent marker to make labels for each box.
And now, to unveil the completed project…
Time to test the play potential of our DIY Kids Ice Cream Shop…
 Making a strawberry sundae
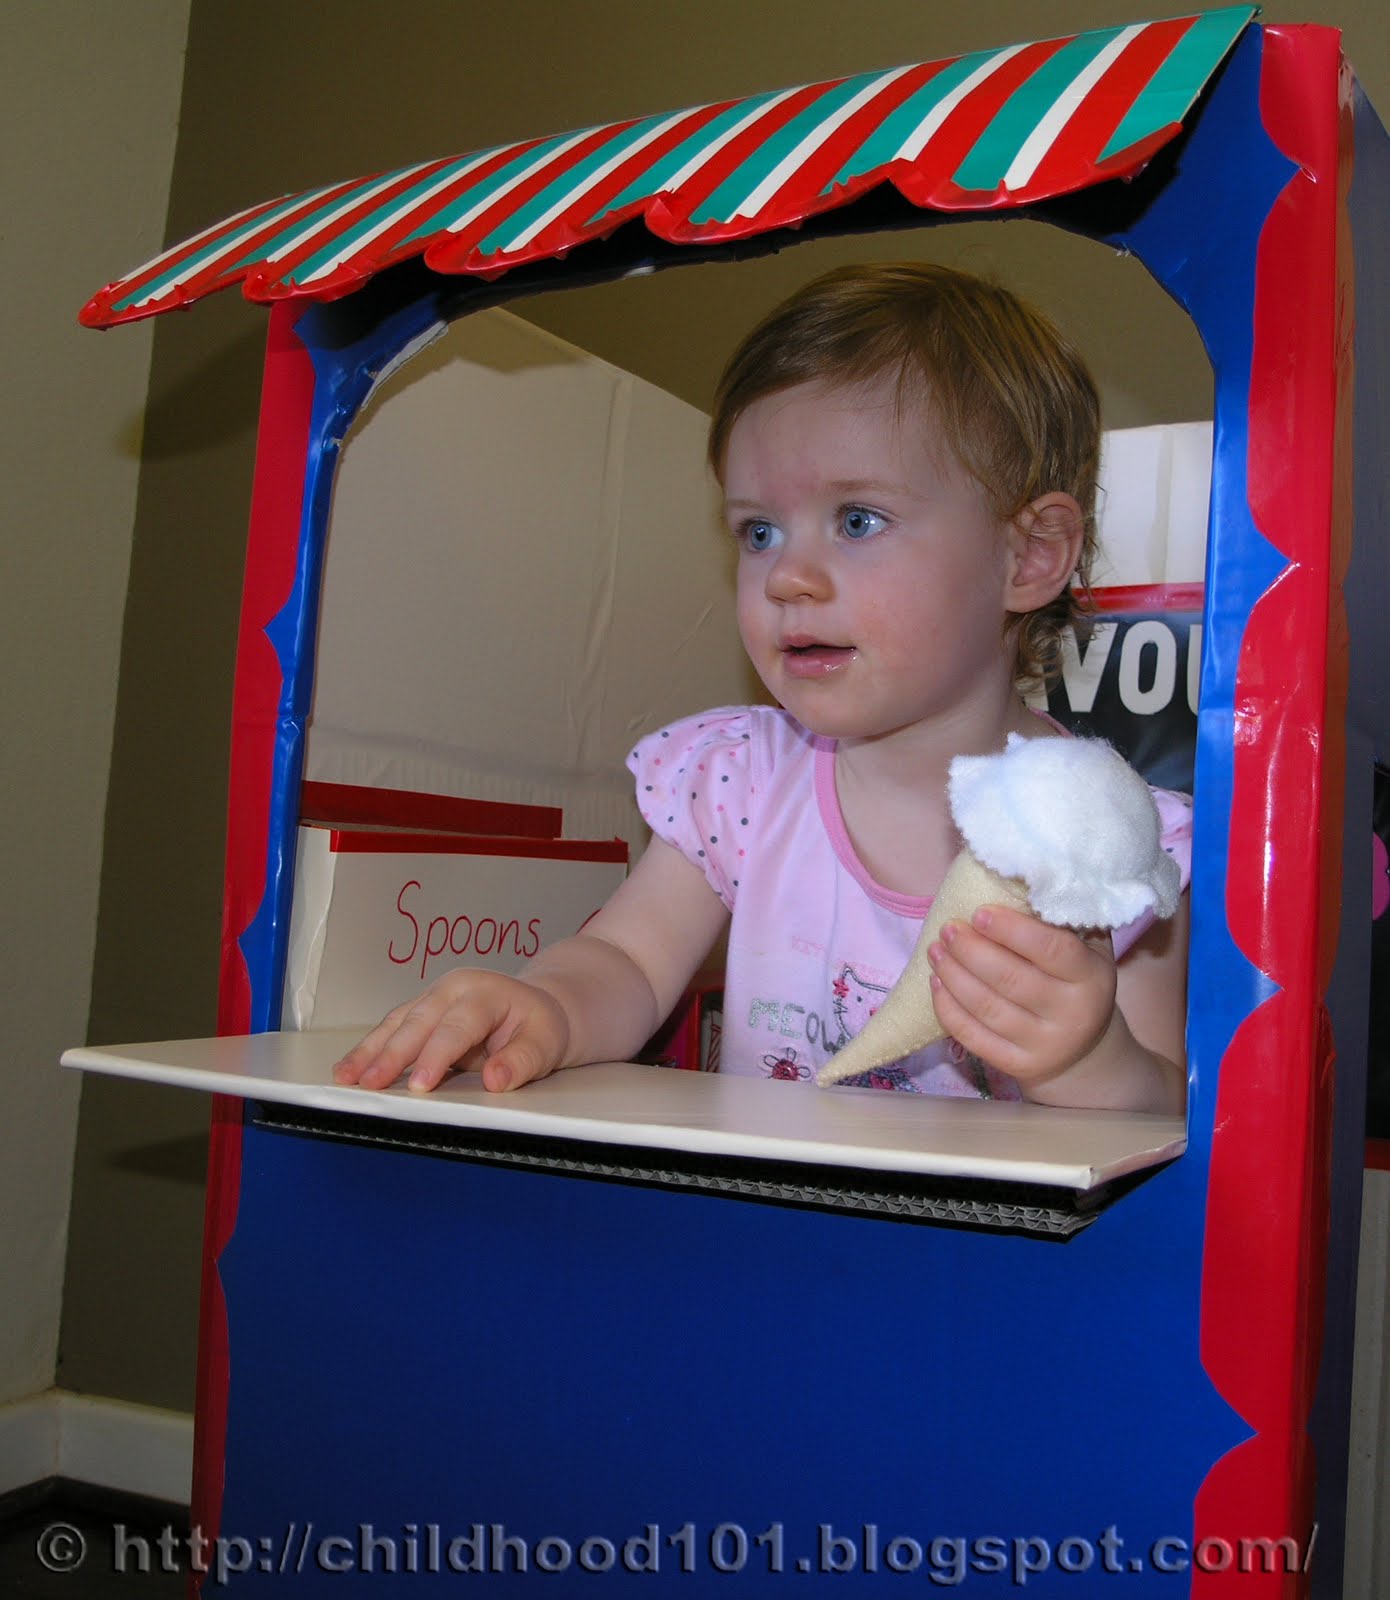 Would you like vanilla, Dad?
 No, okay then, I will have to eat it myself!
Of course, your shop does not have to be an ice cream shop, any of these ideas can be simply adapted to suit whatever it is that your child loves. The satisfaction is in making something with your own two hands for your child to enjoy, there is still time before Christmas to get busy!
And for those who are interested, the costs involved were;
– $0.00 Large box
– $0.00 Offcuts of scrap box cardboard for inner support, counter, awning
– $5.90 Book covering – 2 rolls of blue contact
– $1.50 Contrasting book covering, red and cream
– $0.25 White craft foam for letters, vanilla ice cream
– $0.25 Brown craft foam for ice cream cones
– $0.00 Offcuts of pink and dark brown craft foam
– $0.75 Electrical tape ($2 for pack of 8)
– $0.00 Boxes for storage (from our recycling collection)
– $0.50 Double sided tape
– $1.00 Packaging tape and PVA glue (used from our craft stash)
$10.15 TOTAL
Pretty close to my usual goal of under $10!
P.S. I made the felt ice creams too and will post a tutorial and pattern to download this coming Saturday!
Related Posts
- HEAPS of Homemade Fun Ideas here
- DIY Kids Kitchen Part 1 and Part 2
- DIY Kids Car for under $10
- DIY Kids Tabletop Puppet Theatre
my daughter was looking as this post as I scrolled down, and she wanted to know when could she go to "that girl's house for a play"!!!!!
Fantastic work x
Is there nothing you can't make with a packing box and contact?! LOL You know I love your work. xx
Great job Christie! You can come and play at my house any day!
This is sooooo cute
Thanks for sharing
LOVE the ice cream cones 🙂
Cheers
Catie
cathycurrie@comcast.net
Wow! that looks amazing your so creative with boxes.
You are a very clever mummy. When we go to the park we use the counter under the slide to sell tickets on the rides.
1 ticket for the slide please….
We have so many moving boxes at home I might just need to get busy, but, where on earth do you find the time? Do you have a nanny, cook and a house cleaner?
I want to come play ice cream parlor!!!
Mmmmm, mint please, No, wait, rainbow, no, lemon, or or or a bit of everything!
oh my it is fabulous ….your talent knows no boundaries.
It could be any kind of shop with creativity …
sooo cute! 😀
thanks for sharing how to make it!
Wow – you are absoulutely gifted! It looks fantastic.
woww it looks awesome! I stumbled to your blogs around 2 weeks ago and it has been really helpful! My son going to turn 1 soon so your tips quite handy to me. Thanx a lot!
Wow, this is great!! I really like the step-by-step instructions. Thanks!
Absolutely love it!!!!
Whoa…I love this! Thanks so much, I'll be linking to this.
wow, amazingly creative 😀
So cute! Found you from One Pretty Thing and shared your tutorial on http://www.polkadotbirthday.com. Thank you!
What a FuN idea!! My kids would LoVe this! I will be linking on http://www.thecreativecrate.blogspot.com Thanks so much for sharing!
That is FABULOUS! Thanks for sharing! My daughter would love it!
She lives in make believe daily!
AWESOME!
This is sooo cute. All my 3yr old asked santa for was an empty box. I ended up having to buy one from uhaul only cause I was to sick to pick a bigger one up across town (for free) I would love to turn her box into something and can always go get that bigger one. However I dont know what this self adhesive book covering is. Would love if you could tell me what it is and where to get it. Thanks Mindy
How adorable is that….I just finished making my daughter a wooden play kitchen and I now need a new project…this might just be it
Very cute! My son loves playing ice cream parlor!
Judy@cutest-little-things
this is amazing dear:-)
i think that is such a versatile idea, wouldn't have to be only an icecream shop, woudln't be too hard to make that into a puppet theatre, or a different shop. love the ideas for what to do with boxes – thanks so much for a wonderful blog
Gigi Smyth on Facebook
Hi, I love the ice cream shop, and I am making one for my grand daughter’s birthday, can you let me know the link to make the lovely felt ice creams.
Thanking you
Kumudini
http://www.flickr.com/photos/karllinds/6621154071/in/photostream
Thank you, I used your idea’s, did not quite turn out the same but you really made it possible.
Thank you so much for sharing the photos, Lindsay, it is always great to see how others have taken our ideas and made them their own 🙂
Hello!
I just wanted to say thank you so much for your inspiration! I saw your blog just before Mothers day and have been working since then on our version. My goodness this has been fun! Please feel free to stop by and take a look at where your Ice Cream Shoppe took us! http://thecraftyrecycler.blogspot.com/
Thanks again!