Growing Crystals Science Experiment for Kids
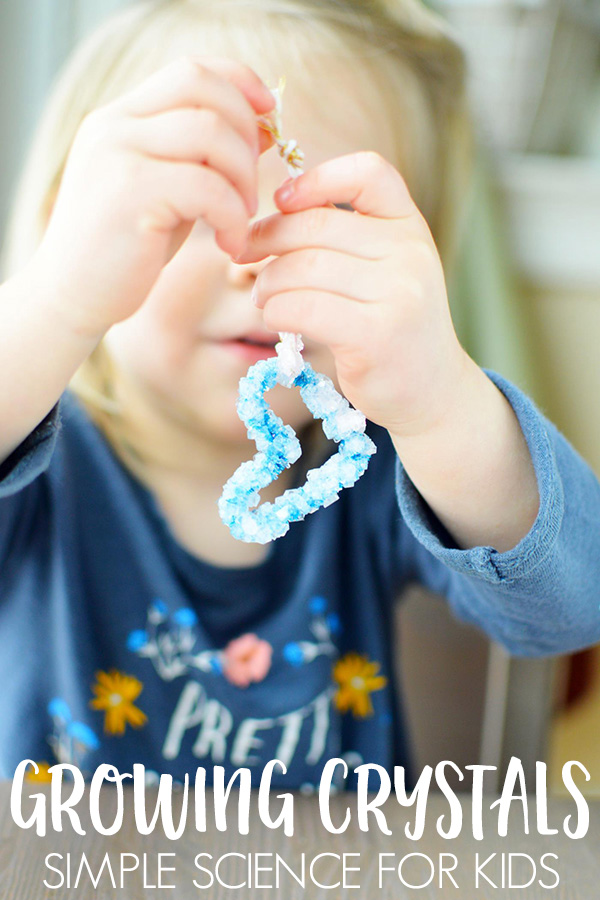
Growing crystals is a magical science experiment for kids.
Do you remember those super retro crystal garden growing kits when you were growing up? I remember my cousin having one and I was so jealous as it was just so cool. My kids are fascinated by crystals too – I mean, what isn’t there to love about something so colourful and sparkly?!! Fortunately growing crystals isn’t difficult to do – even without a kit. Using just two ingredients, this crystal science experiment makes a great first project for kids interested in growing crystals.
You can try it at home or at school, it would even make a fun science fair project as your child could explore ways to make more or bigger crystals by experimenting with the ingredient quantities within the crystal growing solution and crystal growing times.
 Growing Crystals with Borax
To help simplify everything, the supplies are listed for just one jar of solution. While dependent on the size of the jars being used, for best results we suggest growing just one crystal per jar.
You will need:
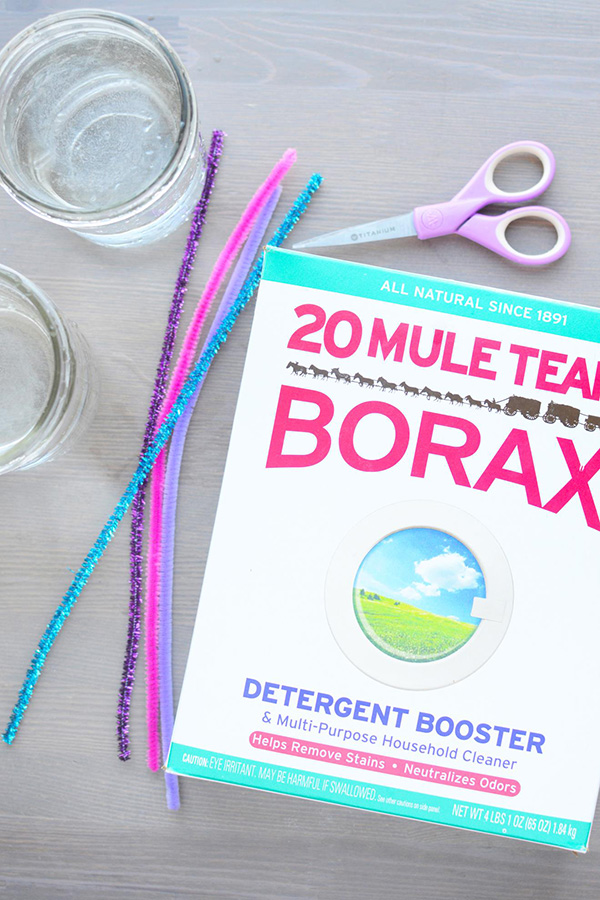
- ½ quart (2 cup) canning jar or high heat stable measuring cup
- 1 ¾ cups of very hot water (I used almost boiling-but with great caution)
- 1/3 cup borax
- pipe cleaner/chenille stem, cut in half
- string
- tape or a pencil
Directions:
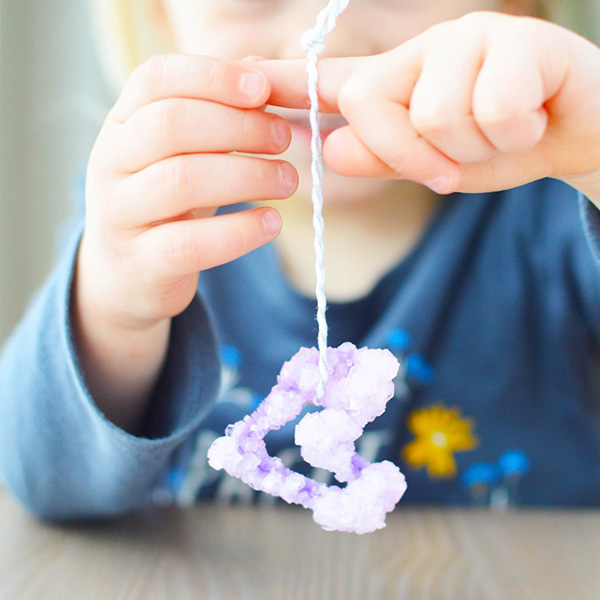
Decide ahead of time which steps best fit you and your helpers, younger children should hold off on helping with the boiling water and the adding in of the borax. Cutting the string and pipe cleaner, setting up a strip of tape across the jar (ahead of time) and forming the hearts are great ways to involve little ones.
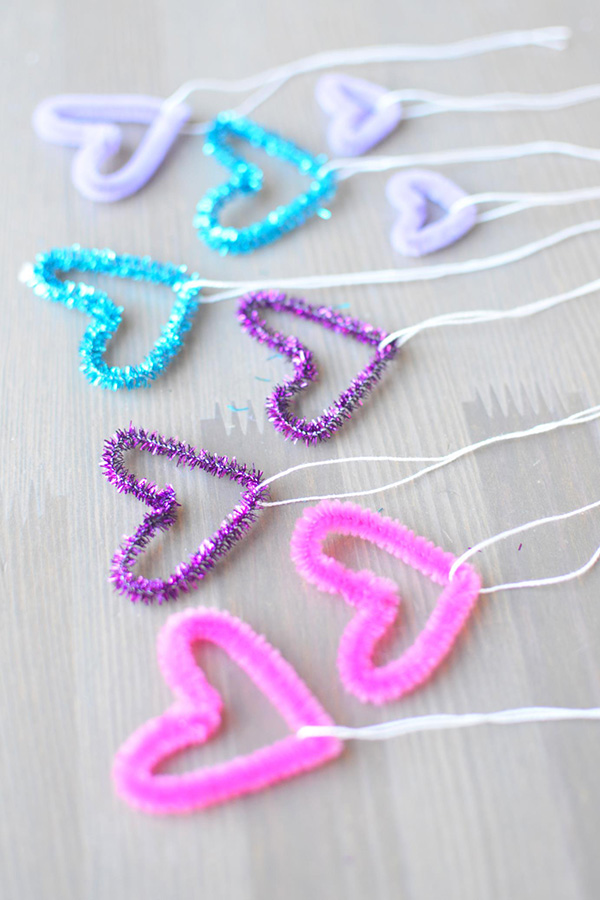
Cut a pipe cleaner in half. Take one half and fold the pipe cleaner in half, bending the tops down in a loop to create a heart shape. Twist the ends together at the point where they meet.
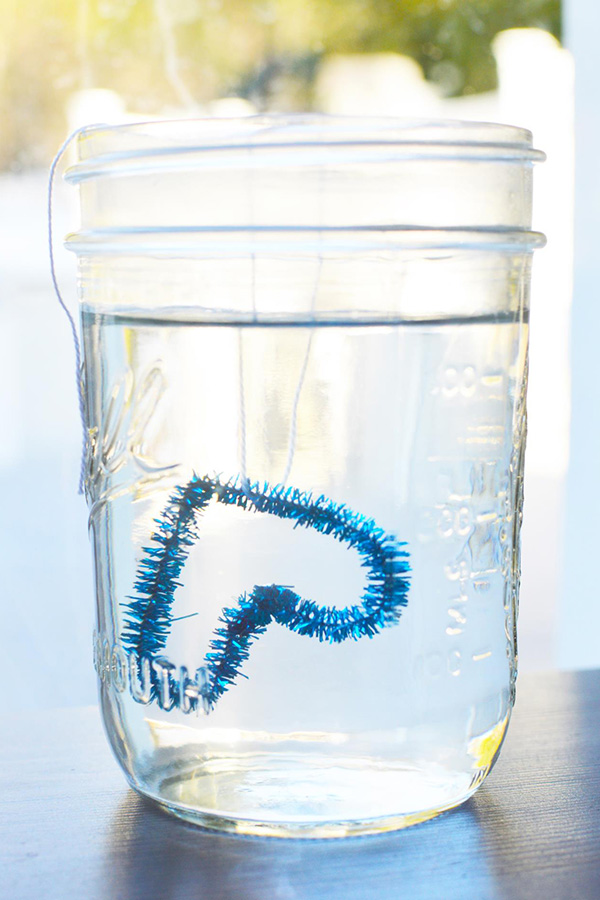
Tie a string around the heart and test it in the jar – before adding the liquid – to make sure it will hang about half way down without touching the bottom or sides. The lower it hangs, the larger the crystals that form on it will be, but you don’t want it touching the jar because crystals will also form on the bottom and sides of the jar which will bond the heart and jar together.
Heat the water in a larger, microwave safe measuring cup in the microwave, or in a pot on the stove, aim for almost boiling.
Turn on the vent/exhaust fan for your stove to high and then slowly add the borax to the water. Stir until the borax dissolves. Ideally you want to add as much borax as you can until no more will dissolve in the water, without the water becoming cloudy. Don’t be concerned if a little borax remains undissolved. If your solution becomes cloudy, add a little more very hot water.
*Be careful NOT to add the borax to boiling water or to pour it in too quickly as this can cause the water to boil over and make a hefty mess to clean up, umm not that I did that or anything…
Carefully pour the hot borax solution into your canning jar.
Carefully lower the heart into the water using the string, then tie it to the tape or a pencil sitting across the top of the jar.
Set the jar in a warm place where it can be observed but not touched or bumped.
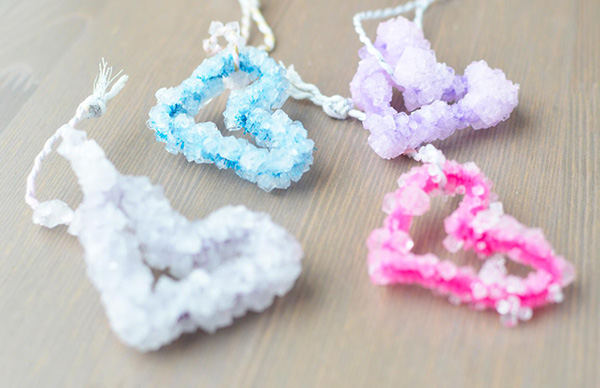
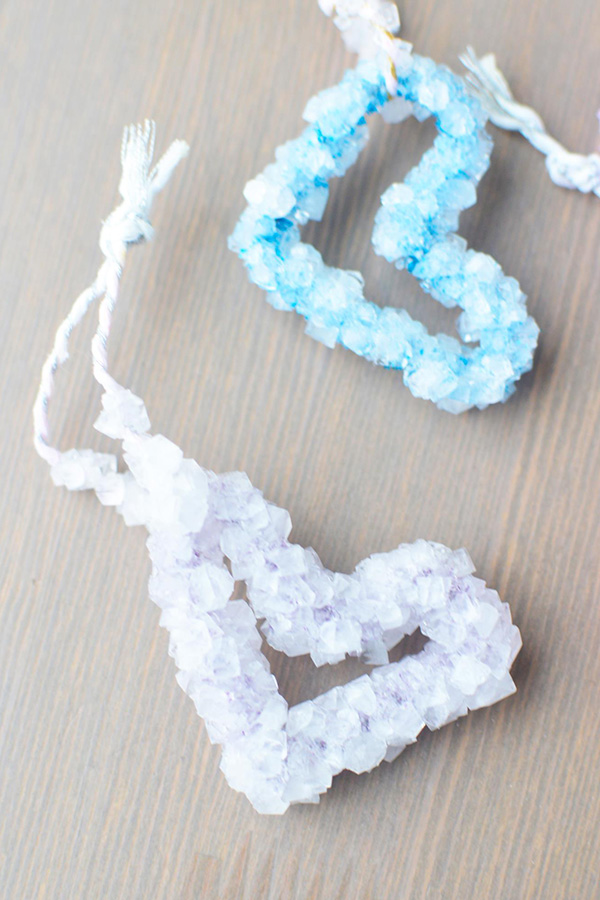
This is a great project to start in the morning as you can watch the crystals slowly form throughout the day. Some of the ones shown here were suspended in the water solution for about 6 hours and others for closer to 20. All produced cool, square crystals over the pipe cleaners.
Remove the crystals from the solution and allow them to dry for a day or two before really handling them. Take care not to let young children put these in their mouth.
Ideas for Further Exploration
- Try using different coloured pipe cleaners to make a number of crystals. Which colour is your favourite?
- Explore twisting your pipe cleaners into different shapes. Which shape makes the best crystal?
- Have you got any ideas for making the crystals larger?
- Have a try at growing Crystal Eggs!
If you’re looking for more great, kid friendly science experiments, try this fun Fingerprint Forensics investigation, a delicious jellybean experiment or making your own mini microscope from household items.

 Growing Crystals with Borax
^health