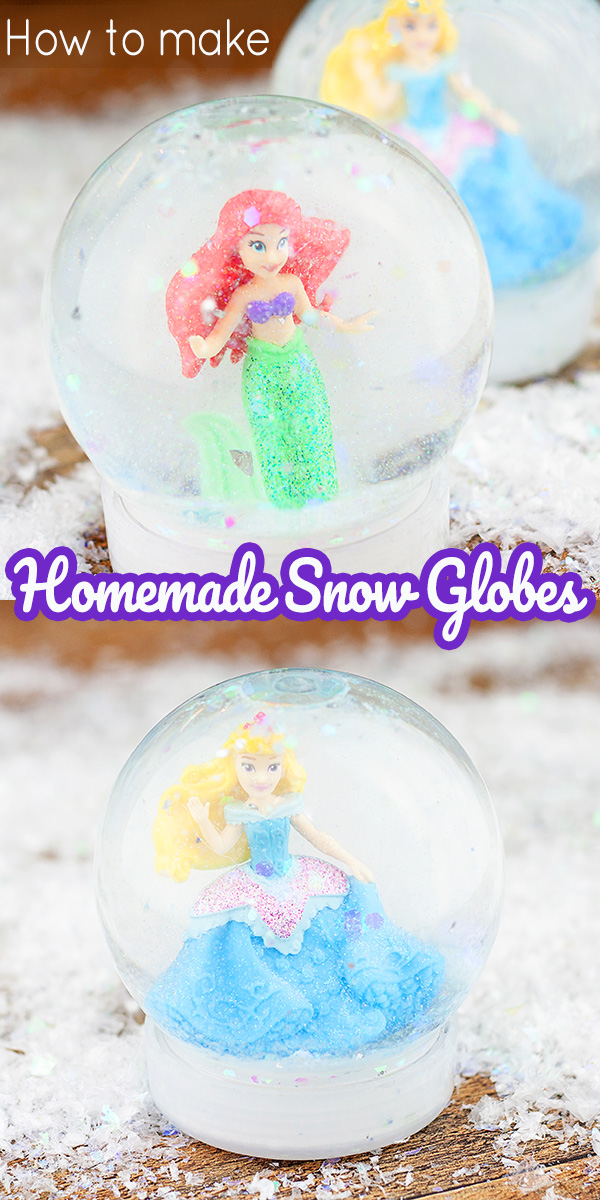
How to Make a Homemade Snow Globe
Inside: Hints, tips and instructions for making your very own homemade snow globe – a great DIY Christmas craft for kids that’s easy to adapt to include their characters of choice!
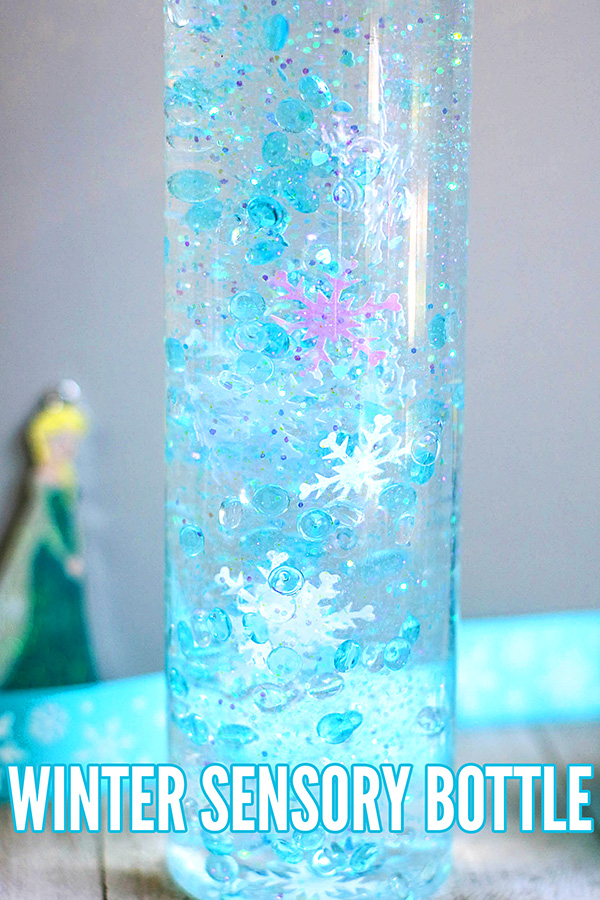
Making a homemade snow globe reminds me a lot of making a sensory bottle – and if you are a regular around here, you know we love sensory bottles! I find kids love them just as much (and maybe even a little bit more!)
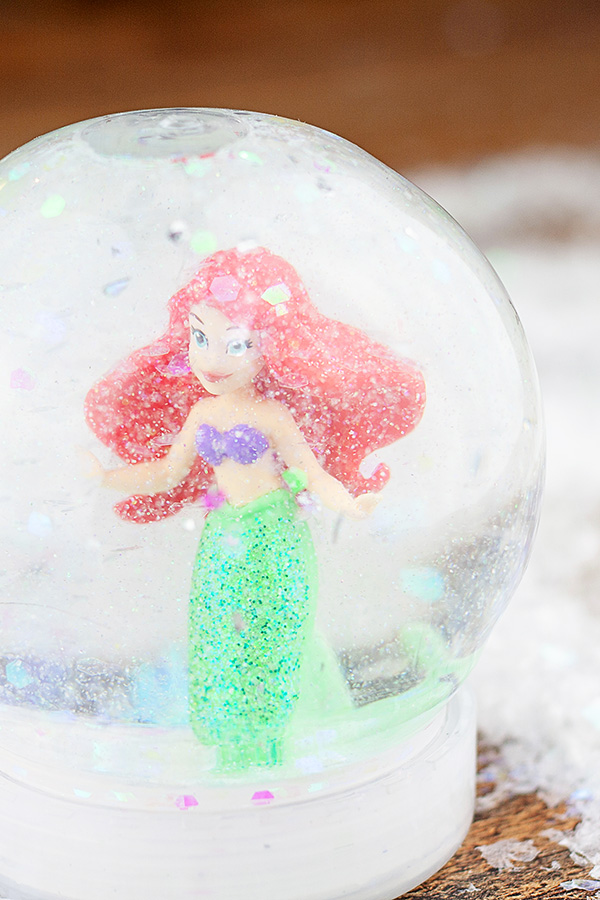
The great thing about making your own snow globe is that each child can choose their own figurines to feature – all you need is small, plastic figurines, or ornaments if you wish your snow globe to have a more Christmassy feel. With two girls who are mad for everything Disney, princesses are the logical choice for DIY snow globes in our house.
Hints & Tips for Creating Your DIY Snow Globe
- Glycerin can often be found in the cake decorating aisle and sometimes it’s in the beauty section. It is also available via Amazon.
- Adding more glycerin makes the glitter and sequins fall more slowly.
- Oil does NOT work the same as glycerin.
- While you can make a snow globe without glycerin, these tend to be very disappointing for children.
- Snow globes work best when they have very little air trapped inside. After adding water, glitter, and glycerin, work over the sink to fill the globe with water right up to the brim, then add the lid. Water will spill out but very little air will remain.
- We used hot glue to make our snow globes. The benefit of using hot glue is that it is easy to remove the characters to replace them with new characters as often as you like. Using hot glue also means you can take the snow globe apart at the end of the season and still have the toys to play with all year long. If you are looking for a more permanent glue, E6000 adhesive works well.
- If you’re worried about kids opening the snow globe feel free to glue the lid on.
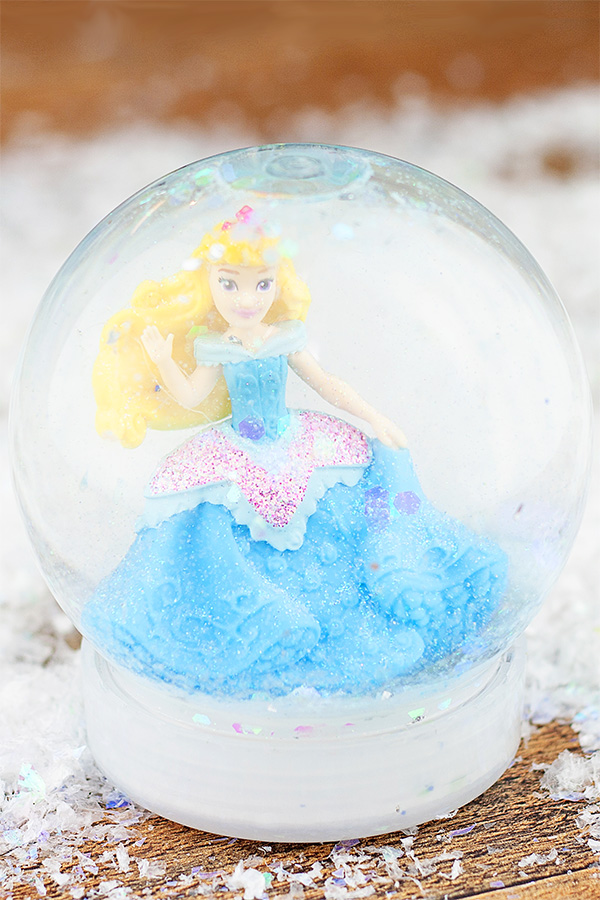
How to make a homemade snow globe
(This tutorial contains Amazon affiliate links to products used in the project. I may earn a small commission from qualifying purchases.)
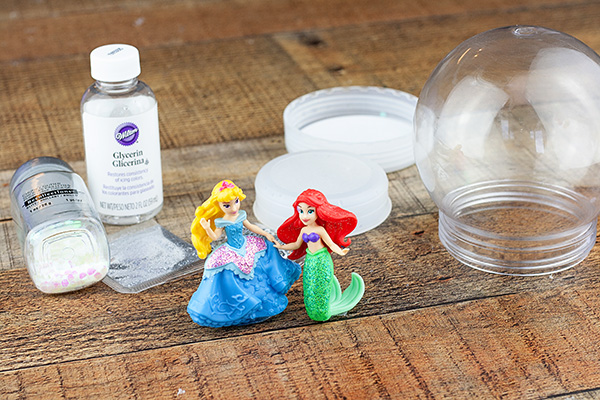
You will need:
- Distilled water – tap water will work but distilled water is clearer and looks nicer
- Glycerin – helps the glitter to fall more slowly in your globe
- Glitter, sequins, stars, etc – white and silver look prettiest but you can use any colour
- Waterproof characters about 1-2in/3-4cm in height – like these Disney princess figurines
- Snow globe kit
- E6000 glue OR hot glue gun and glue sticks – see our tips above for more information
Instructions:
1. Start by gluing your characters into the snow globe lid. E6000 will last longer but a hot glue gun will also work. Make sure the glue is completely dry before adding to the snow globe.

2. Fill the globe portion of your snow globe about halfway. Add in glitter and sequins.
3. Pour in a teaspoon of glycerin. Stir. Adding more glycerin will make your glitter fall more slowly – see our tips for more information.
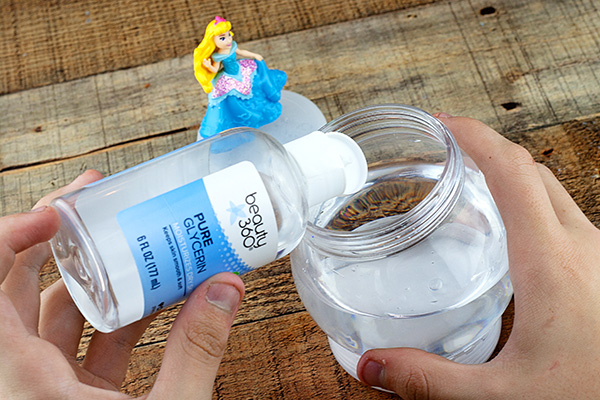
4. Finishing filling your snow globe with water.
5. Wet your figurine with a little distilled water (it helps to stop the glitter sticking to the figurine) and then hold the globe over the sink to add the glued character lid to the globe. Some water will likely pour out so working over the sink is best.
6. Screw the lid onto the snow globe. Make sure it’s screwed on tight so you don’t have any leaks!
7. Shake and enjoy watching the glitter fall!
UP NEXT: