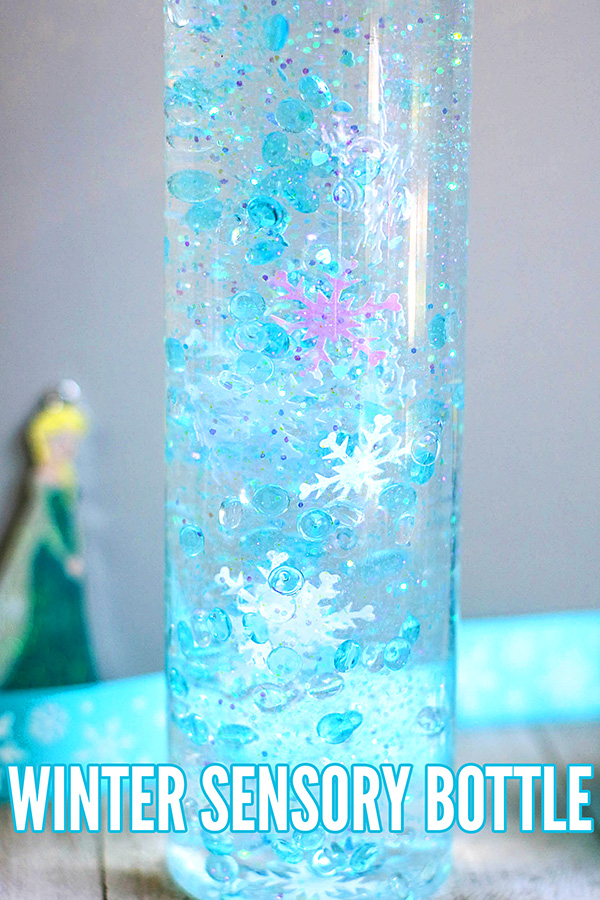
Winter Sensory Bottle: Just Like Winter in a Bottle!
Inside: Children of all ages will love helping you to make this super cool winter sensory bottle – it’s like having your very own touch of Winter magic in a bottle!
Regular visitors will know how much we love sensory bottles in this house! We’ve created all sorts of bottles – including our super popular slow motion calm down bottle, a scented rainstick sensory bottle, a rainbow sensory bottle and my personal favourite – the glowing sensory bottle! They’re a little addictive and we may be a little obsessed!
Sensory bottles are just so much fun to make and they make a great mindfulness or calm down tool for children learning to master effective coping skills.
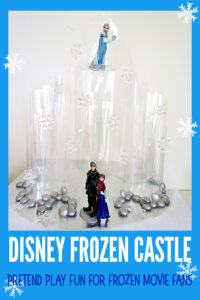
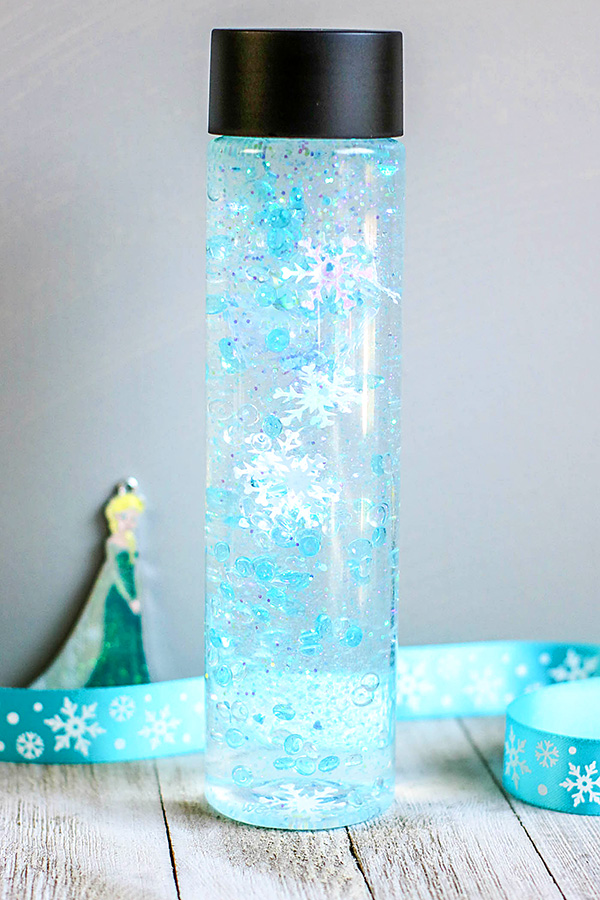
And this Winter Sensory Bottle, inspired by our love of the Disney Frozen movies, is just like carrying around your very own piece of Winter in a bottle – it’s quite magic!
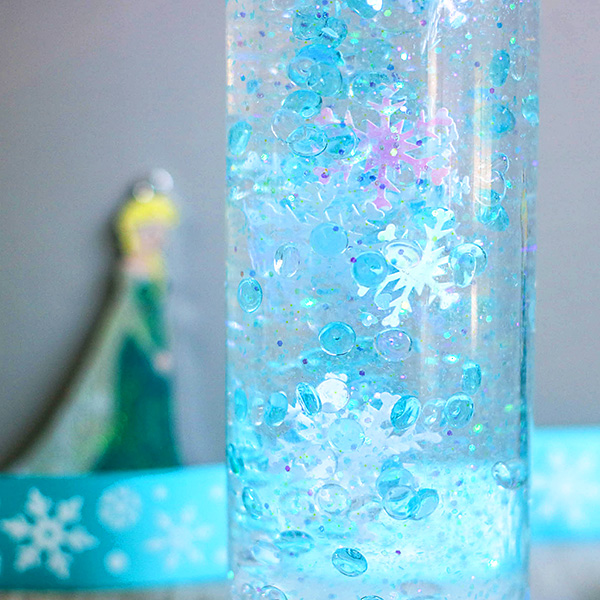
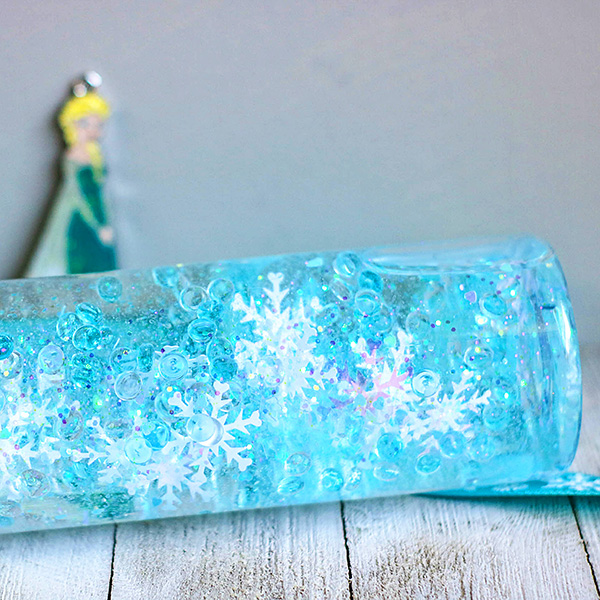
We combined pale blue, white and clear beads, sequins and glitter for this bottle, including some gorgeous snowflake sequins, but you could take out the blue elements and replace them with more white and clear, to create the effect of a snow falling through your bottle.
How to Make a Winter Sensory Bottle
(This tutorial contains Amazon affiliate links to products used in the project. I may earn a small commission from qualifying purchases.)
You will need:
- 1 450ml/16 ounce plastic bottle
- 2 bottles Elmer’s Glue in clear
- About 1 cup warm water
- Glitter and fishbowl beads
We used:

Instructions:
1. Empty one bottle of glue into the plastic bottle.
2. Fill the empty glue bottle half full with warm water (around ¼ cup) and seal the lid. Shake well to combine the remaining glue with the water. Pour the water/glue mix into the plastic bottle and shake or stir to combine.
3. Add glitter and sequins to the glue mixture.
4. Seal the plastic bottle and shake well. If the glitter does not move easily through the water, add more warm water. If the glitter moves too quickly, add more glue. You will want to play around with the quantities of glue and warm water until the bottle is full and the contents moving according to your preference.
5. Seal the bottle tightly, gluing the lid closed will help you to avoid spills from curious little fingers.
6. If desired, cover the lid with duct tape or additional decorations. We love this sparkly duct tape.
Have fun making your very own winter sensory bottle!
More ideas for Winter play;