How to Make Paper Pinwheels
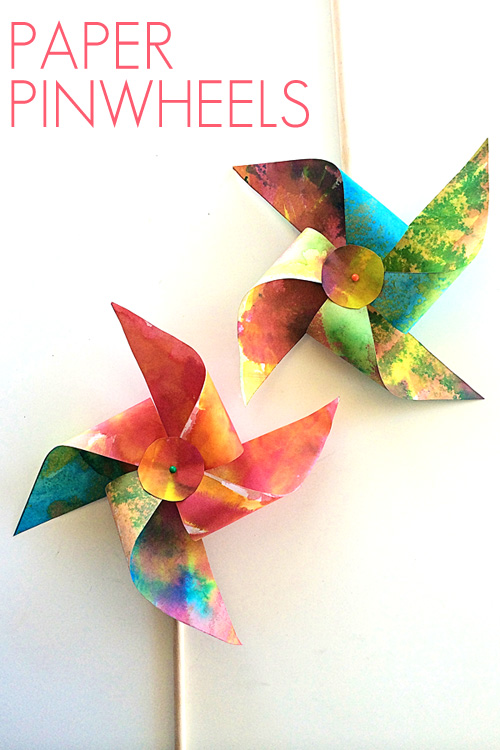
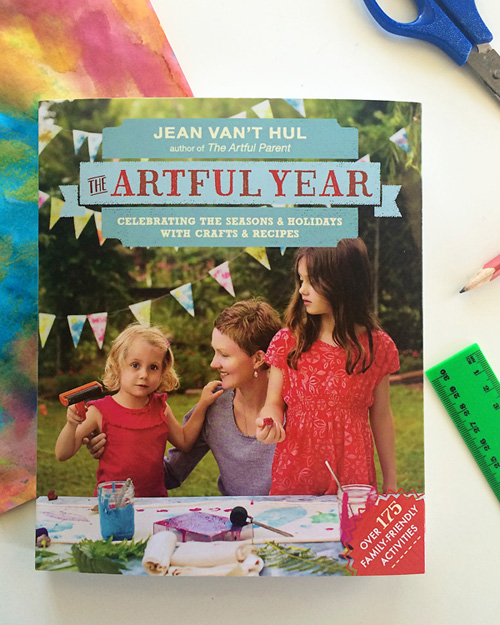
Spinning pinwheels captivate children of all ages and when Immy and I were perusing Jean of The Artful Parent’s brand new book, The Artful Year, we couldn’t help but choose making paper pinwheels as one of the first (of many!) projects we just couldn’t wait to try!
These paper pinwheels are quick and easy to make and would make a fabulous project for older children to make for younger siblings. They make a great tool for learning about wind when studying weather and are just so pretty that I think they would also make really sweet party favours, for something completely different!
How to Make a Paper Pinwheel
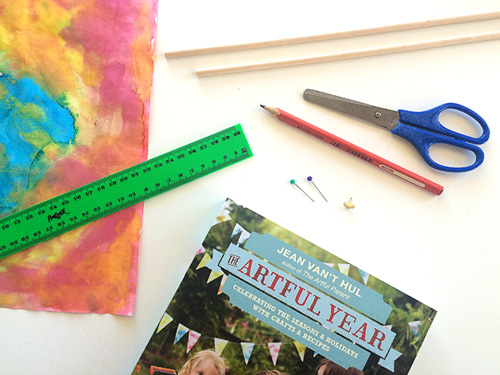
You will need:
- Pre-painted paper (see details below)
- Ruler
- Pencil
- Scissors
- Thumbtack/pushpin
- Short dress pins/straight pins (the ones with a round head)
- Thin wooden dowel
- Small round bead (not shown above)
- Hot glue gun (not shown)
To make (instructions adapted from The Artful Year):
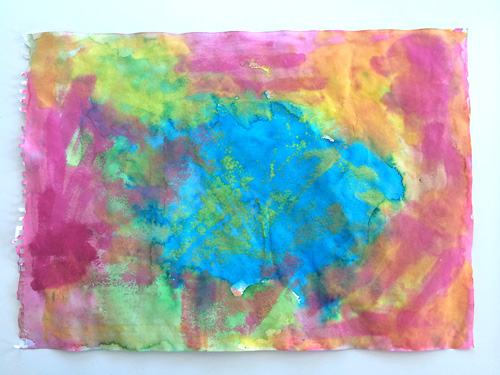
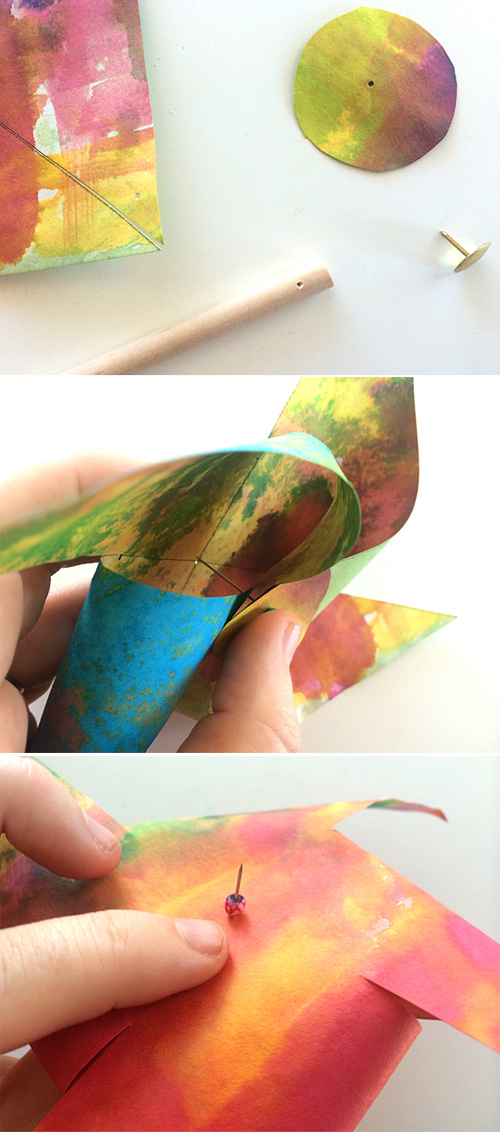
1. In The Artful Year Jean suggests creating beautiful papers for your pinwheels using a watercolour and crayon resist process. We decided to re-purpose the ice paintings we had made previously, turning them over and free painting the reverse side with food colouring. The paper is a good quality painting paper weight. Jean also suggests cardstock, watercolour paper or poster board would work for this project. Whatever paper you decide to use, painting both sides means you create some really special pinwheels.
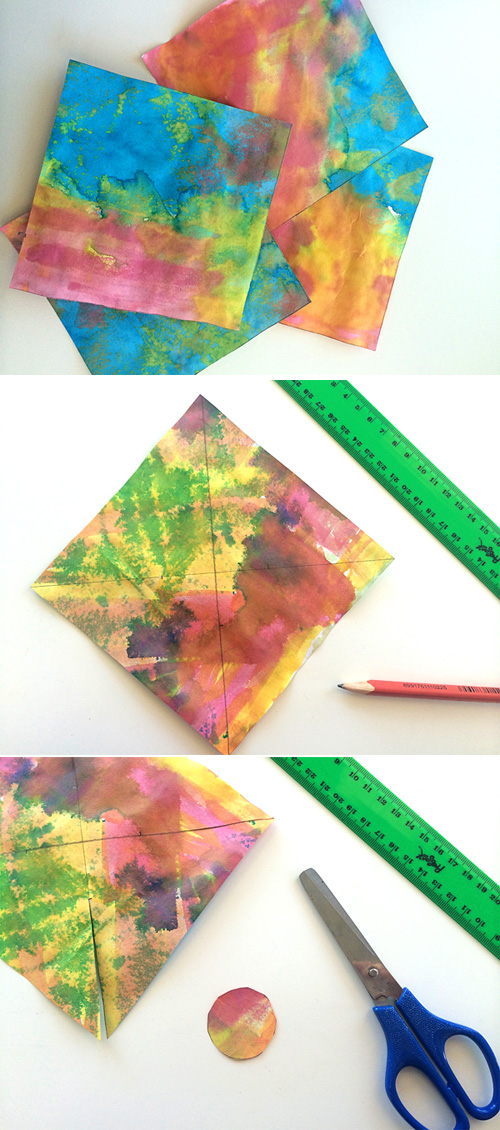
2. Cut your paper into 6″ squares (smaller or larger work too).
3. Use a ruler and pencil to draw lines from corner to corner, crossing in the centre.
4. Use scissors to cut along the drawn lines, stopping 1″-2″ from the centre each time.
5. Cut a 1″ circle from the leftover paper.
6. Use the thumbtack to poke a hole in the centre of your paper circle, in the centre of the pencilled X, near the tip of each pinwheel spoke (you will have two points in each corner of your paper square, just pierce one point making sure that it is the same side each time), and near the top of your dowel (see below). I did give the thumbtack a light tap with a wooden block to make a deeper hole in the wood.
7. To assemble your pinwheel, insert the dress pin through the hole in your paper circle, then through each of the four points (or spokes), one at a time, and finally through the centre of the pencilled X. Slip the small bead onto the pin, then add a small dab of glue from the hot glue gun to the end of the pin and push it into the hole in your wooden dowel. It will dry quickly.
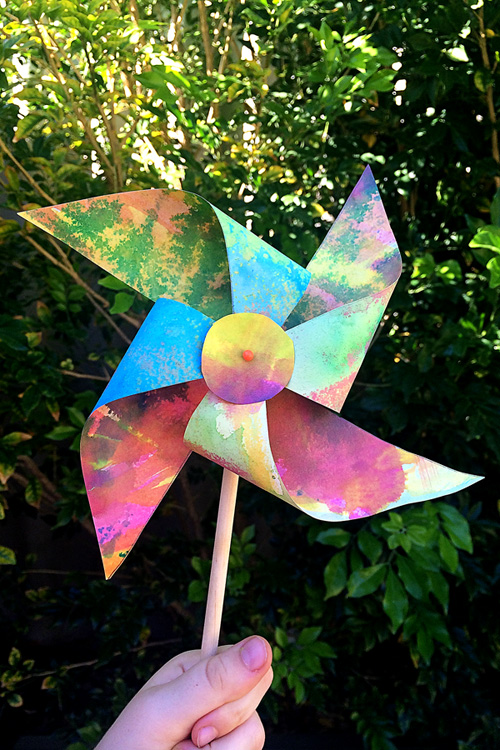
Your pinwheel is done and now ready to experiment with. Blow into the spokes to make them turn or hold them up in the wind and watch them whirl! Check out how awesome they look…
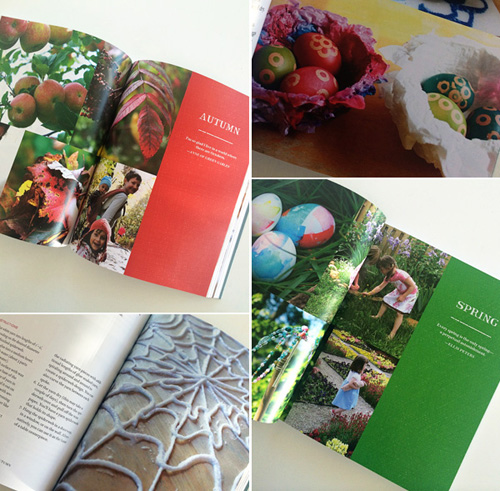
As for Jean’s book, The Artful Year, it is fabulous. With over 175 activity ideas related to each of the four seasons and projects for celebrating all of the major holidays it is truly inspired.
The Artful Year includes a vast range of art ideas, craft projects and recipes suitable for families with children of all ages to enjoy together. I love that you can dip in at a moment’s notice and find plenty of projects using just simple, everyday household items or you can look through the ideas with a more considered approach as you plan for celebrating upcoming holidays – you’ll certainly find plenty of inspiration for new family traditions.
The Artful Year is available now via all major online booksellers, treat yourself to a copy and be inspired!

So cute
i like it