How to Make Super Fun Rainbow Crayons
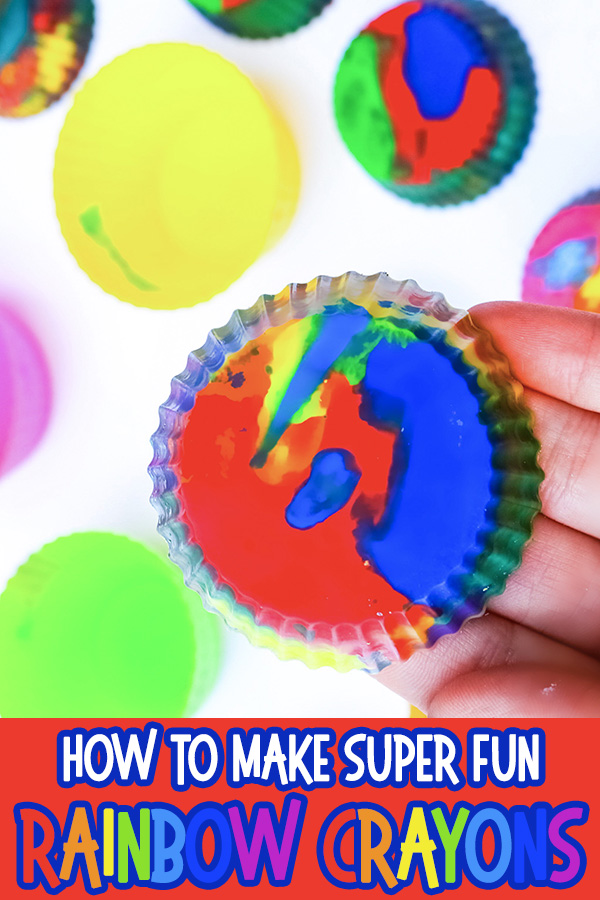
If you’ve got creative kiddos like we do, you undoubtedly have a stash of broken crayons somewhere in your home. Today’s project is perfect for recycling those broken crayons into a cool, new creative medium – as you melt them together to make these super fun rainbow crayons!
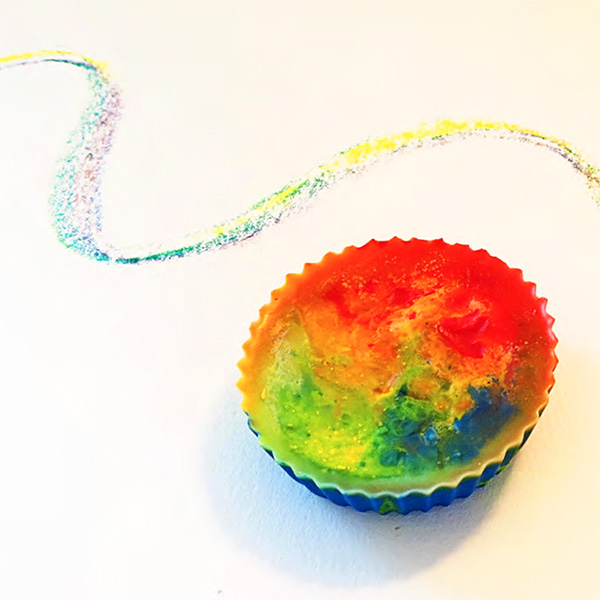
The finished crayons make super fun rainbow lines.
How To Make Rainbow Crayons
You will need:
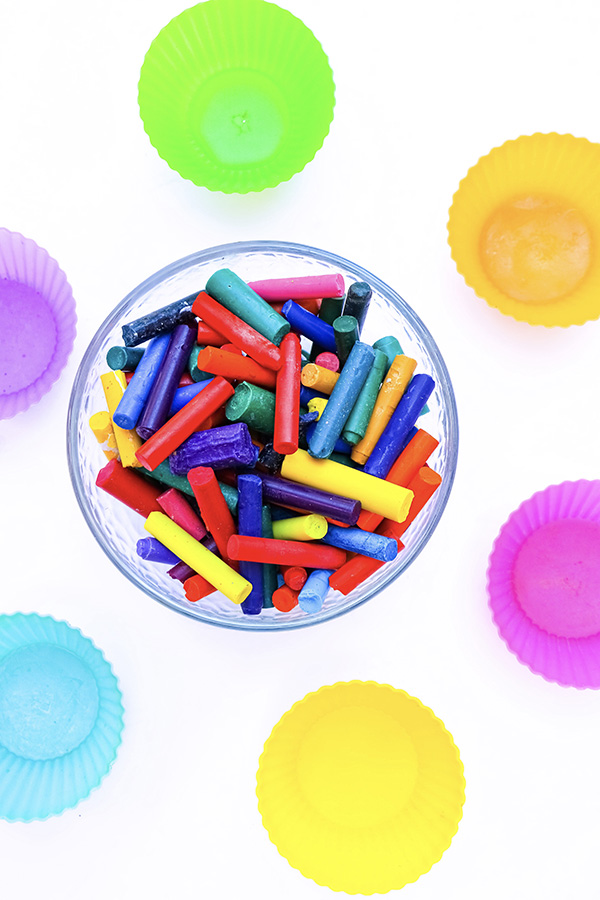
- Broken crayons – as with regular crayon drawing, good quality crayons that are less waxy work best. We found best results with Crayola crayons.
- Silicone cupcake molds – while we’ve used regular cupcake molds, you can use any novelty shape mold and have crayons in all different shapes and colour combinations.
- Baking sheet
To make:
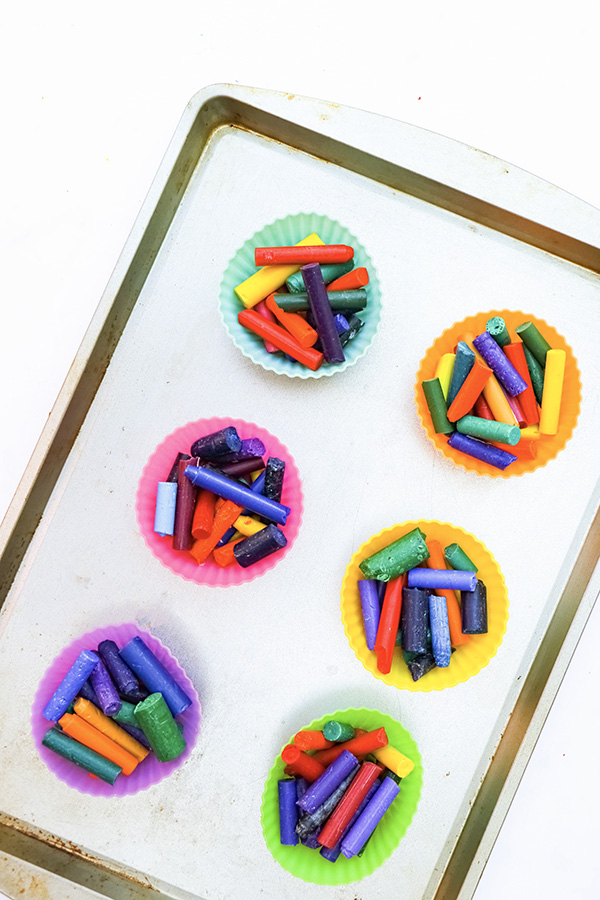
1. Lay your cupcake molds out on a baking sheet so you can easily move the molds to and from the oven without spills.
2. Now take your broken crayons and remove all the paper.
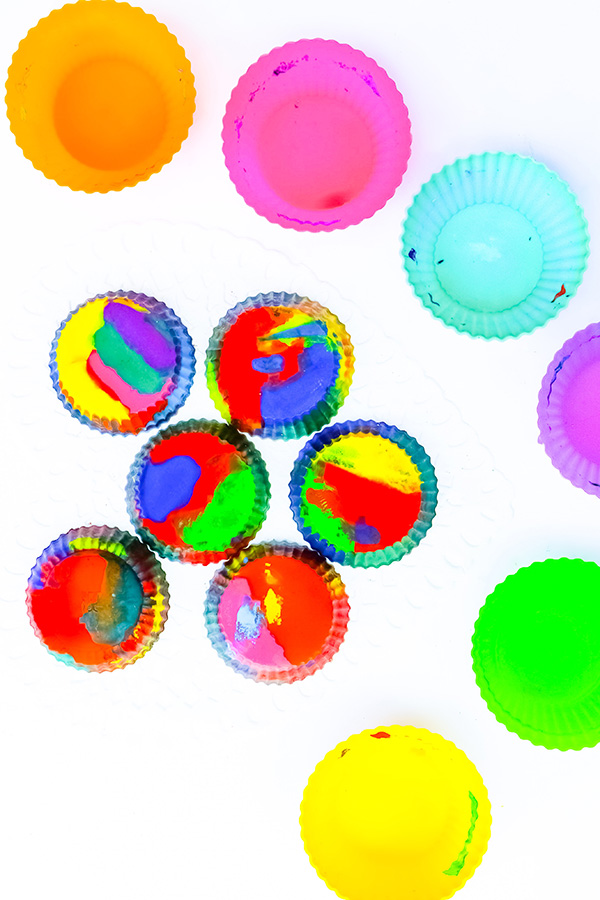
3. Now for the fun part. Take your broken crayons and start placing them in the molds. For a tie-dye effect, assign the broken crayons to the molds randomly.
5. Once your cupcake molds are filled with crayons, turn the oven on 120˚C/250˚F. Place the molds in the oven for about 10 minutes, until the crayons have melted.
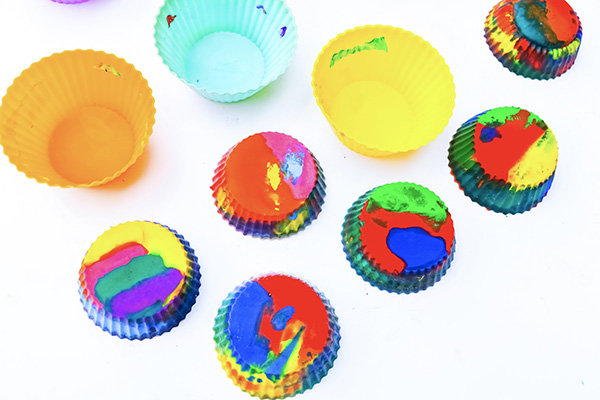
6. Remove from the oven and let them cool until they return to a solid state.
7. Once your crayons are solid, pop them out of the molds.
8. Have fun drawing with your new rainbow crayons – they make such fun and interesting, rainbow lines and are particularly great for making big scale drawings. I suggest taping up a large sheet of paper (or paper from a roll) onto the wall and letting your kids explore.
For more great colour experiments, be sure to check out Kaleidoscope – it includes 25 fun colour based activities for kids. With fun ideas for exploring colour through STEM projects (science, technology, engineering and mathematics), art, literacy and cooking! Click here to find out more.

