Kids Create: Paper Mache Pots
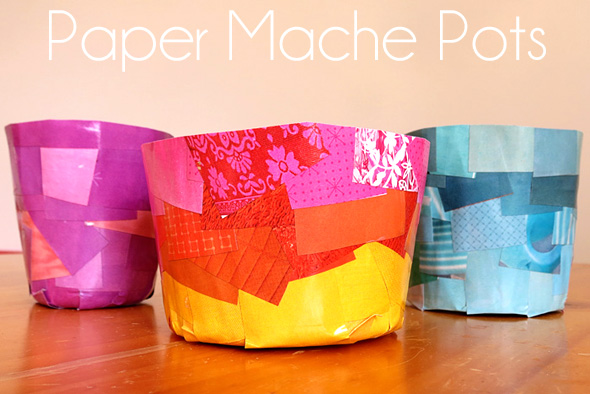
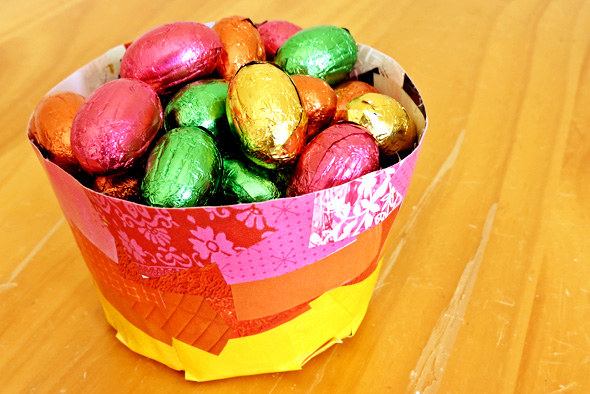
I love paper mache as a creative technique as there are so many ways to sculpt with what is essentially just paper and glue. These paper mache pots make a great first project for kids new to paper mache as a technique as they are so simple to make, and using recycled magazine pages makes this a wonderful earth friendly project too.
Paper Mache Pots
Recommended Age: 5+ years – though I think children in the early and middle years of primary/elementary school will most enjoy this process.
You will need:
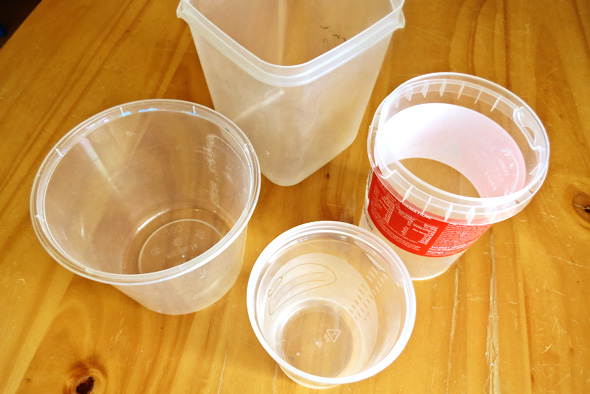
- A plastic container to form the base of your paper mache pot. Ensure the sides are smooth and that the opening of the container is wider than the body
- Magazines
- Child friendly, white PVA based craft glue
- Water
- A small, low sided plastic tray to hold the glue (we recycled a meat tray)
- Plastic food wrap
- Masking tape
To make:
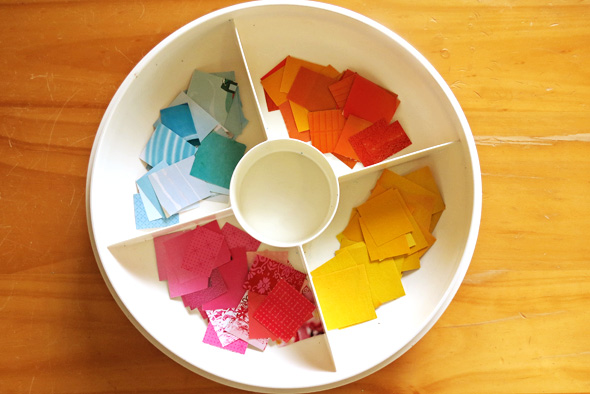
1. Begin by preparing your magazine pieces. We tore out brightly coloured pages and cut the coloured sections into squares and small rectangles (approximately 2cm or 1inch square). You don’t have to use squares – you can use strips, triangles, circles – whatever shape you like. You might like to sort your colours as we did, or you might just like to go with a mix of colours to create a lovely multi-coloured pot.
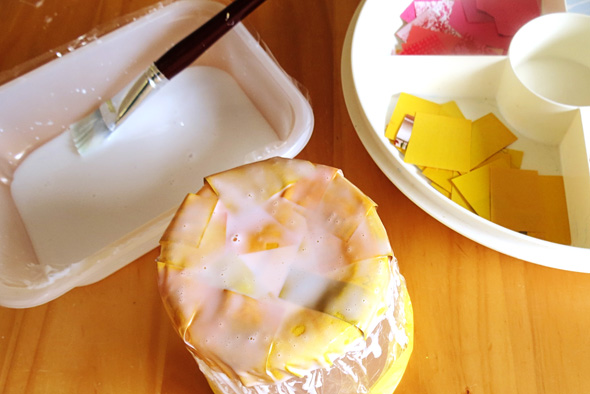
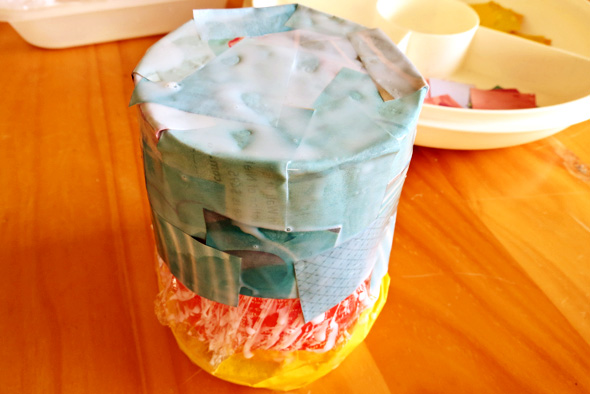
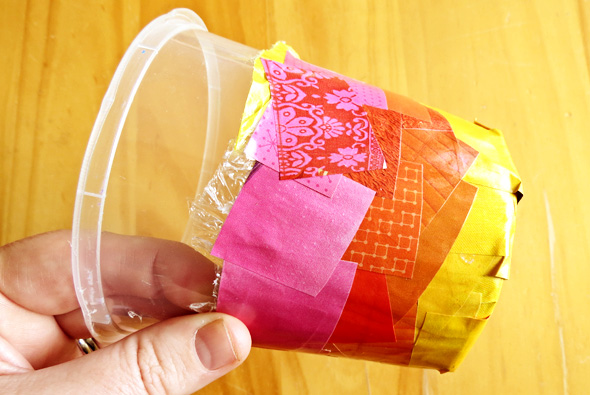
2. Prepare your pot base by wrapping a square of plastic food wrap around the container. This will stop the paper mache from sticking to the base. If required, use a little masking tape to secure the plastic to the top of the container (you can see I have used yellow masking tape in the photos below). Just be careful not to paper mache over the tape as it may make it more difficult to remove the completed pot once it has dried.
3. Prepare your glue by diluting it with a little water until it is slightly runny. Place into the low sided tray.
4. Turn your container upside down and start on the base. Dip each piece of magazine paper into the glue until it is saturated (you can smooth off excess paste with your fingers) and then layer onto the container. Smooth each paper piece into position with your fingers. Be sure to overlap your pieces and to fully cover the container. Ideally your pot needs two to three layers of overlapping paper pieces.
Remember to keep smoothing down the paper pieces as you work.
5. Allow your pot to dry completely. Depending upon the temperature and the thickness of your paper layers this will generally take at least 48 hours.
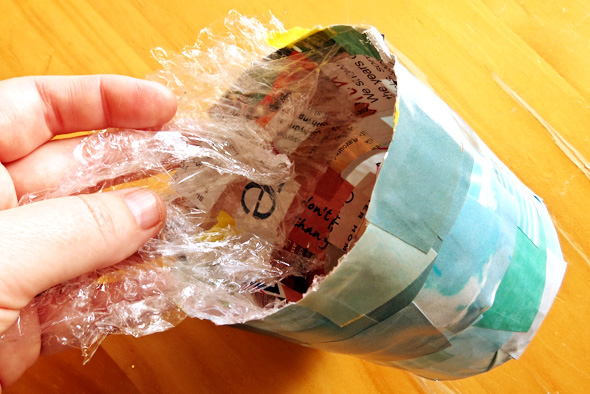
6. Once the paper is completely dry, remove the masking tape and then slip the pot and plastic wrap off the container. This may require gentle twisting and squeezing of the pot and container.
7. Gently pull the plastic wrap off the inside of your pot. Trim the top edge of your pot as desired.
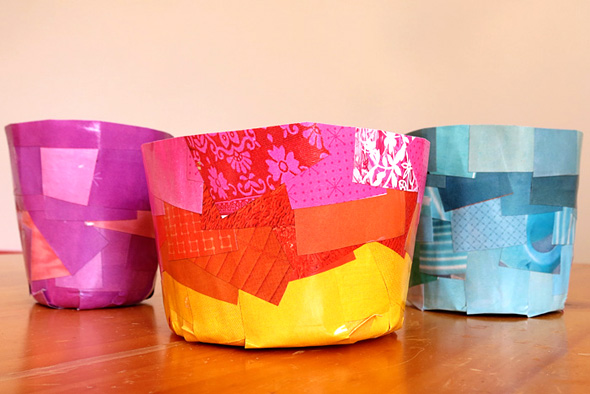
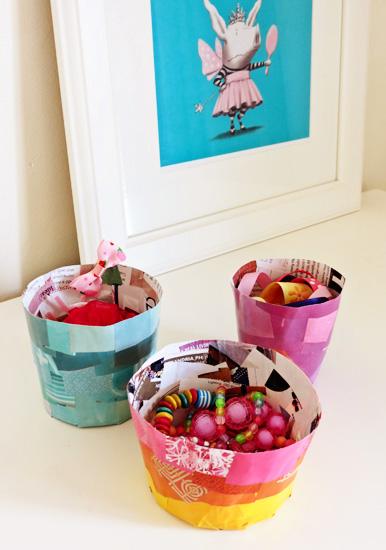
Voila, your paper mache pot is done. All that is left to do now is fill it with goodies…
…or keepsakes…or small toys. Even sitting a small glass jar of fresh flowers inside a tall pot looks lovely.
This post is part of a fabulous Earth Day Kids Craft Blog Hop with some of my favourite bloggers. Be sure to check out these other fun, Earth Day inspired ideas for kids…
Recycle Paper Tube Train :: Make and Takes
Make a Planet Earth :: Kids Activities Blog
2 T-shirt Cinch Sack :: Patchwork Posse
Simple Earth Suncatcher :: No Time for Flashcards
Found Things Collage :: Kids Stuff World
Have you tried paper mache with your children?

Ah, lovely – such pretty things!
Thank you, Ali 🙂
We love paper mache, Christie! These would make such cute Mother’s Day gifts or teachers’ gifts too!
Great DIY idea for kids. This will be a great way to inspire kids to recycle things around them. Thanks for sharing this with viewers. Keep writing more worthy contents for us.
Gorgeous, simply gorgeous! A must try for us! Thank you!
Hope you have fun with it, Jeanine 🙂
Such a cute projects for littles!
This is a lovely project. I think you can make them with younger children already.
Thank you for sharing the idea and for the good tutorial.
Kind greetings from the EU
elenor