Simple Kids Science: Set Up a Bathtub Science Lab!
This post is by regular contributor Ali Wright of At Home with Ali.
My kids love science and experimenting with different materials – creating all sorts of various mixtures and potions. Sometimes we try step-by-step experiments such as our bouncy egg experiment and our attempt at making a weir. Other times the kids explore scientific concepts through free play. The bath is a great place for kids to explore science through play. They can learn about physics through flow and motion; chemistry through mixing and potions; and mathematics through measurement and volume.
I didn’t intentionally set up our bath shelf as a little science lab. It was a happy accident. The bath shelf was a bit yuck. It was so stacked full of toys that it hadn’t been cleaned for quite some time. I transferred all the bath toys into a large bucket just so I could clean the shelf. The toys were faded, old and slimy. After the shelf was sponged down I decided to do a little experiment myself. I didn’t return the toys to the shelf and I am still waiting for them to ask for their toys back!
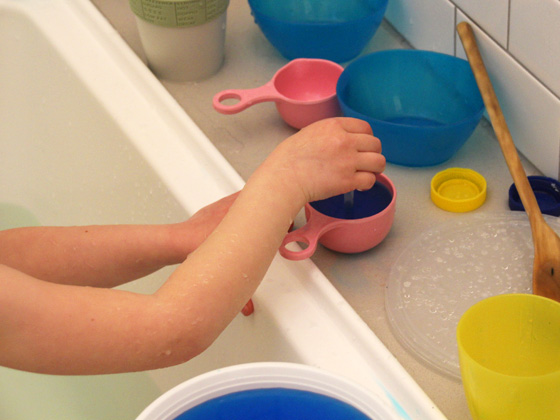
The first evening with the toys gone I ran the bath and placed two wooden spoons and two cups on the shelf. The kids did not mention their missing toys. They played with the bowls and spoons very happily. I noticed that the kids were pretending to be scientists mixing and pouring special potions. I decided to slowly build on this natural interest in scientific experimentation by adding to and changing the equipment on the bath shelf. This is why this is so simple and easy. It is all experimentation and conversation. I let the kids explore using the specially chosen equipment and we chat about what they discover.
Equipment for a Science Lab in the Bath
First, a couple of tips…
If you have more than one child it is a good idea to have doubles of everything.
Secondly, don’t put everything on this list out at the same time – experimentation works best when it is kept fairly simple with a few pieces of a equipment at a time.
Here’s a list of suggested ‘equipment’ to get you started;
- Plastic bowls, preferably with lids (the white takeaway bowls that you often get when you order soups or noodles are fantastic)
- Coloured plastic cups
- Old, clean medicine droppers/dispensers
- Spoons
- Plastic bottles with lids
- Measuring cups/spoons
- Jugs
- Colander or tea strainer
- Any small plastic containers or bottles
- Ice cubes
- Food colouring
3 Concepts to Explore in Your Bathtub Lab
Colour Mixing
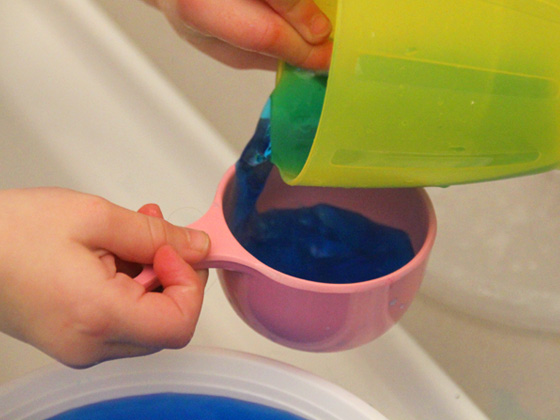
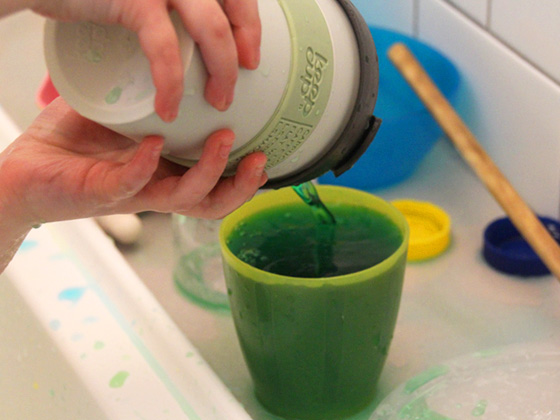
Talk about how the colour of the water changes when you pour it into a coloured cup. My 3 year old was amazed when her blue water which we coloured with food colouring turned green when she poured it into a yellow cup. I asked her: “has the water really turned green or does it just look green?” She experimented to find out the answer.
Colour two or more jugs of water with food colouring. Experiment with mixing different coloured water together.
Displacement and Density
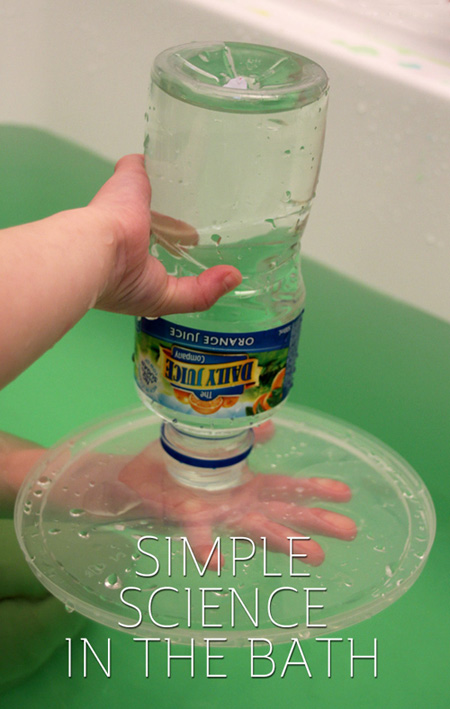
When you hold a bottle underwater discuss how the air is trying to escape and rise to the surface. You can also half fill a bottle with water, seal it with a lid and turn it over to watch the air bubble to the top. Ask, “Why does the air always rise to the top?”.
Measurement and Volume
Measure out an equal amount of water and pour it into two different sized containers. Look at the water levels and ask, “Are they the same?”
I love these little conversations and sometimes the answers are hilarious. I would love to hear what your kids like to play with in the bath.
Related Posts
- 35 Online Resources to Encourage Inquiry & Inventive Thinking
- Science for Kids: Fingerprint Forensics
- Learning about Composting
- Learning About Weather in Your Own Backyard

I love this post..kids always love to experiments with different things. & its a nice bath tub activity . i would like to stumble upon it..
Hi Ali. Great post. Out of interest, what age were your kids when you were doing this stuff with them?