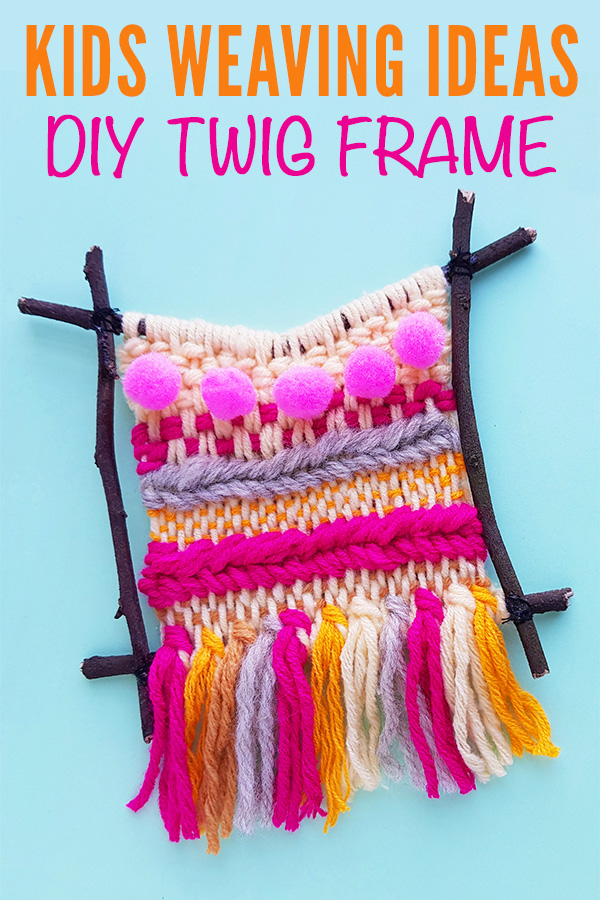
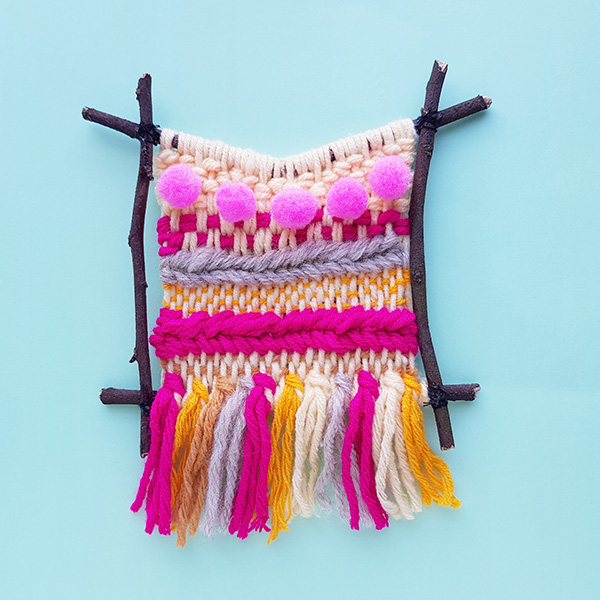
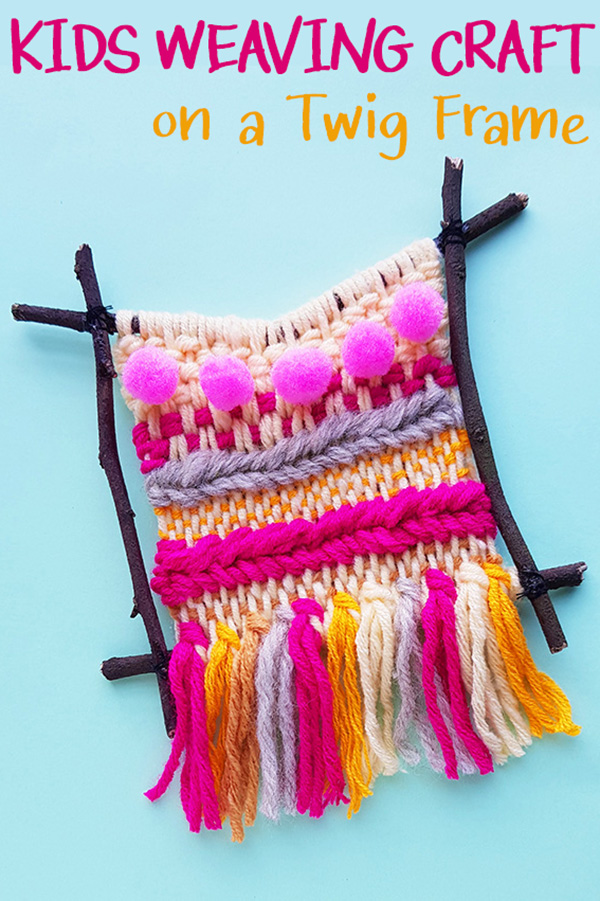
Weaving for Kids: DIY Twig Frame
Weaving is a fun creative activity at any age and this cool DIY Twig Frame is the perfect weaving for kids activity for tweens and teens.
It makes a great addition to our Summer Crafts for Tweens collection and, like our recent Craft Stick Lantern, the finished result looks great displayed in their bedroom or personal space.
Weaving for Kids Project: DIY Twig Frame
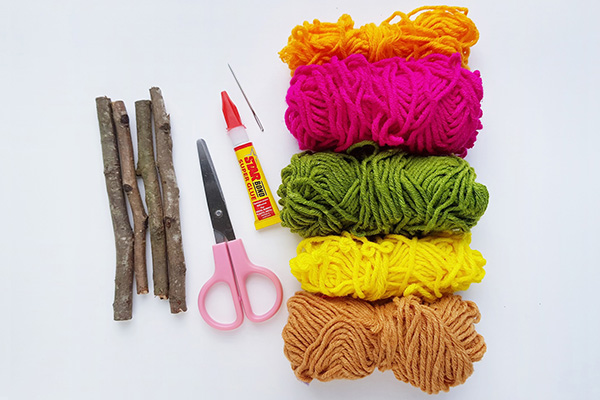
You will need:
- 4 twigs
- Super glue
- Yarn
- Tapestry needle
- Scissors
To make:
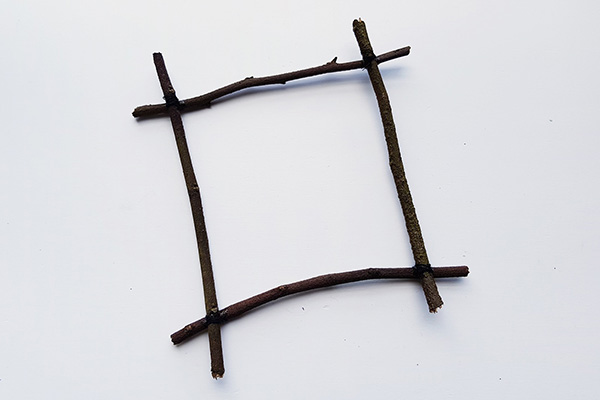
Step 1- Forming the Twig Frame
Cut the four twigs to the same length. Laying them onto a flat surface, form a square with the twigs . Make sure that the twigs overlap one another approximately an inch on each corner.
Apply Superglue to join the twigs at the corners and form the frame.
What is the difference between the warp and weft?
Before starting it is useful to understand two important weaving terms – ‘warp’ and ‘weft’.
In weaving, warp refers to the vertical threads that are held stationary on the frame or loom. Weft refers to the threads that are woven in and out of the warp, running horizontally across the loom.
Step 2 – Forming the Warp
Choose a yarn to form the warp. Tie a knot around any one of the twigs near the corner of the frame. Draw the yarn strand all the way to the opposite twig and wrap it around that twig twice.
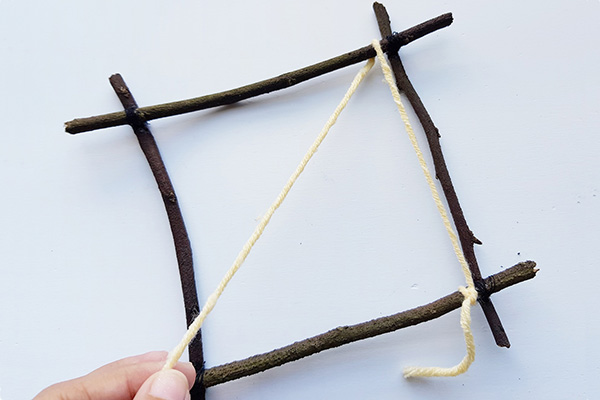
Then bring the yarn strand all the way back to the opposite twig again.

Wrap the yarn strand around that twig two times and then draw it towards the opposite twig again.
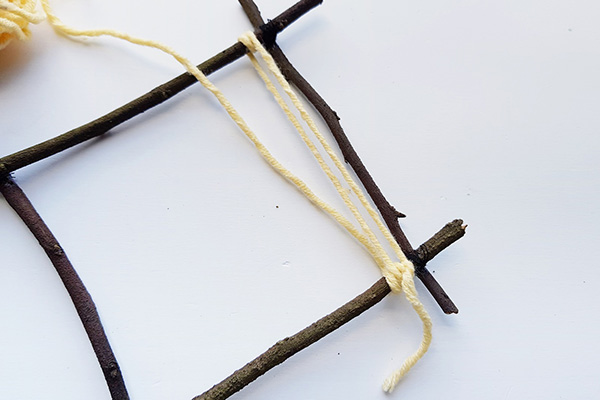
Continue to follow these steps until the whole frame is filled with the warp. Ensure you have an odd number of warp threads. Once done, tie the open end of the yarn around the twig and cut off extra yarn.
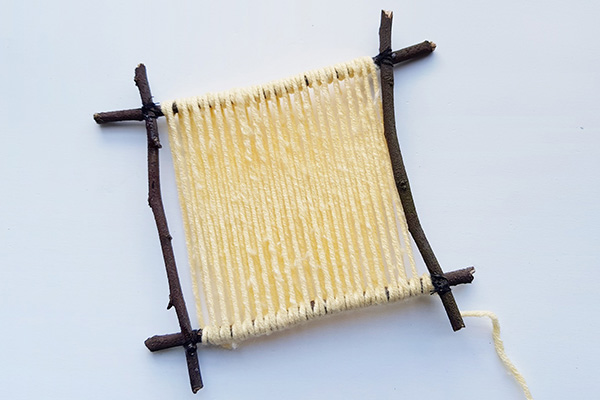
Step 3 – Weaving the Weft: Plain Weave
Choose a yarn to begin weaving the weft. Thread onto the tapestry needle. Keeping three inches of the end of the yarn at the rear of the weaving frame, begin drawing the needle over and under the warp strands.
After the weaving reaches the far side of the warp, take the needle around the final thread of the warp and continue to weave over and under back to the initial side. This time you’ll be weaving the opposite over-under pattern as you did for the first row (otherwise you will undo what you have just woven). This is called a plain or tabby weave.
Continue to weave as many rows as you would like for that yarn.
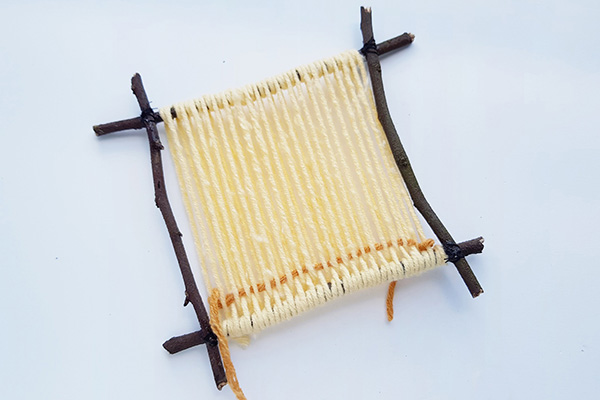
When you are ready to switch yarns, end the current yarn by leaving a 3 inch tail.
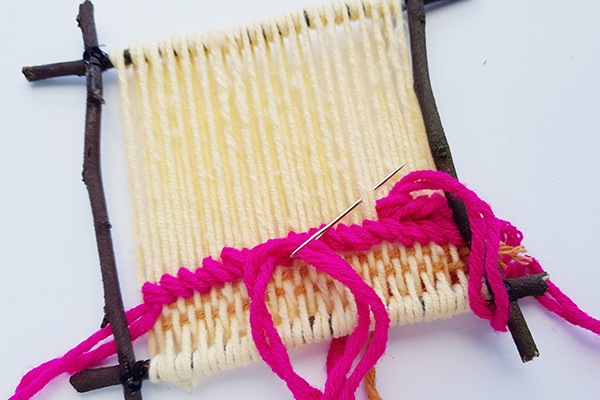
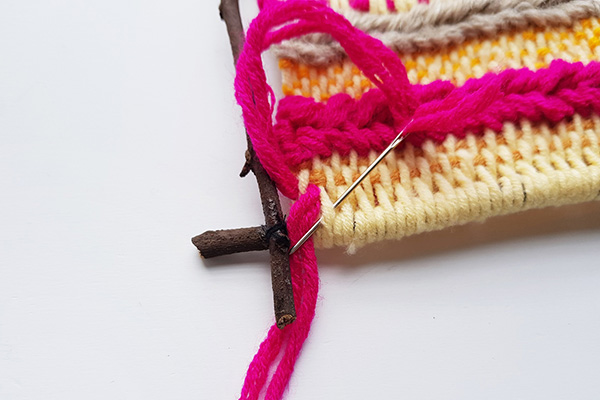
Step 4 – Soumak Weave
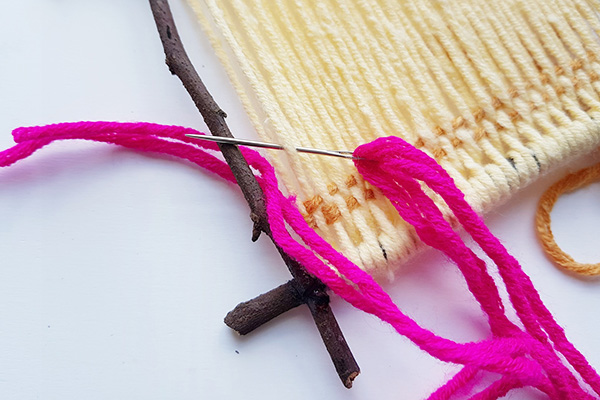
To form the weave shown with the chunky pink yarn in our sample, prepare the tapestry needle with double strands of your chosen yarn.
Draw the needle from the back side to the front of the warp, keeping a three inch tail of yarn at the back side. Skip the first warp string from the left and draw the needle around the back of the second warp string from right to left.
Continue to weave by drawing the needle around every second string from right to left. This is called a Soumak weave. It can also be made with a single strand of yarn, it does not have to be doubled – we just like the chunky look!
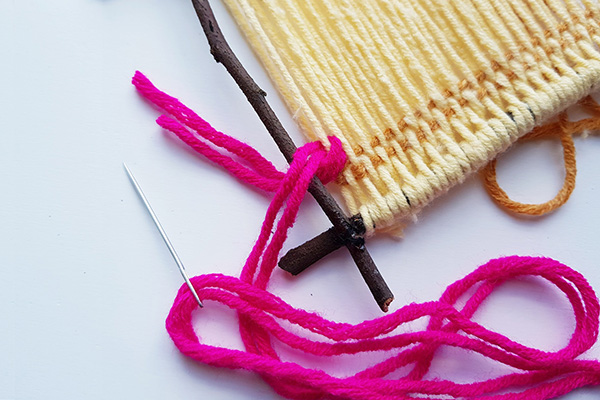
Continue weaving until reaching the other side.
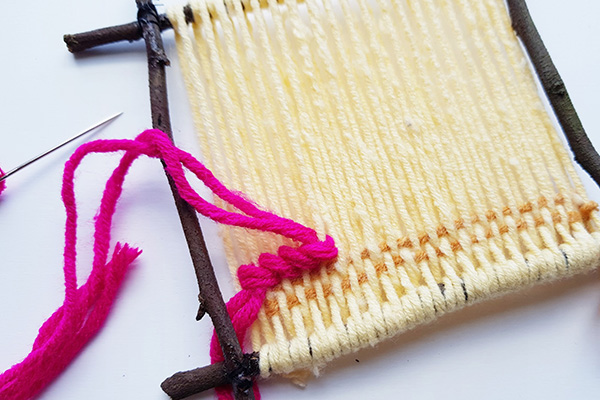
After reaching the other side; begin the next row, continuing with the same technique but from the opposite direction. This will form a cool braid pattern.
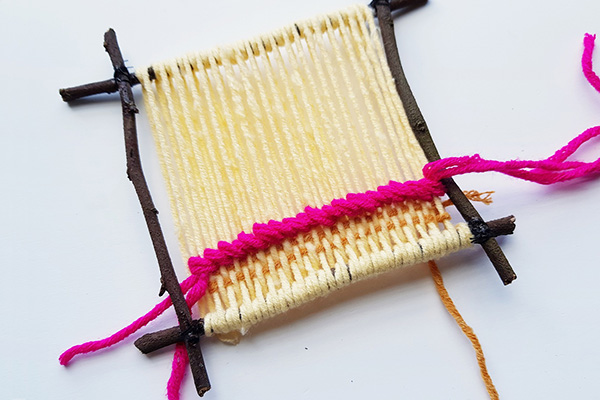
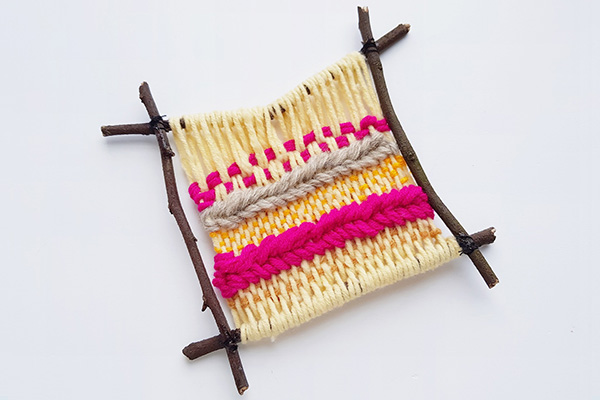
Step 5 – Continue Weaving
Select a different colored yarn and continue with your chosen weave.

Mix and match different colored and weight of yarns to complete your weaving. Tie off the loose ends of yarn at the back of your weaving frame and trim the ends.
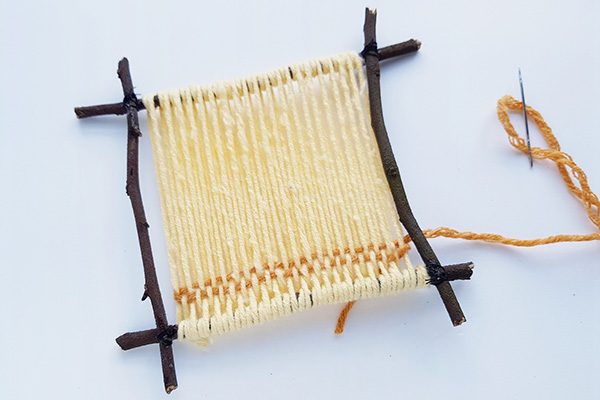
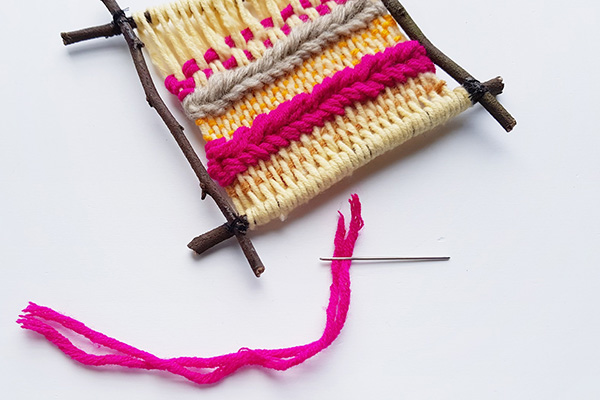
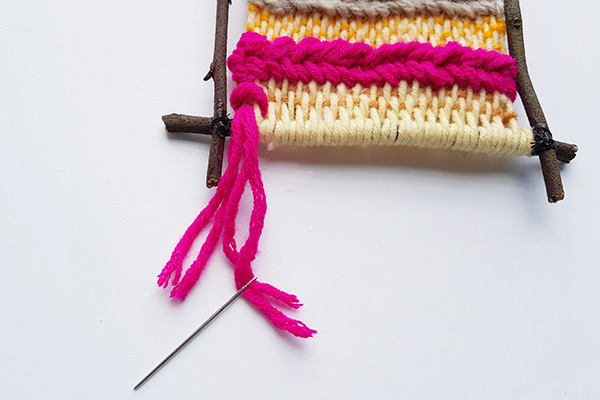
Step 6 – Adding Tassels
Create a series of tassels to form a fringe along the bottom of your tapestry.
To create each tassel, cut two yarn strands (6 inches long) for each tassel. Insert both strands into a tapestry needle.
Note: You can use more strands of yarn for each tassel but they will be more difficult to thread onto the needle.
To add the tassels from the left side, draw the needle under the first warp from the left. Draw the strands halfway through and then stop.
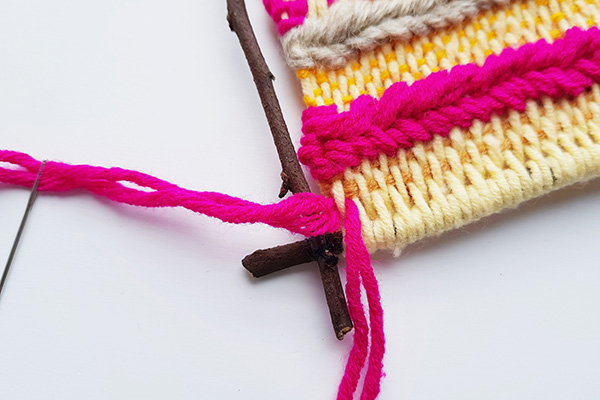
Now hold the strands and draw them under 2nd warp from the right.
Pull the open ends of the strands all the way through; which will form a loop with the warp strand and secure the tassel.
Repeat the process to attach the rest of the tassels along the bottom side of the weaving frame.

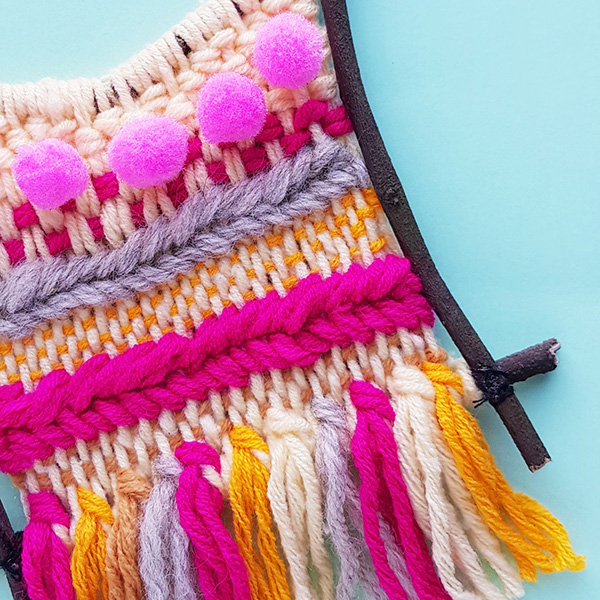
Step 7 – Finishing Touches
Add pompom or felt flowers to decorate the finished piece.
Hang and enjoy your hard work!
Looking for more ideas for tweens? Keep them busy with our A to Z of Tween Boredom Busters.
Hi Christie, do you mind if I use this idea in an online class i am teaching? I always used to make cardboard looms with my brick and mortar classes but I like this final result better with your stick frame. Thank you, Devon
Nice colours. I have to try this idea with my kids 🙂