Super Cute Bunny Easter Sensory Bottle
Inside: This super cute bunny Easter sensory bottle will have your children transfixed – at Easter or any time!
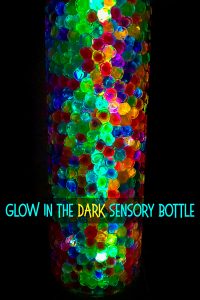
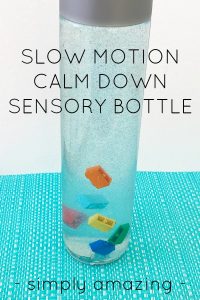
If you have a toddler or preschooler in your home, or work with younger children, then I’m guessing you’ve heard about sensory bottles. We are long time fans and love discovering new ideas for making them – such as the time we made a really cool slow-mo calm down bottle, or when we worked out how to add scent to our rainstick sensory bottle– so awesome! Another favorite was this glowing bottle and our rainbow sensory bottle is super pretty – you know, I just can’t pick a favorite because every new bottle becomes my next top pick!
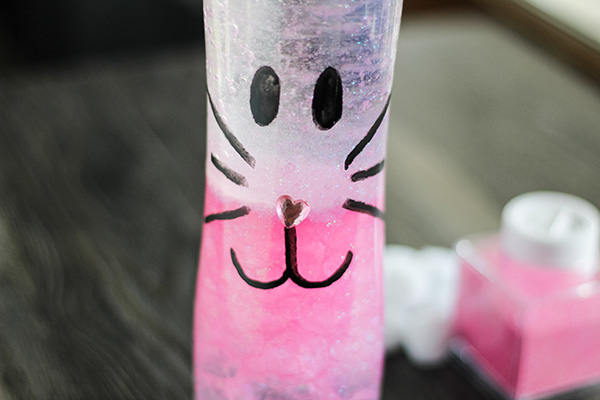
Like this super cute bunny bottle! I mean, the tail, the nose, the whiskers, the pretty pink…what’s not to love!
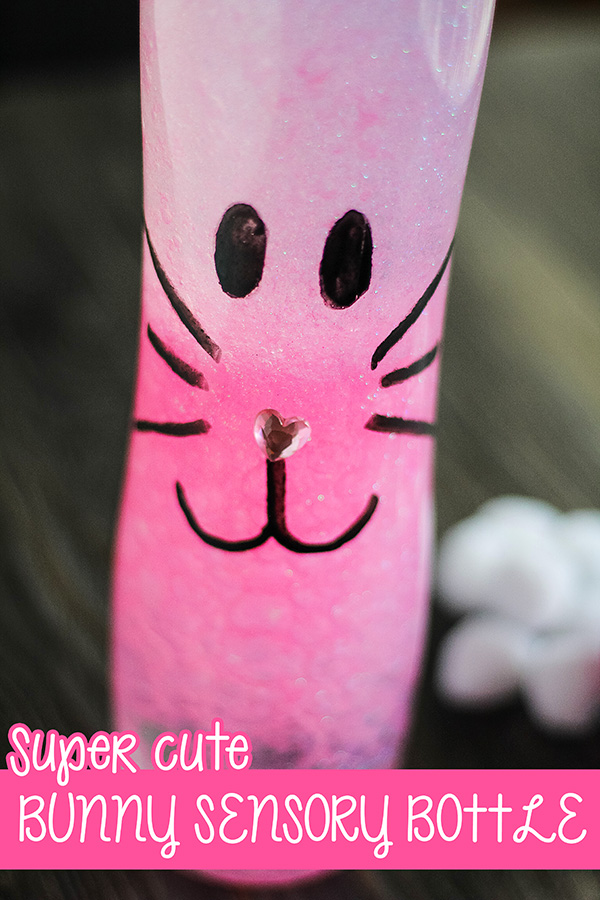
This bottle is simple to make and would make a gorgeous addition to your classroom in the lead up to Easter, or it could be a fun surprise hiding in your own child’s Easter basket, but really bunnies are fun any time of year so don’t let timing stop you!
How to Make an Easter Bunny Sensory Bottle
(This tutorial contains Amazon affiliate links to products used in the project. I may earn a small commission from qualifying purchases.)
You will need:
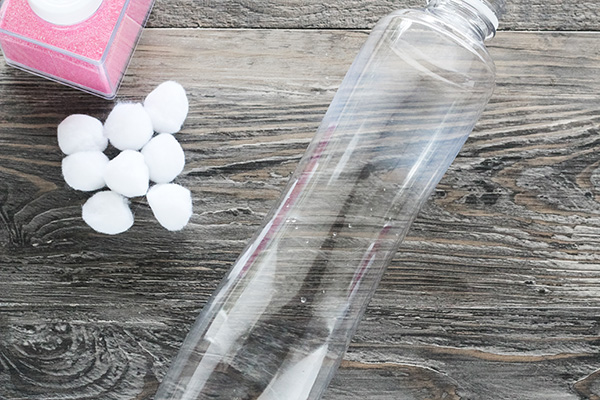
- 1 Plastic Bottle
- Baby Oil
- Pink Glitter
- White Glitter
- Large White Pom Pom
- Black Permanent Marker
- Pink Sticker Jewel
- Hot Glue Gun
- Water
How to Make a Bunny Sensory Bottle:
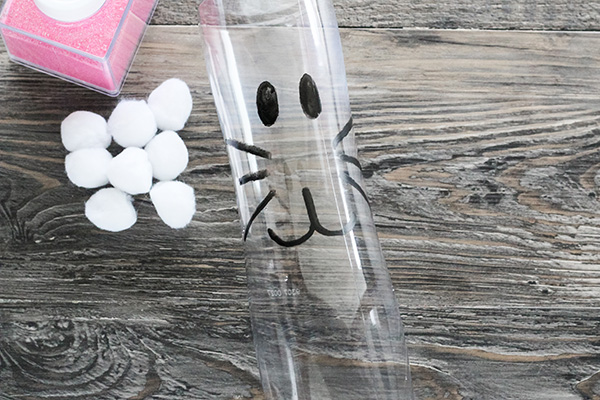
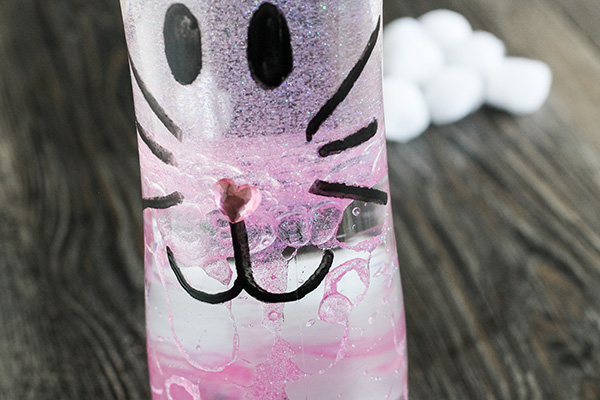
1. Start by drawing a simple bunny face on your bottle – eyes, mouth and whiskers – don’t forget to leave space for the nose!
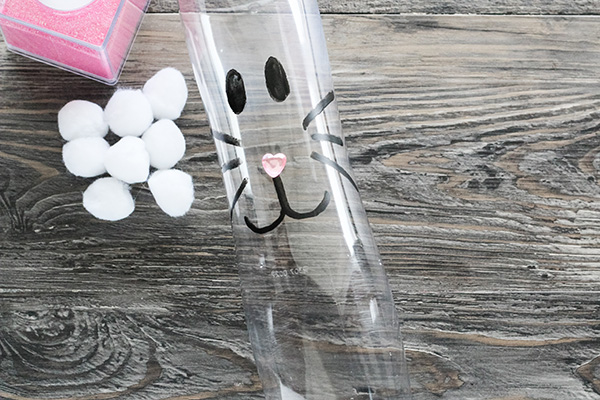
2. Add a pink, self adhesive heart jewel for the nose. You can always glue this on with your hot glue gun if you are worried it is not secure enough.
3. Flip over your bottle and hot glue a pom pom in position as the bunny bottle’s tail.
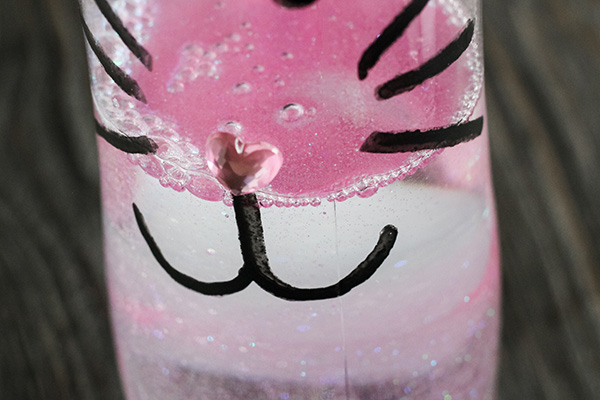
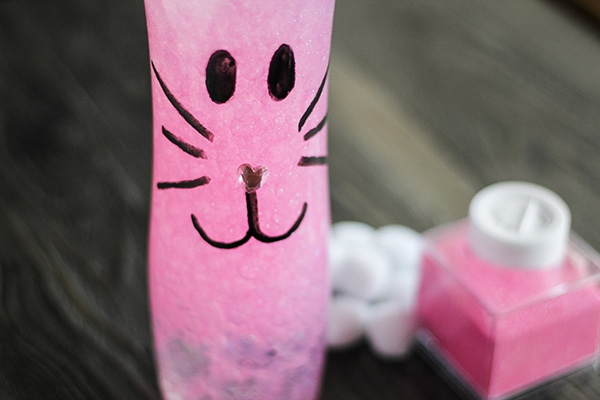
4. Fill your bottle half way with the baby oil and then add the pink and white glitter to the oil.
Alternatively, you might like to try your bunny sensory bottle as a slow fall bottle with clear glue like our Winter Sensory Bottle. I would suggest adding sequins to your glitter if you do try this version.
5. Fill bottle the rest of the way with water.
6. Screw lid on tightly and seal with hot glue or wide, clear tape if you wish.
Then shake and enjoy!
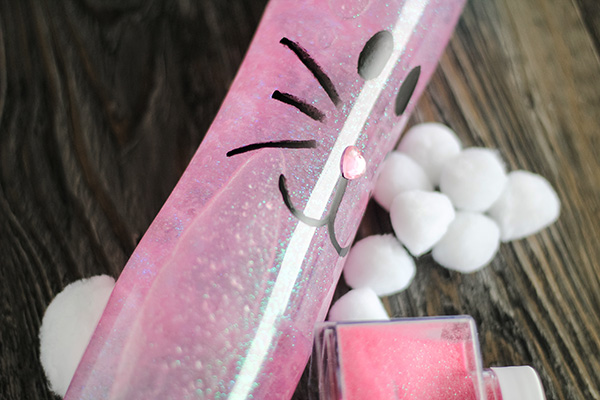
Have fun making your very own bunny as an Easter sensory bottle!
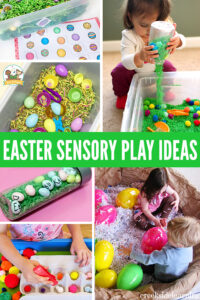
For even more sensory fun, click through on the images below;