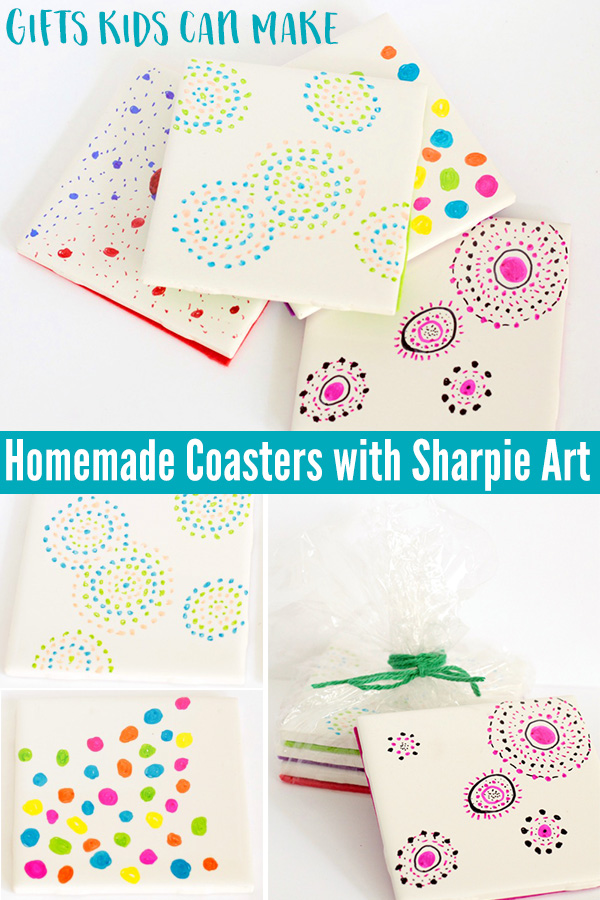
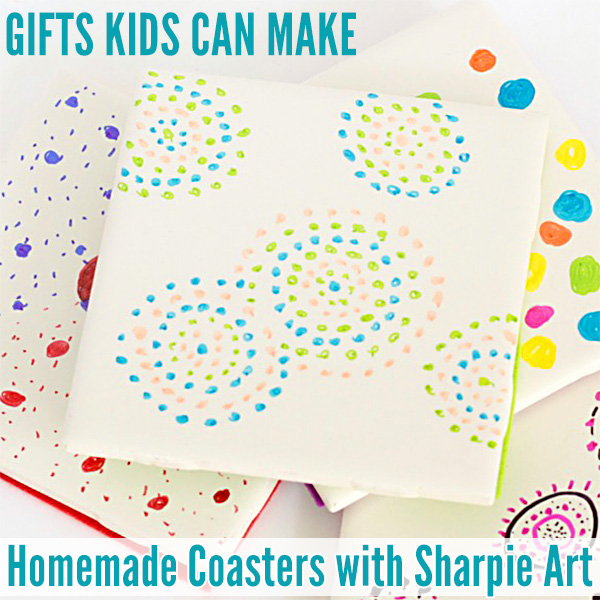
Gifts Kids Can Make: Homemade Coasters with Sharpie Art
Homemade coasters are a fun gift that kids can make for friends and relatives. They are a low-cost craft and don’t take a whole lot of time to make. Stick to simple shape designs, like our circle art, and you don’t even need to be a great artist to make coasters that are special and beautiful.
Make Your Own Sharpie Art Coasters
You will need:
- Sharpie markers or ceramic markers
- Ceramic square bathroom tiles
- Alcohol wipes
- Felt
- Scissors
- Mod podge
- Tacky glue
- Oven
To make:
1. Purchase ceramic square tiles from a local hardware or home improvement shop. We found ours in the bathroom tile section.
2. Clean the surface of the tiles with alcohol wipes and let dry.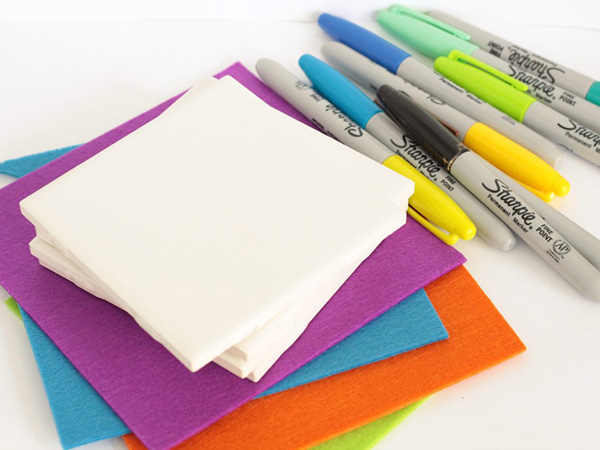
3. Use your permanent markers to make designs on the coasters. You can use the same colors and make different designs, use different colors and different designs, or the same colors and same designs. If you don’t like the design, just rub it off with the alcohol wipe and try again.
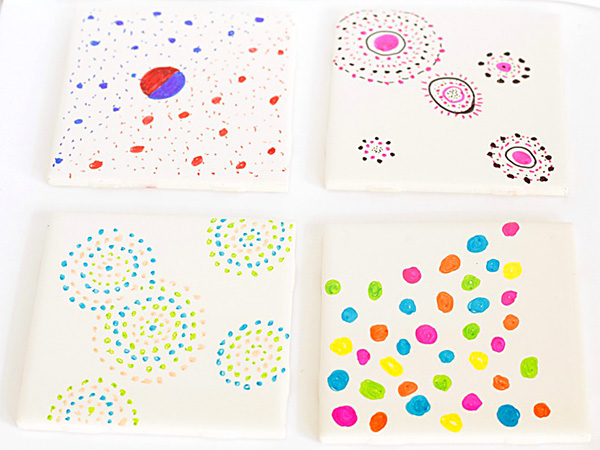
4. Place in a baking tray and bake the tiles in the oven at 250 degrees Fahrenheit/12 degrees Celcius for two hours. Let cool.
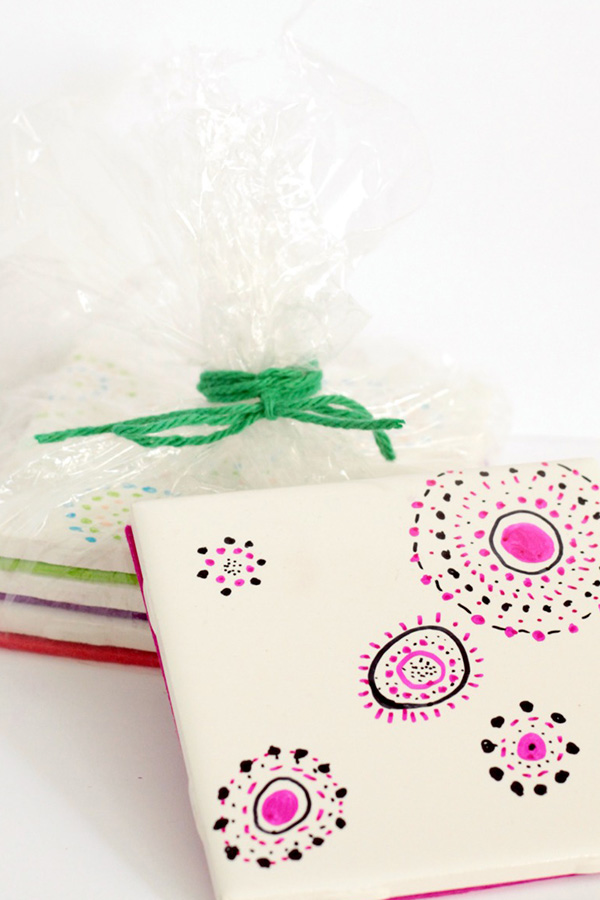
5. Coat the tiles in a layer of mod podge to help protect them from wear and tear. Oven-baked permanent marker stays on ceramic tiles pretty well, even after washing, but it will eventually lift or rub off. Adding the mod podge ensures it doesn’t come off as easily. Wait 24 hours for the mod podge to dry.
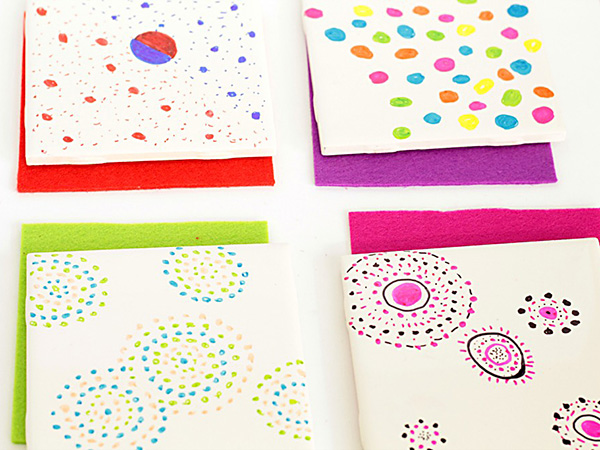
6. Cut a piece of felt to fit on the back of each tile. Glue in place with tacky glue, so that if the coaster gets wet, the glue won’t come off.
7. Use the pretty coasters at home, or wrap in cellophane and give as a gift!
They can even be gifted with a matching Sharpie decorated cup or mug!
You might also like:
Fun gifts that kids can make for their friends and relatives!
really good .gona share this with my kids………..