How to Make a Santa Origami Bookmark
If you are looking for a fun craft to occupy your tween or teen over the holidays, this Santa Origami Bookmark craft is a sweet activity for both craft and book lovers!

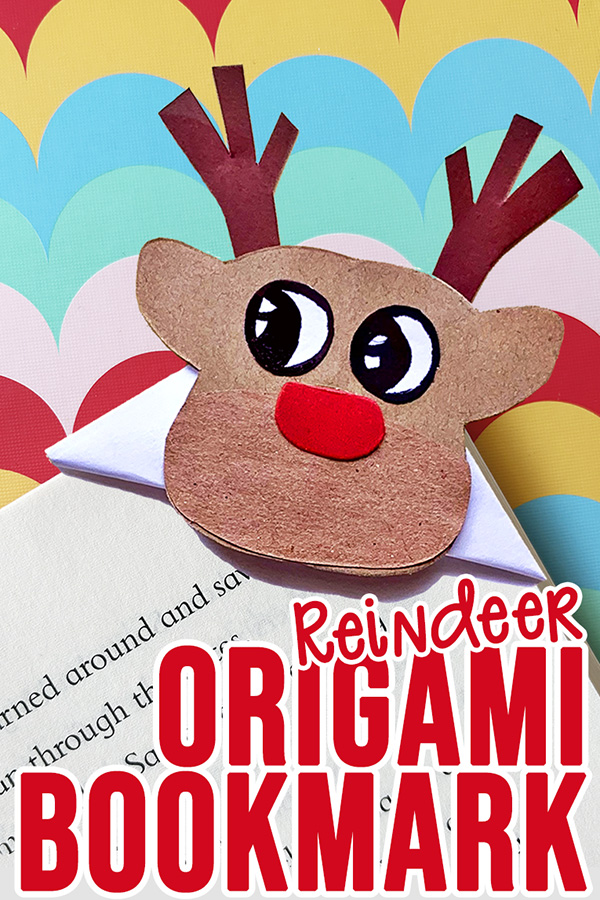
And why not pair your reindeer with a cute Reindeer Origami Bookmark, or check out our collection of over 25 Bookmark Crafts for Tweens & Teens.
How to Make a Santa Origami Bookmark
You will need:
- 1 sheet of 4in x 4in origami craft paper
- Craft paper – one sheet each of red, white and skin toned OR use the pre-colored shapes included in the printable template
- Paper glue
- Scissors
- Marker pen
- Pencil
- Printable template (optional) – full download instructions for template at the bottom of this post
How to Fold an Origami Bookmark
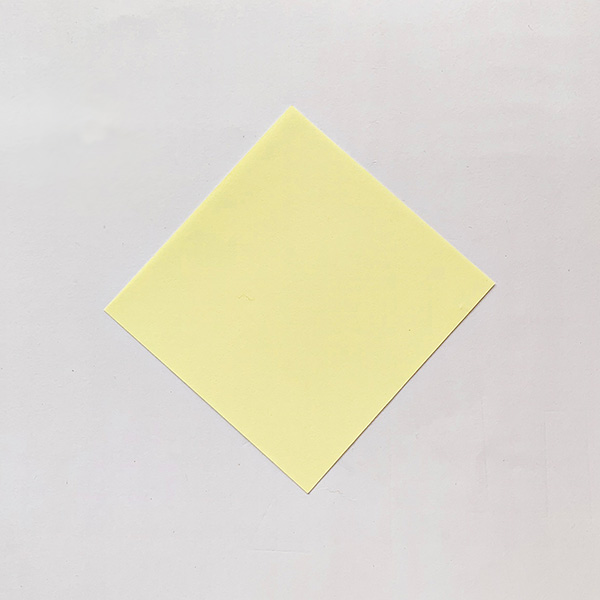
1. Lay the origami paper diagonally onto the table top so it looks like a diamond.
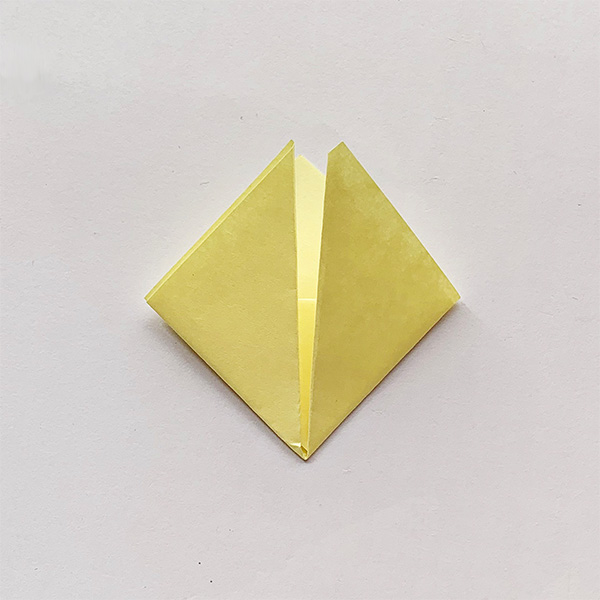
2. Fold the diamond in half, taking the bottom corner of the paper to the top to form a triangle.

3. Fold the upper point downwards so the tip touches the middle of the base of the triangle.

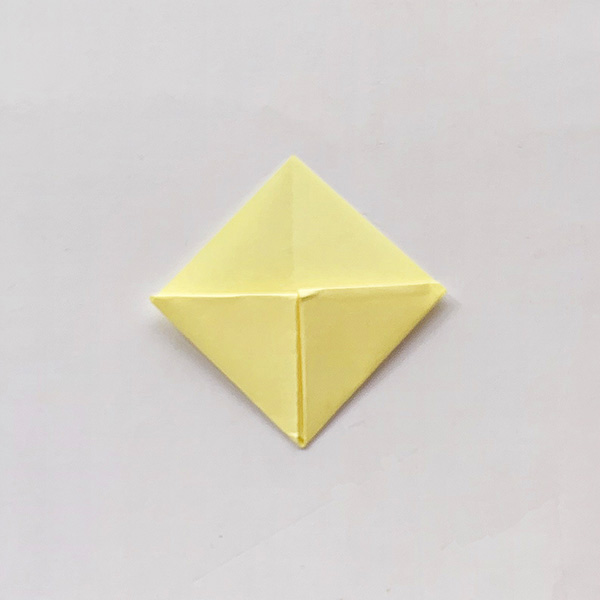
4. Take the bottom left corner, bringing it up towards the point of the triangle and fold firmly. Repeat with the bottom right corner. You will have now formed a new, smaller diamond shape.
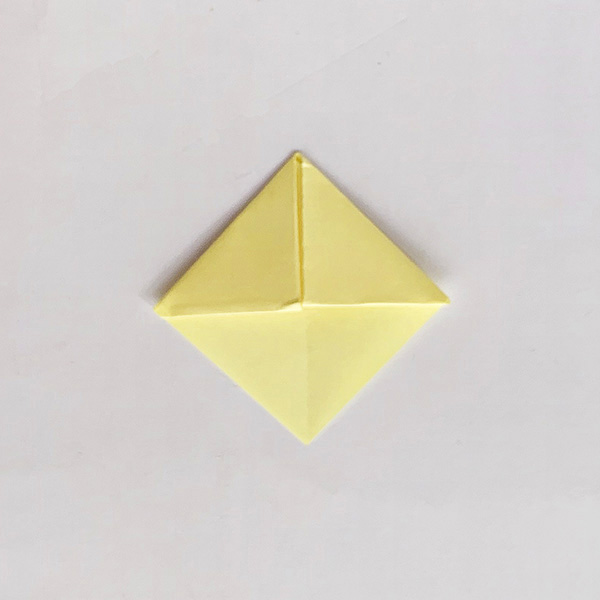
5. Tuck each of the top points inside the flap previously created in step three (3). This forms the pocket that slips over the page corner when the bookmark is in use.
6. Rotate the diamond so that the pocket sits at the top and add the Santa details as demonstrated below.
Santa Origami Bookmark Craft
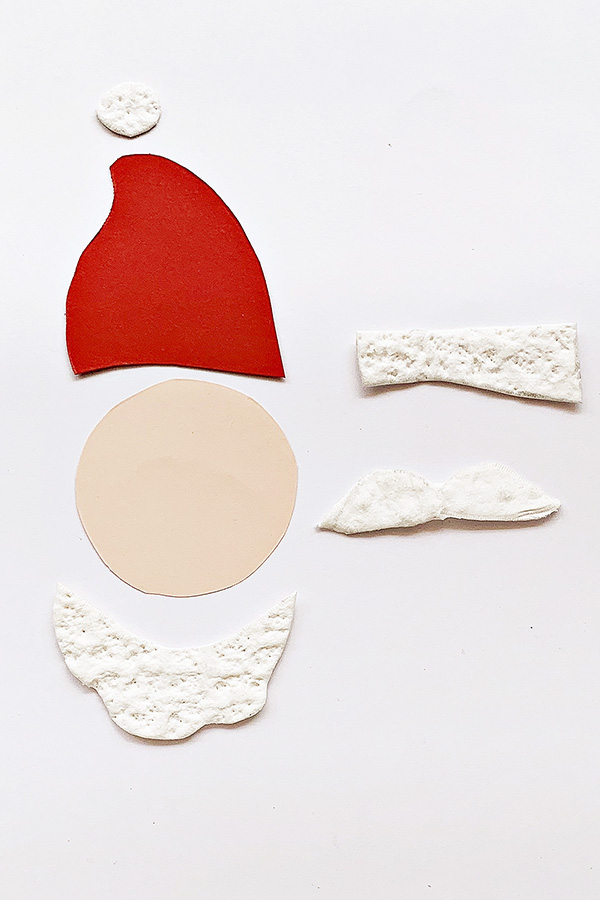
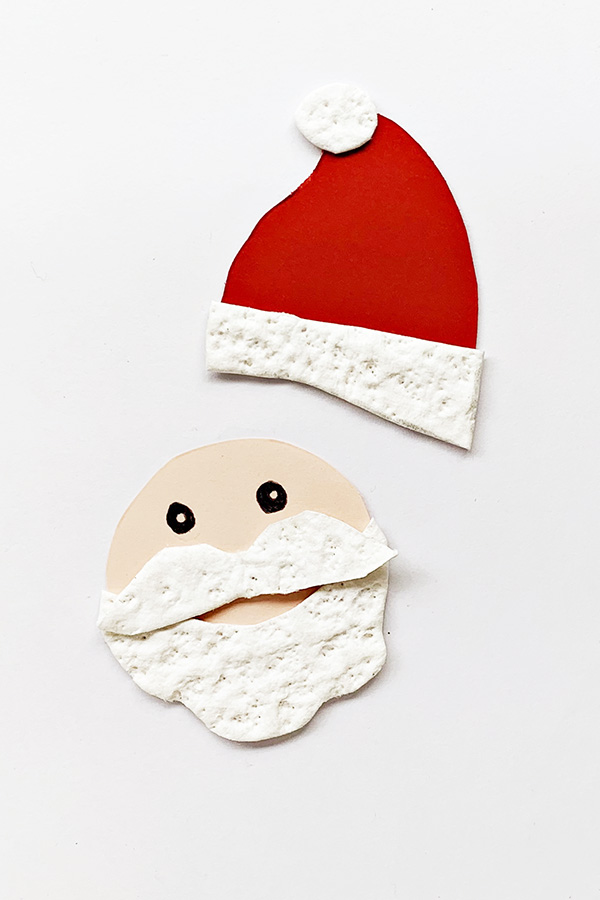
7. Cut out the pieces for the Santa Claus – hat, pom pom, hat band, face, mustache, beard – using the printable template page below (full download instructions can be found at the bottom of this post), or cut them freehand. We used a fun, textured white craft paper for Santa!
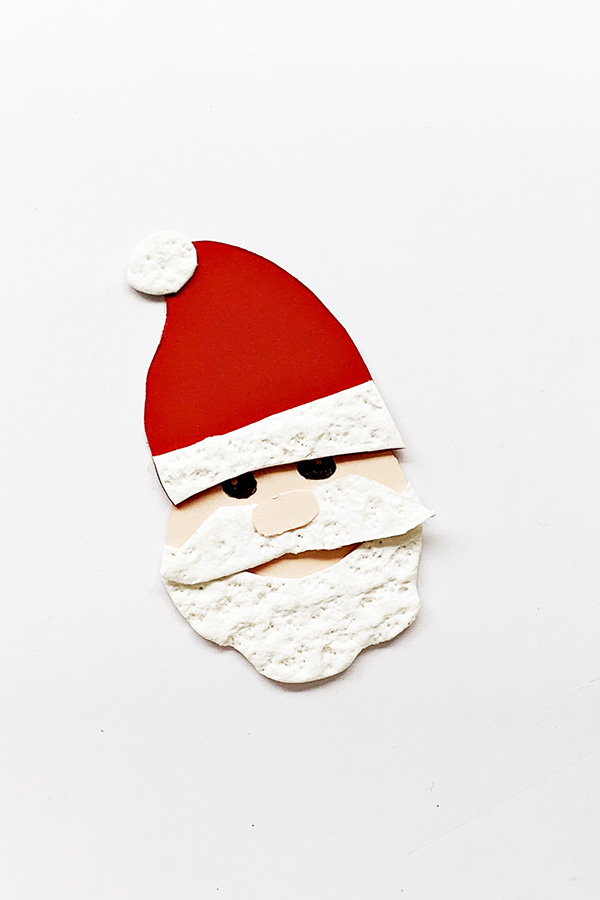
8. Glue the white circular piece onto the pointed top of the hat as a pom pom (or add an actual mini pom pom if you like!)
9. Glue the white strip shaped piece along the bottom of the Santa’s hat.
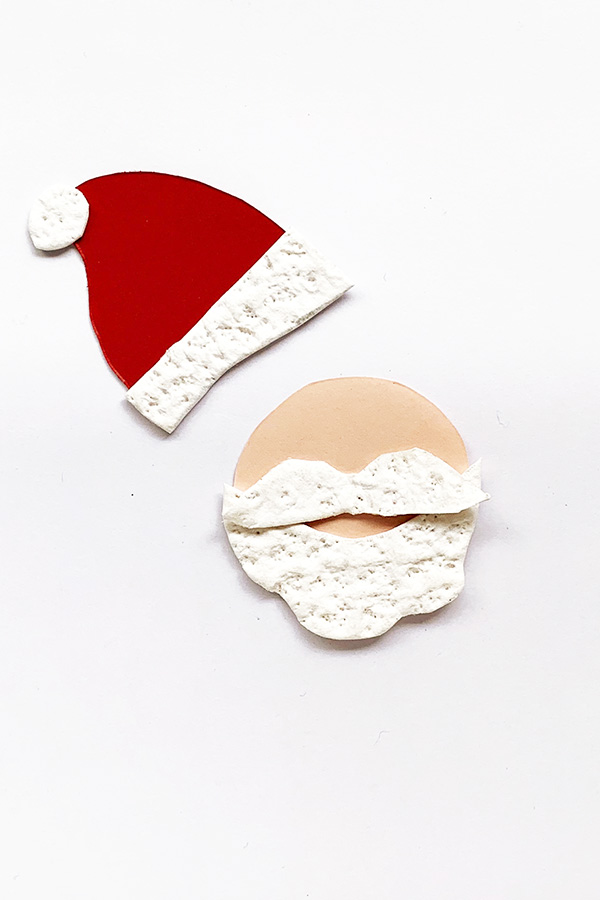
10. Then glue Santa’s mustache and beard onto the skin toned circle to create Santa’s face.
11. Draw Santa’s eyes using a thin black marker pen.
12. Finish off by pasting the hat onto the top of Santa’s head.
13. Finally, paste Santa’s head onto the top of the bookmark pocket that you created in step 6.
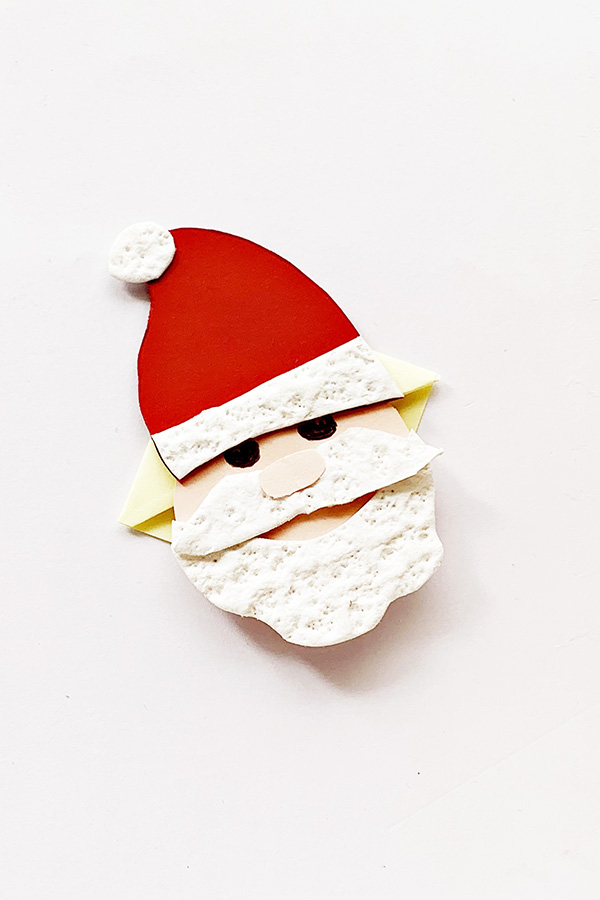
Santa is now ready to slip over the corner of your current Christmas read!
Download and Print Santa Template
Click here to download: Santa Claus Bookmark Template . Save the PDF to your computer. Open the PDF and print the pages you require. When printing, select “Fit to printable area” (or similar) to ensure the page fits with your printer type and local paper size. Laminate the printed pages for durability.
Having trouble accessing or downloading the file? Please try a different internet browser.
Please note: All Childhood 101 printables are for personal use only, you may not use any part of this content for commercial purposes-that includes selling the document, giving it away to promote your business or website, or printing the file to sell. You may not share, loan or redistribute these documents. Teachers may use multiple copies for students in their own classroom.
For more holiday craft ideas for tweens and teens, check out these related posts;