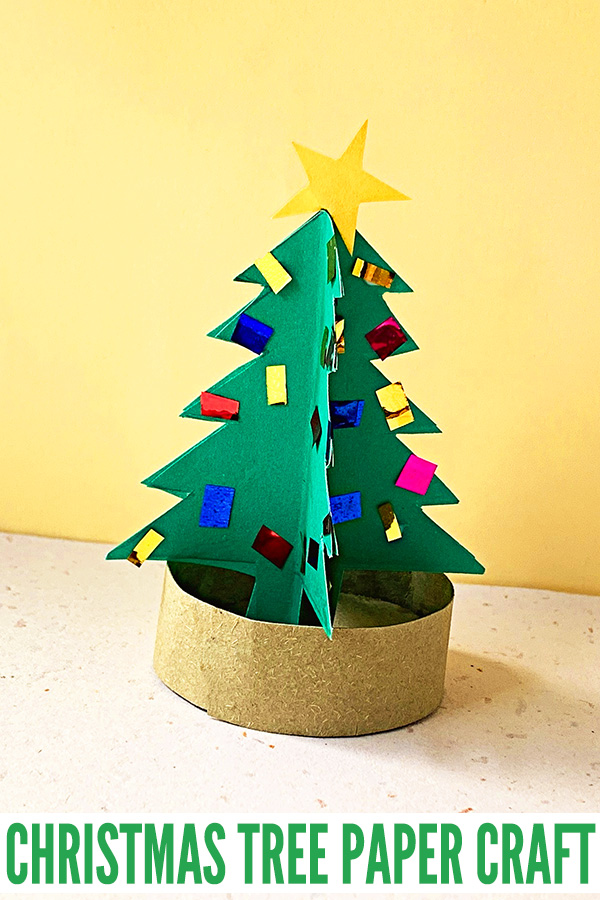
3D Christmas Tree Paper Craft for School Age Kids
Create your very own mini 3D Christmas Tree with this fun paper craft tutorial.
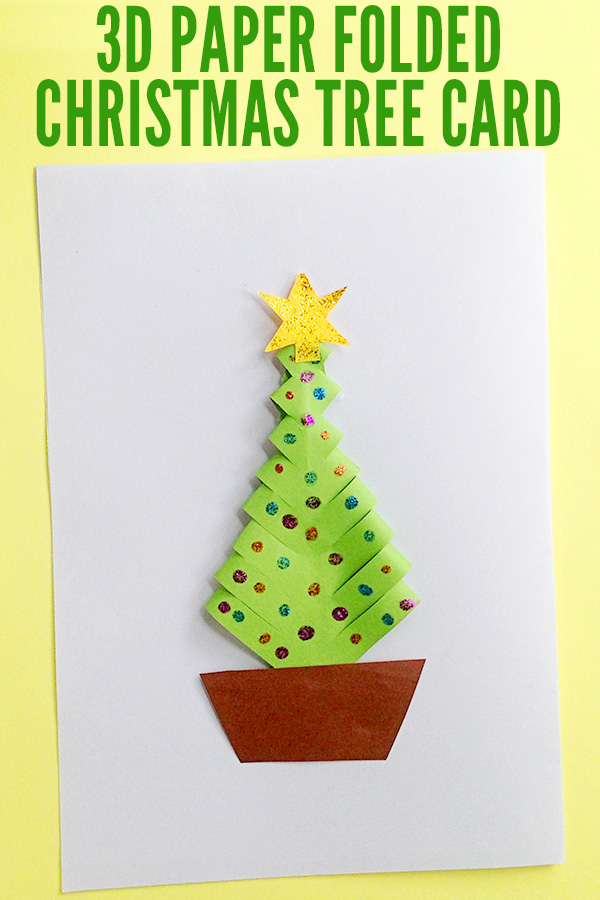
Like our 3D Paper Folded Christmas Tree Card and Pop Up Christmas Tree card, the level of fine motor skill and concentration to complete this project independently works better with children in at least fourth grade and up.
This is a great Christmas art idea for school age children, especially kids ages 8+ years. You can find more fun Christmas ideas for this age group in our collection – 12 Days of Christmas Fun for School Age Kids
3D Christmas Tree Paper Craft
You will need:
- Green cardstock
- Brown cardstock or scrap cardboard
- Pencil
- Ruler
- Scissors
- Craft glue
- Yellow craft paper
- To decorate – small gem stickers, small sequins, shiny paper, etc
How to Make a 3D Christmas Tree:
1. Use the PDF template to cut out the pieces of the tree.

2. Fold each of the four tree pieces vertically in half.

3. Apply glue to one half of the underside of a tree piece.

4. Then join the side with glue to the underside of another tree piece. Allow the glue to dry.
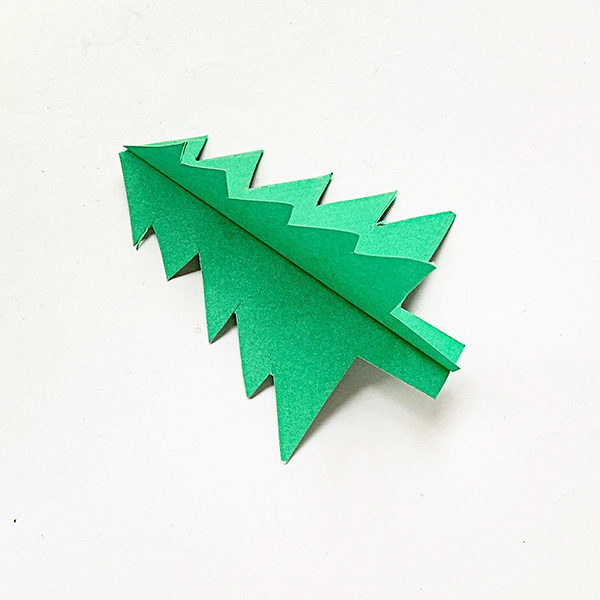
5. Use the same process to glue the other two tree pieces together.
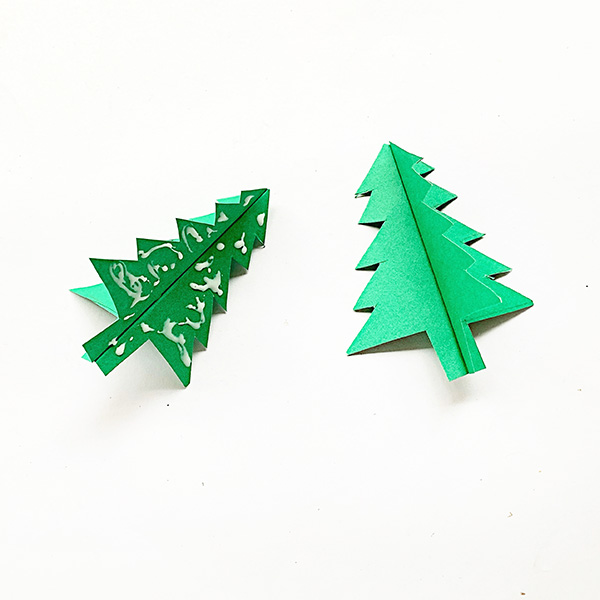
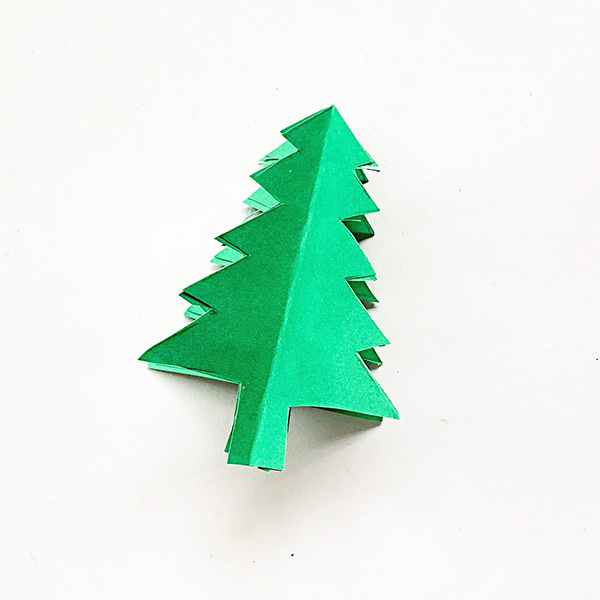
6. Apply glue to the underside of one of these sets and then glue all four pieces together.
7. Cut out the two pieces for the tree pot – a circle and long strip.
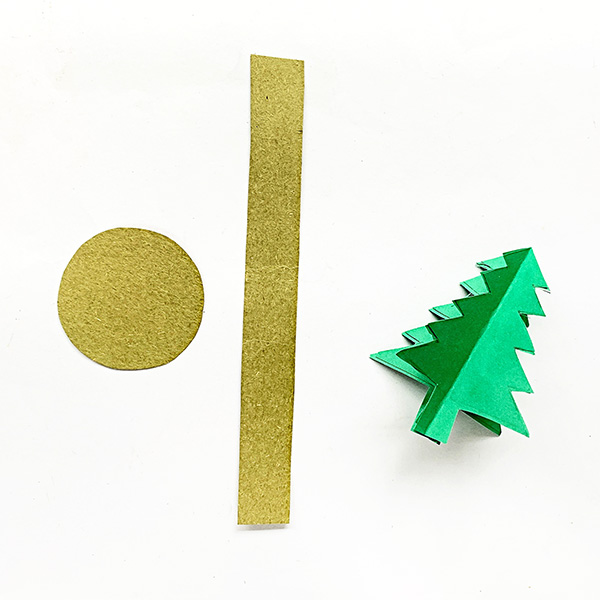
8. Glue the long strip around the circular cardstock piece. Allow the glue to dry.

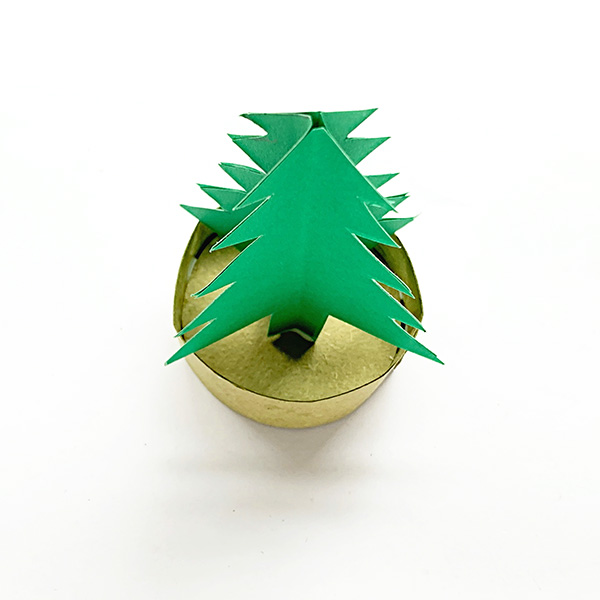
9. Glue the tree into the pot. Allow glue to dry.
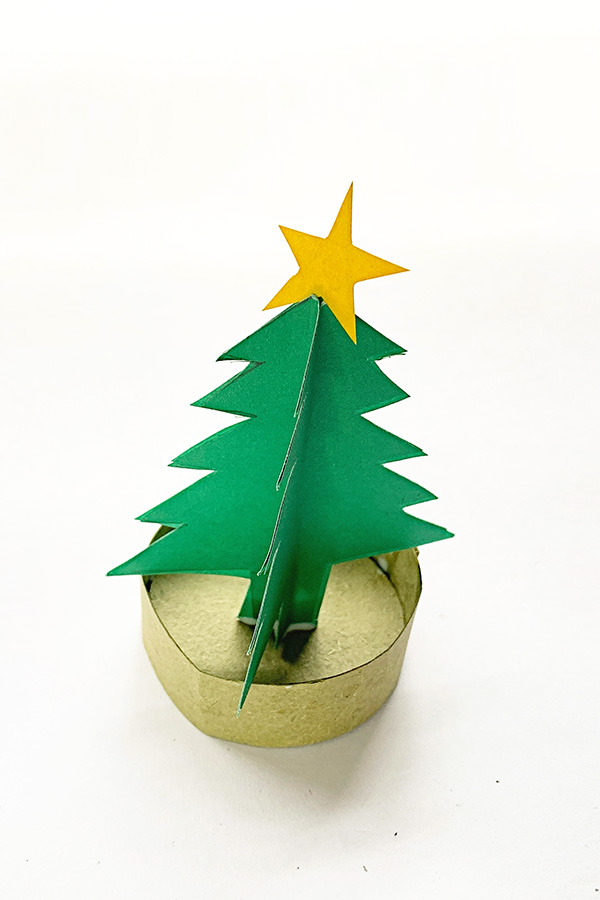
10. Cut out a star shape from yellow craft paper.

11. Glue the star to the top of the tree.
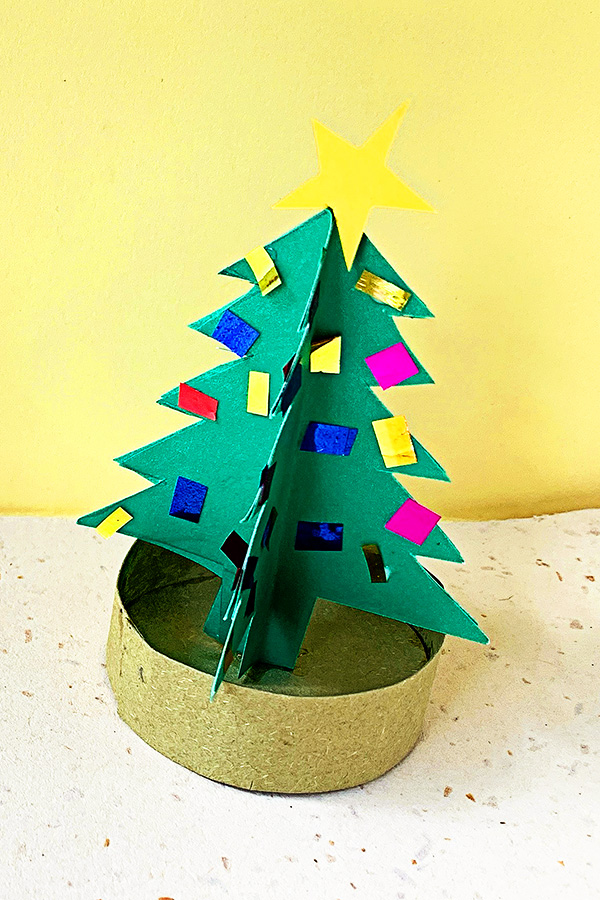
12. Decorate the tree with your choice of decorations – small pieces cut from shiny paper, small self-adhesive gems or small sequins all work well.
You may also like;