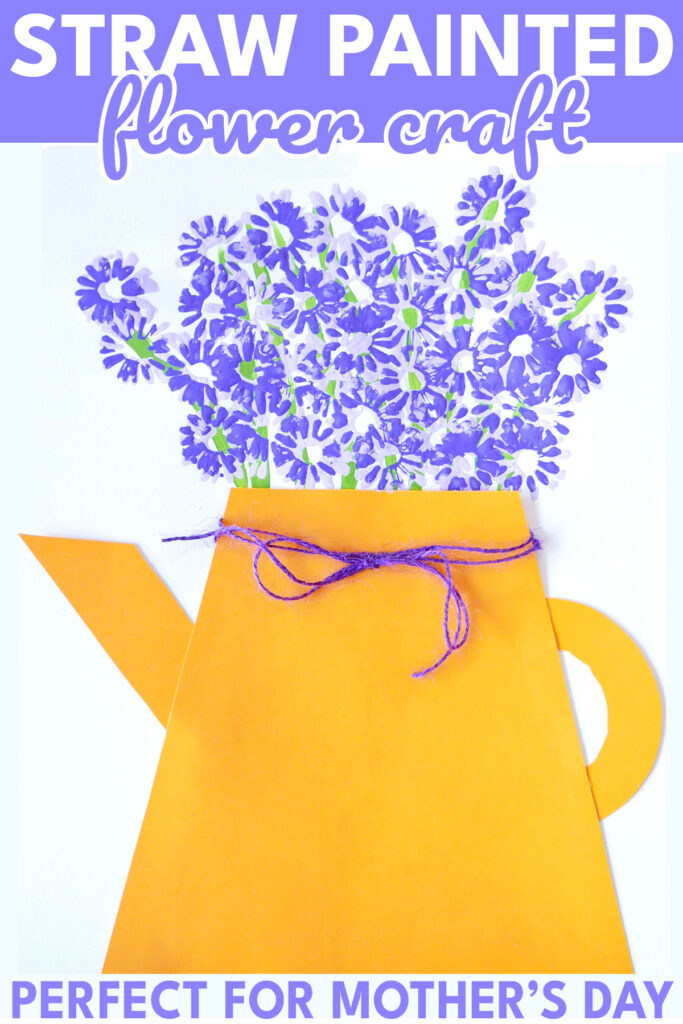
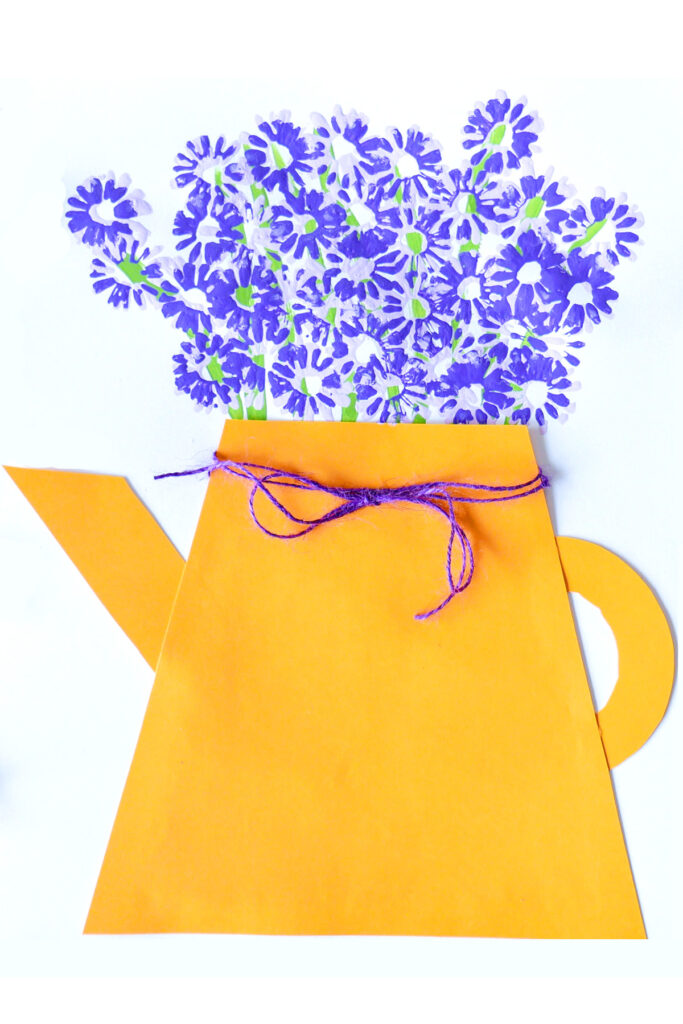
Straw Flower Painting
This sweet straw flower painting craft is simple enough for school age children to make and is perfect as a Mother’s Day gift idea or for a Spring flower art lesson and display.
Straw Flower Painting Craft
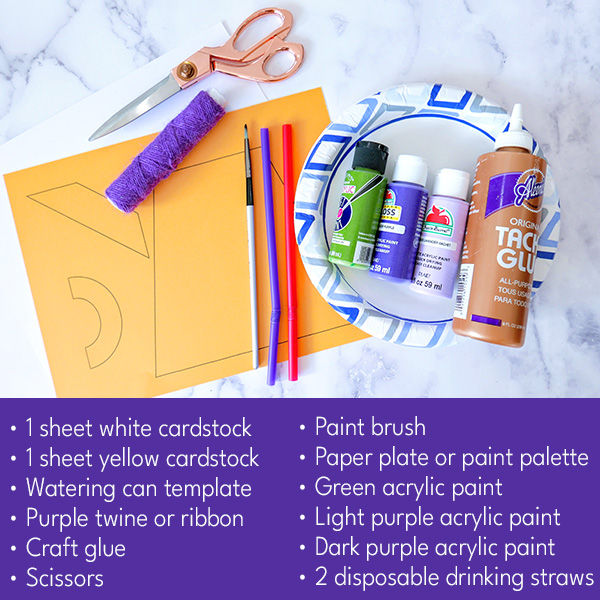
You will need:
- 1 sheet of white cardstock
- 1 sheet of yellow cardstock
- Printed watering can template
- Purple twine or ribbon
- Craft glue
- Scissors
- Paint brush
- Paper plate or paint palette
- Green acrylic paint
- Light purple acrylic paint
- Dark purple acrylic paint
- 2 disposable plastic drinking straws
Instructions for Making Straw Flower Painting
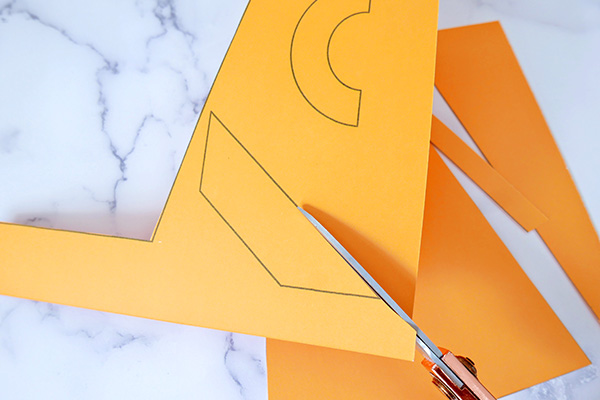
1. Cut out the three pieces from the printed watering can template. Trace around the template pieces to create a set of watering can pieces from the yellow cardstock. Alternatively, print the watering can template directly onto the yellow cardstock and cut out the three pieces.
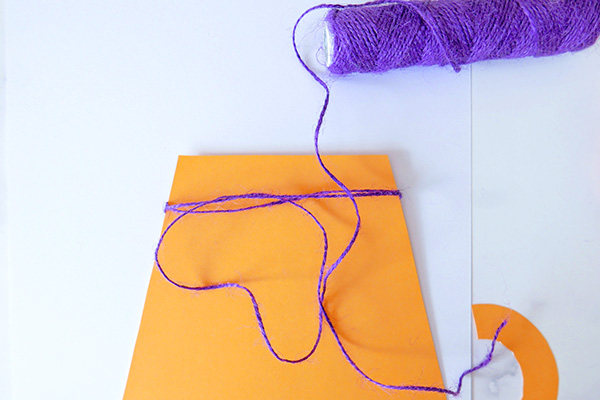
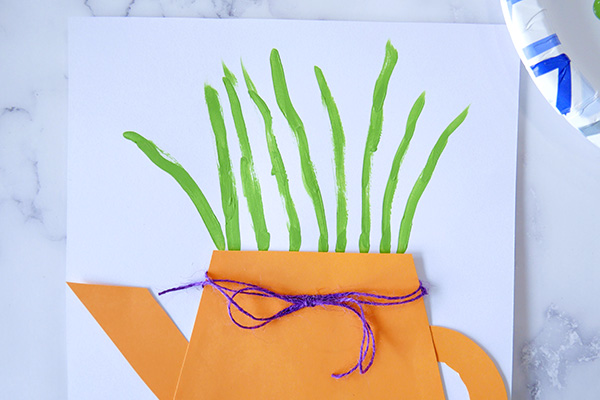
2. Wrap a short length of purple twine or ribbon around the top of the body section of the watering can, and tie in a bow at the front.
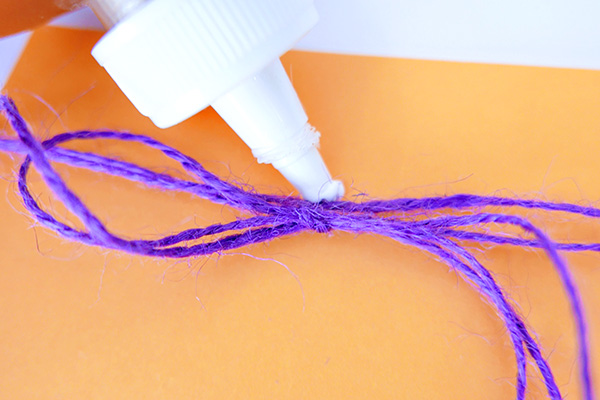
3. Add a dot of craft glue to secure the bow in place at the front of the watering can body.
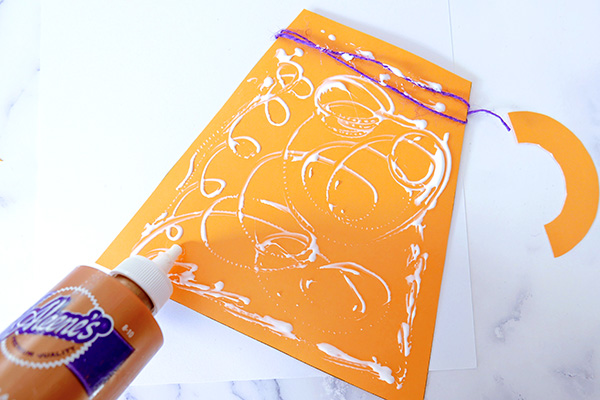
4. Add craft glue to the back of the watering can and attach it to the white cardstock, making sure to place the can as close to the bottom as possible in order to leave room for flower painting at the top of the page.
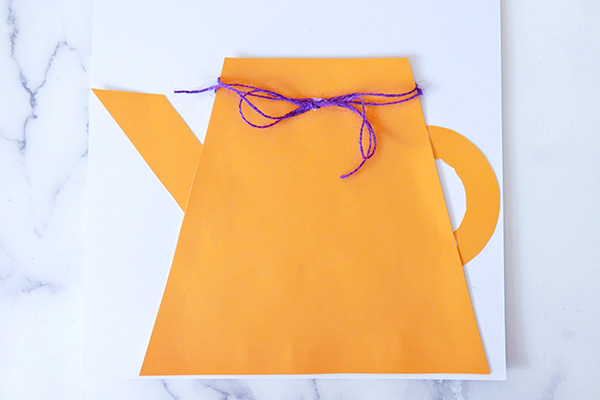
5. Add craft glue to the back of the watering can handle and spout pieces and glue into position onto the white cardstock.
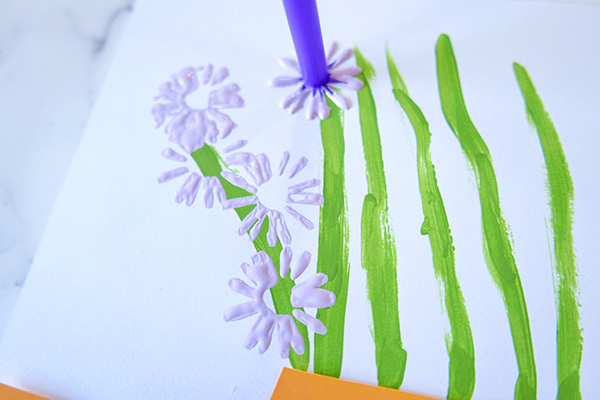
6. Next, add a little green paint to your paper plate or paint palette, and paint a series of short flower stems coming out of the top of the watering can. You can add as many, or as little, as you like. You can make them curly or straight.
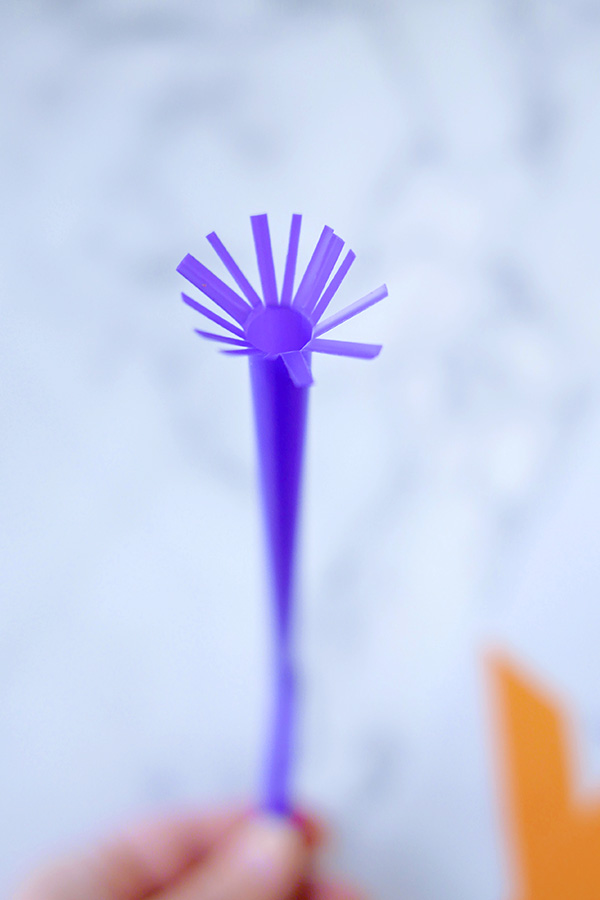
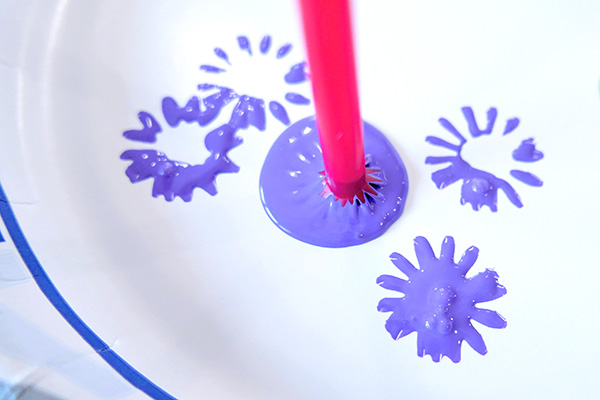
7. While the stems are drying, use the scissors to cut tiny slits all around the end of one side of a drinking straw. Cut about ½ inch or 2cm into the straw.
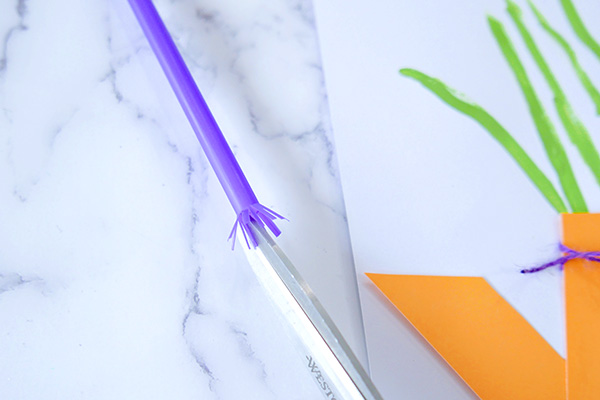
Flare out all of the cut sides to make the flower stamp.
8. Add a little light purple paint to your plate and dab the end of the straw flower stamp into the paint. Make a few light dabs on the plate to remove any excess paint.
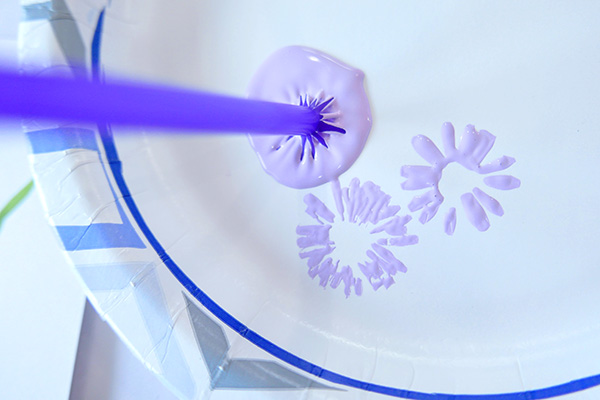
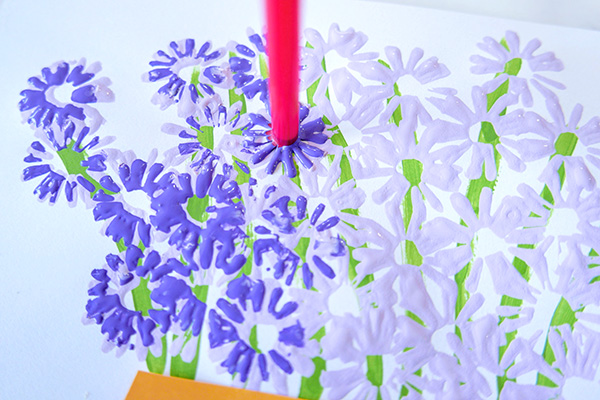
9. Begin making flowers on the top of the painted stems and alternating on each side of the stems, until you have covered the area with light purple flowers. Let the paint dry.
10. Add the dark purple paint to your paper plate and, using the same process, use a second drinking straw stamp to dot flowers on top of the light purple flowers, creating a pretty layered look.
Once you have added as many flowers as you like, leave time for the paint to dry completely.
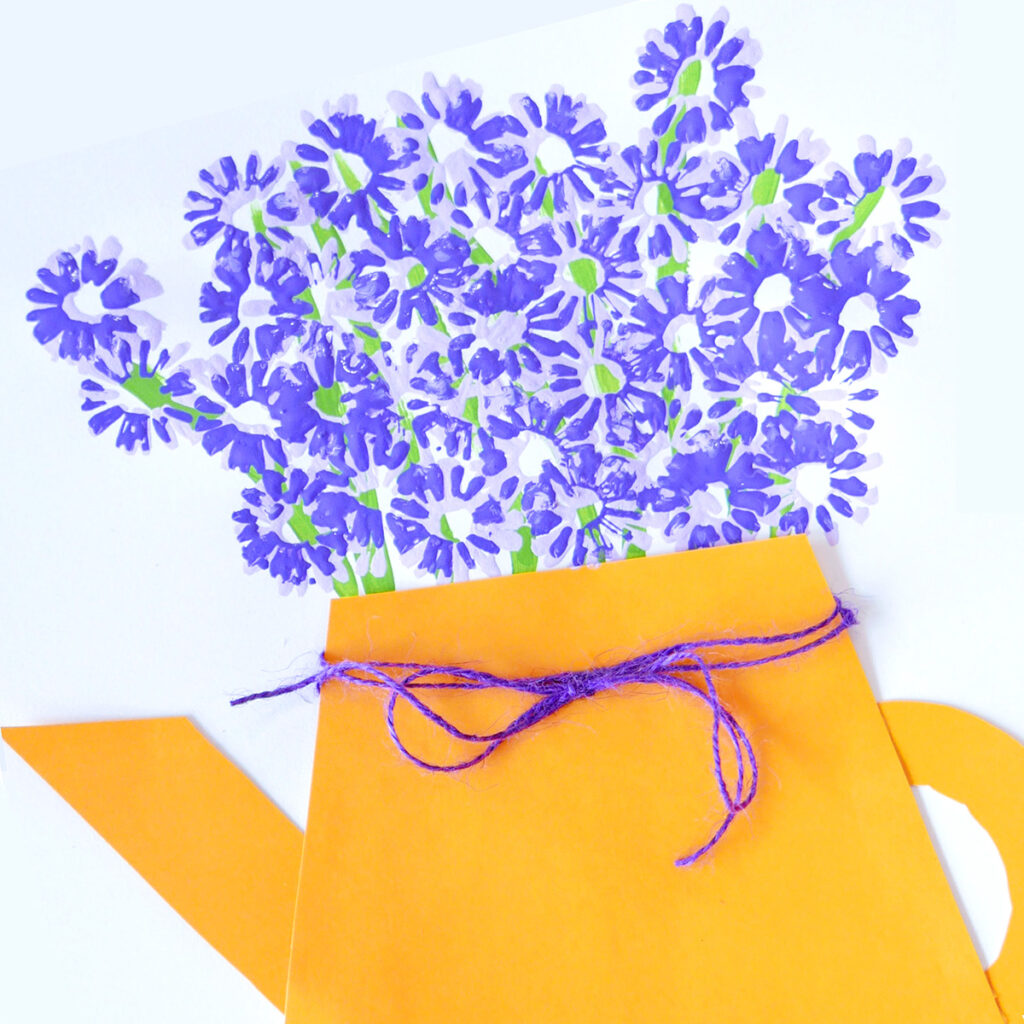
Add your completed artwork to the front of a card, frame it or hang it up to display. It makes a lovely gift.
If you are looking for more Mother’s Day craft or gift inspiration, be sure to also check out our collections of Mother’s Day Gifts to Make with Toddlers, Mother’s Day Gifts Preschoolers Can Make and Mother’s Day Gifts for School Age Kids to Make.
Or for more flower craft inspiration, check out our sweet Paper Towel Flower Bouquet or our Kids Art Flower Fairies.